WS: wrong side of fabric (the back)
RS:right side of fabric (the front)
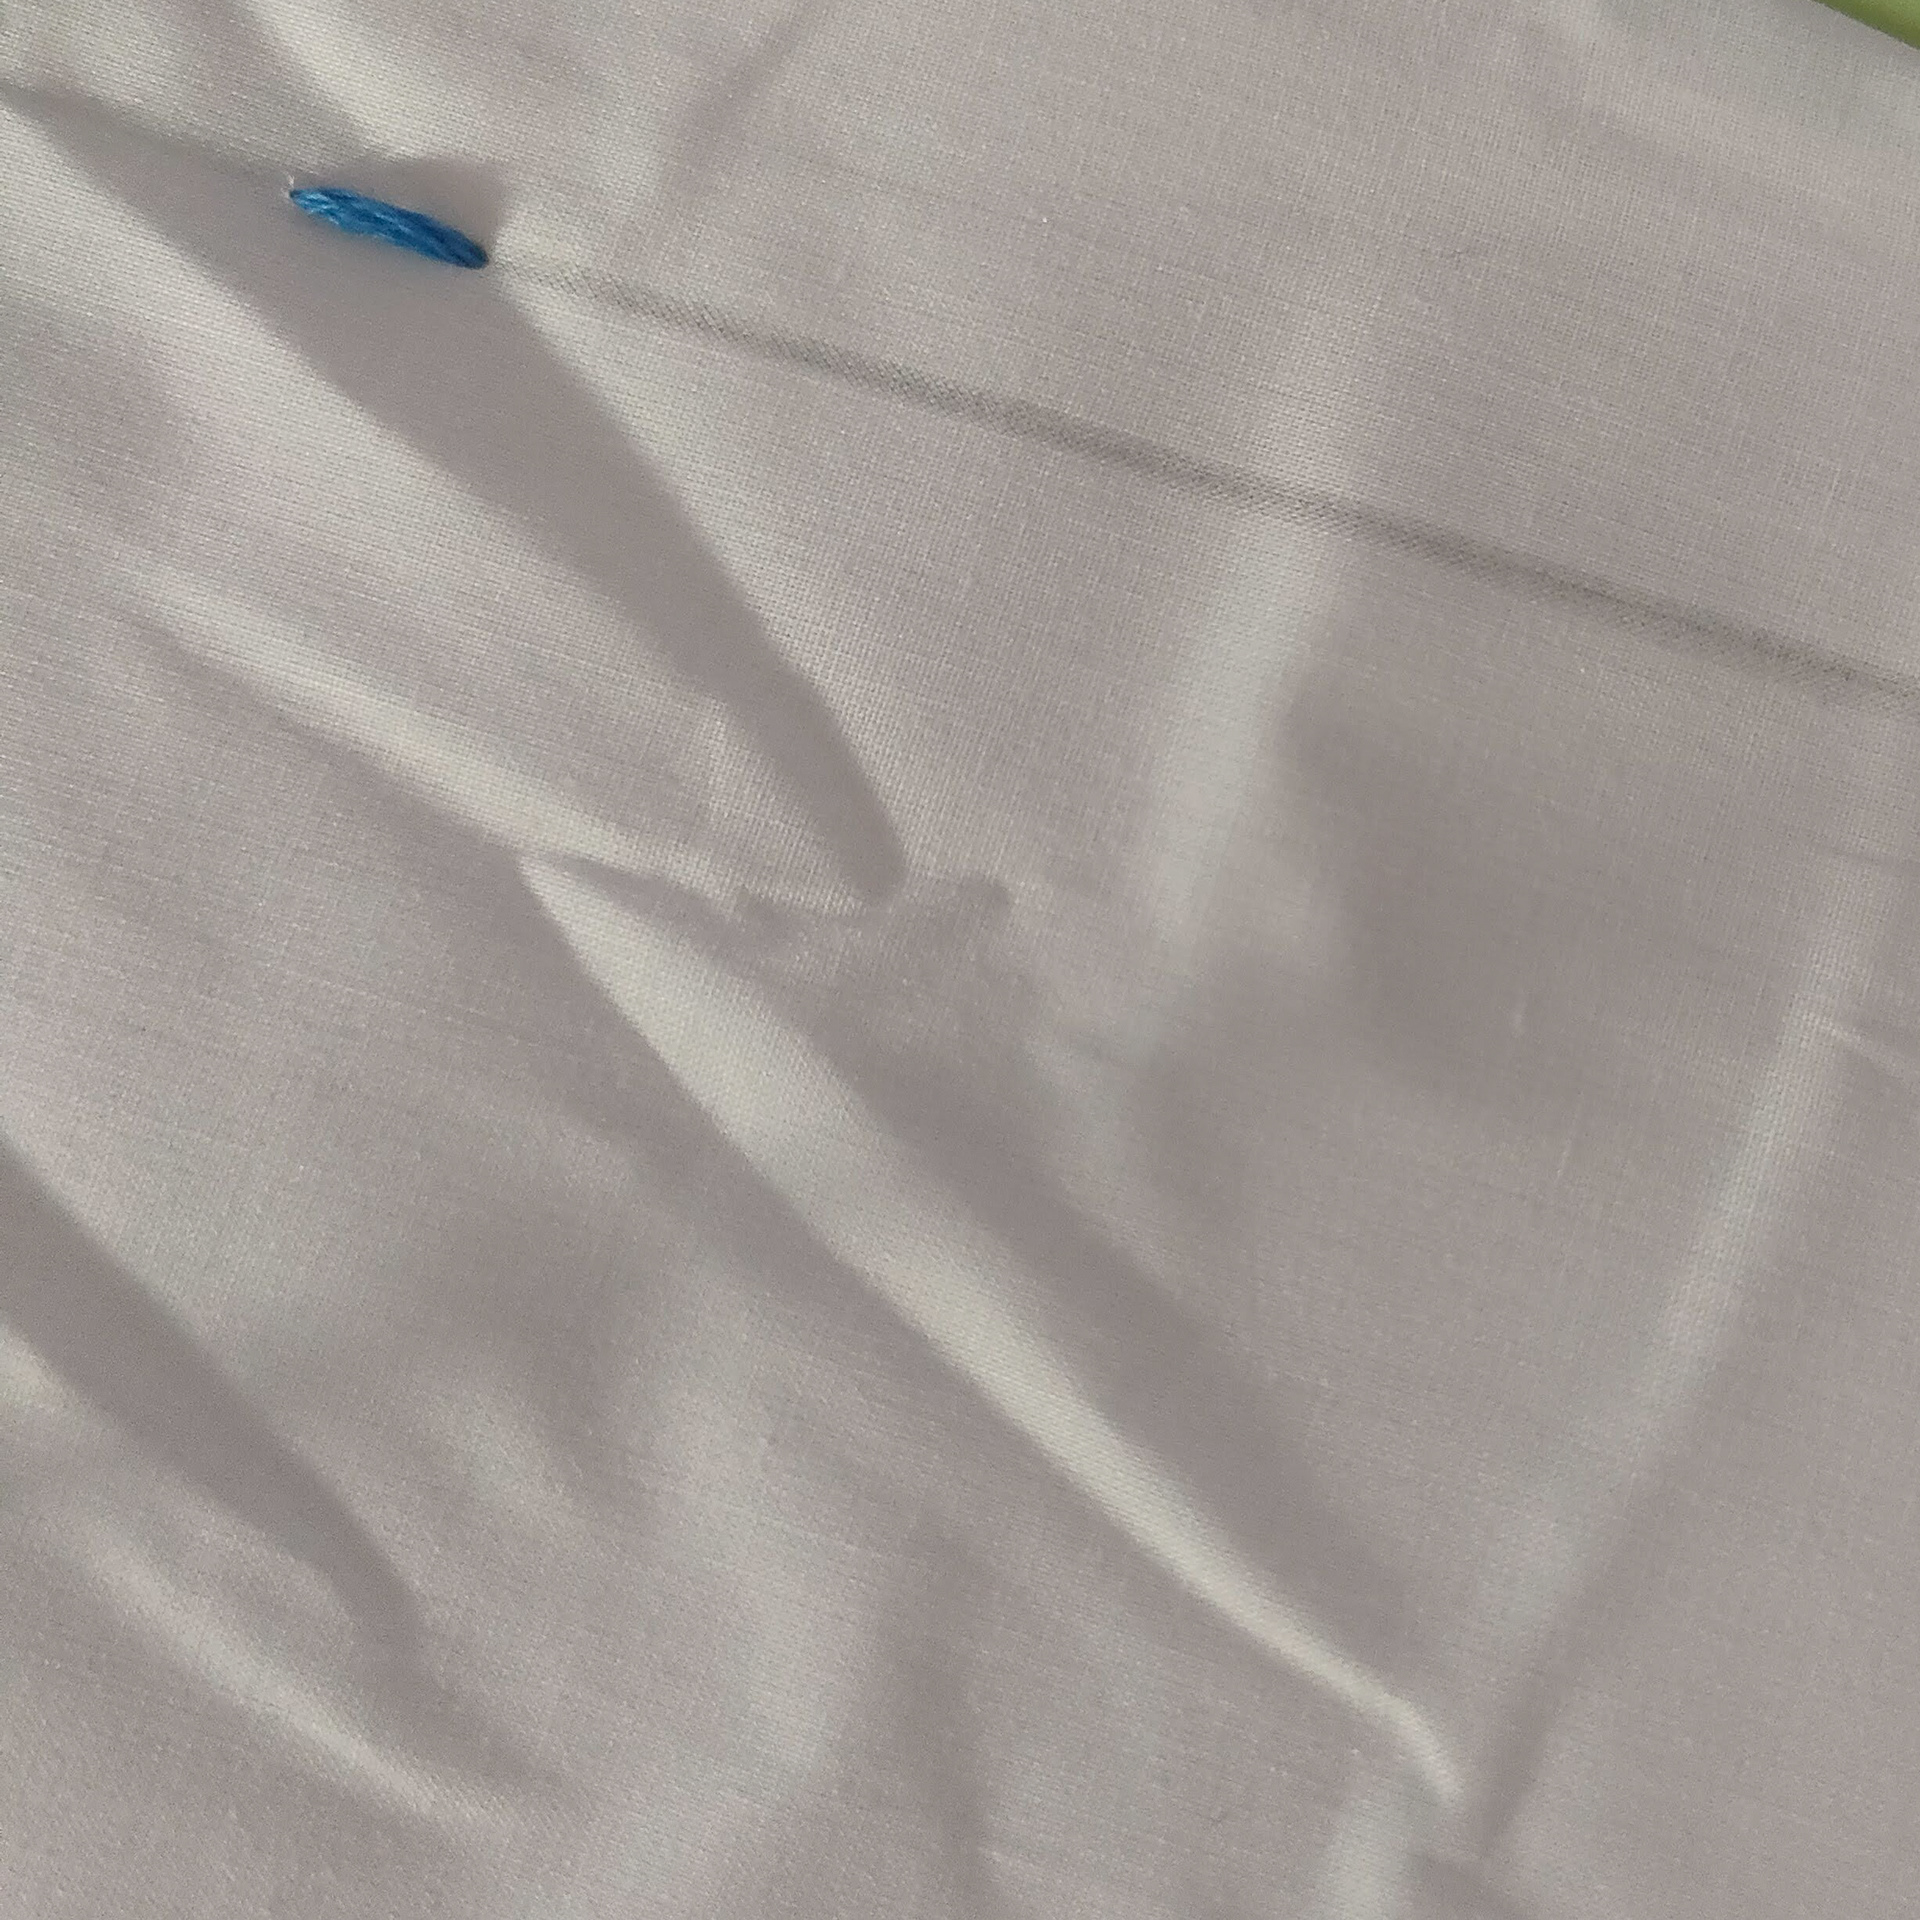
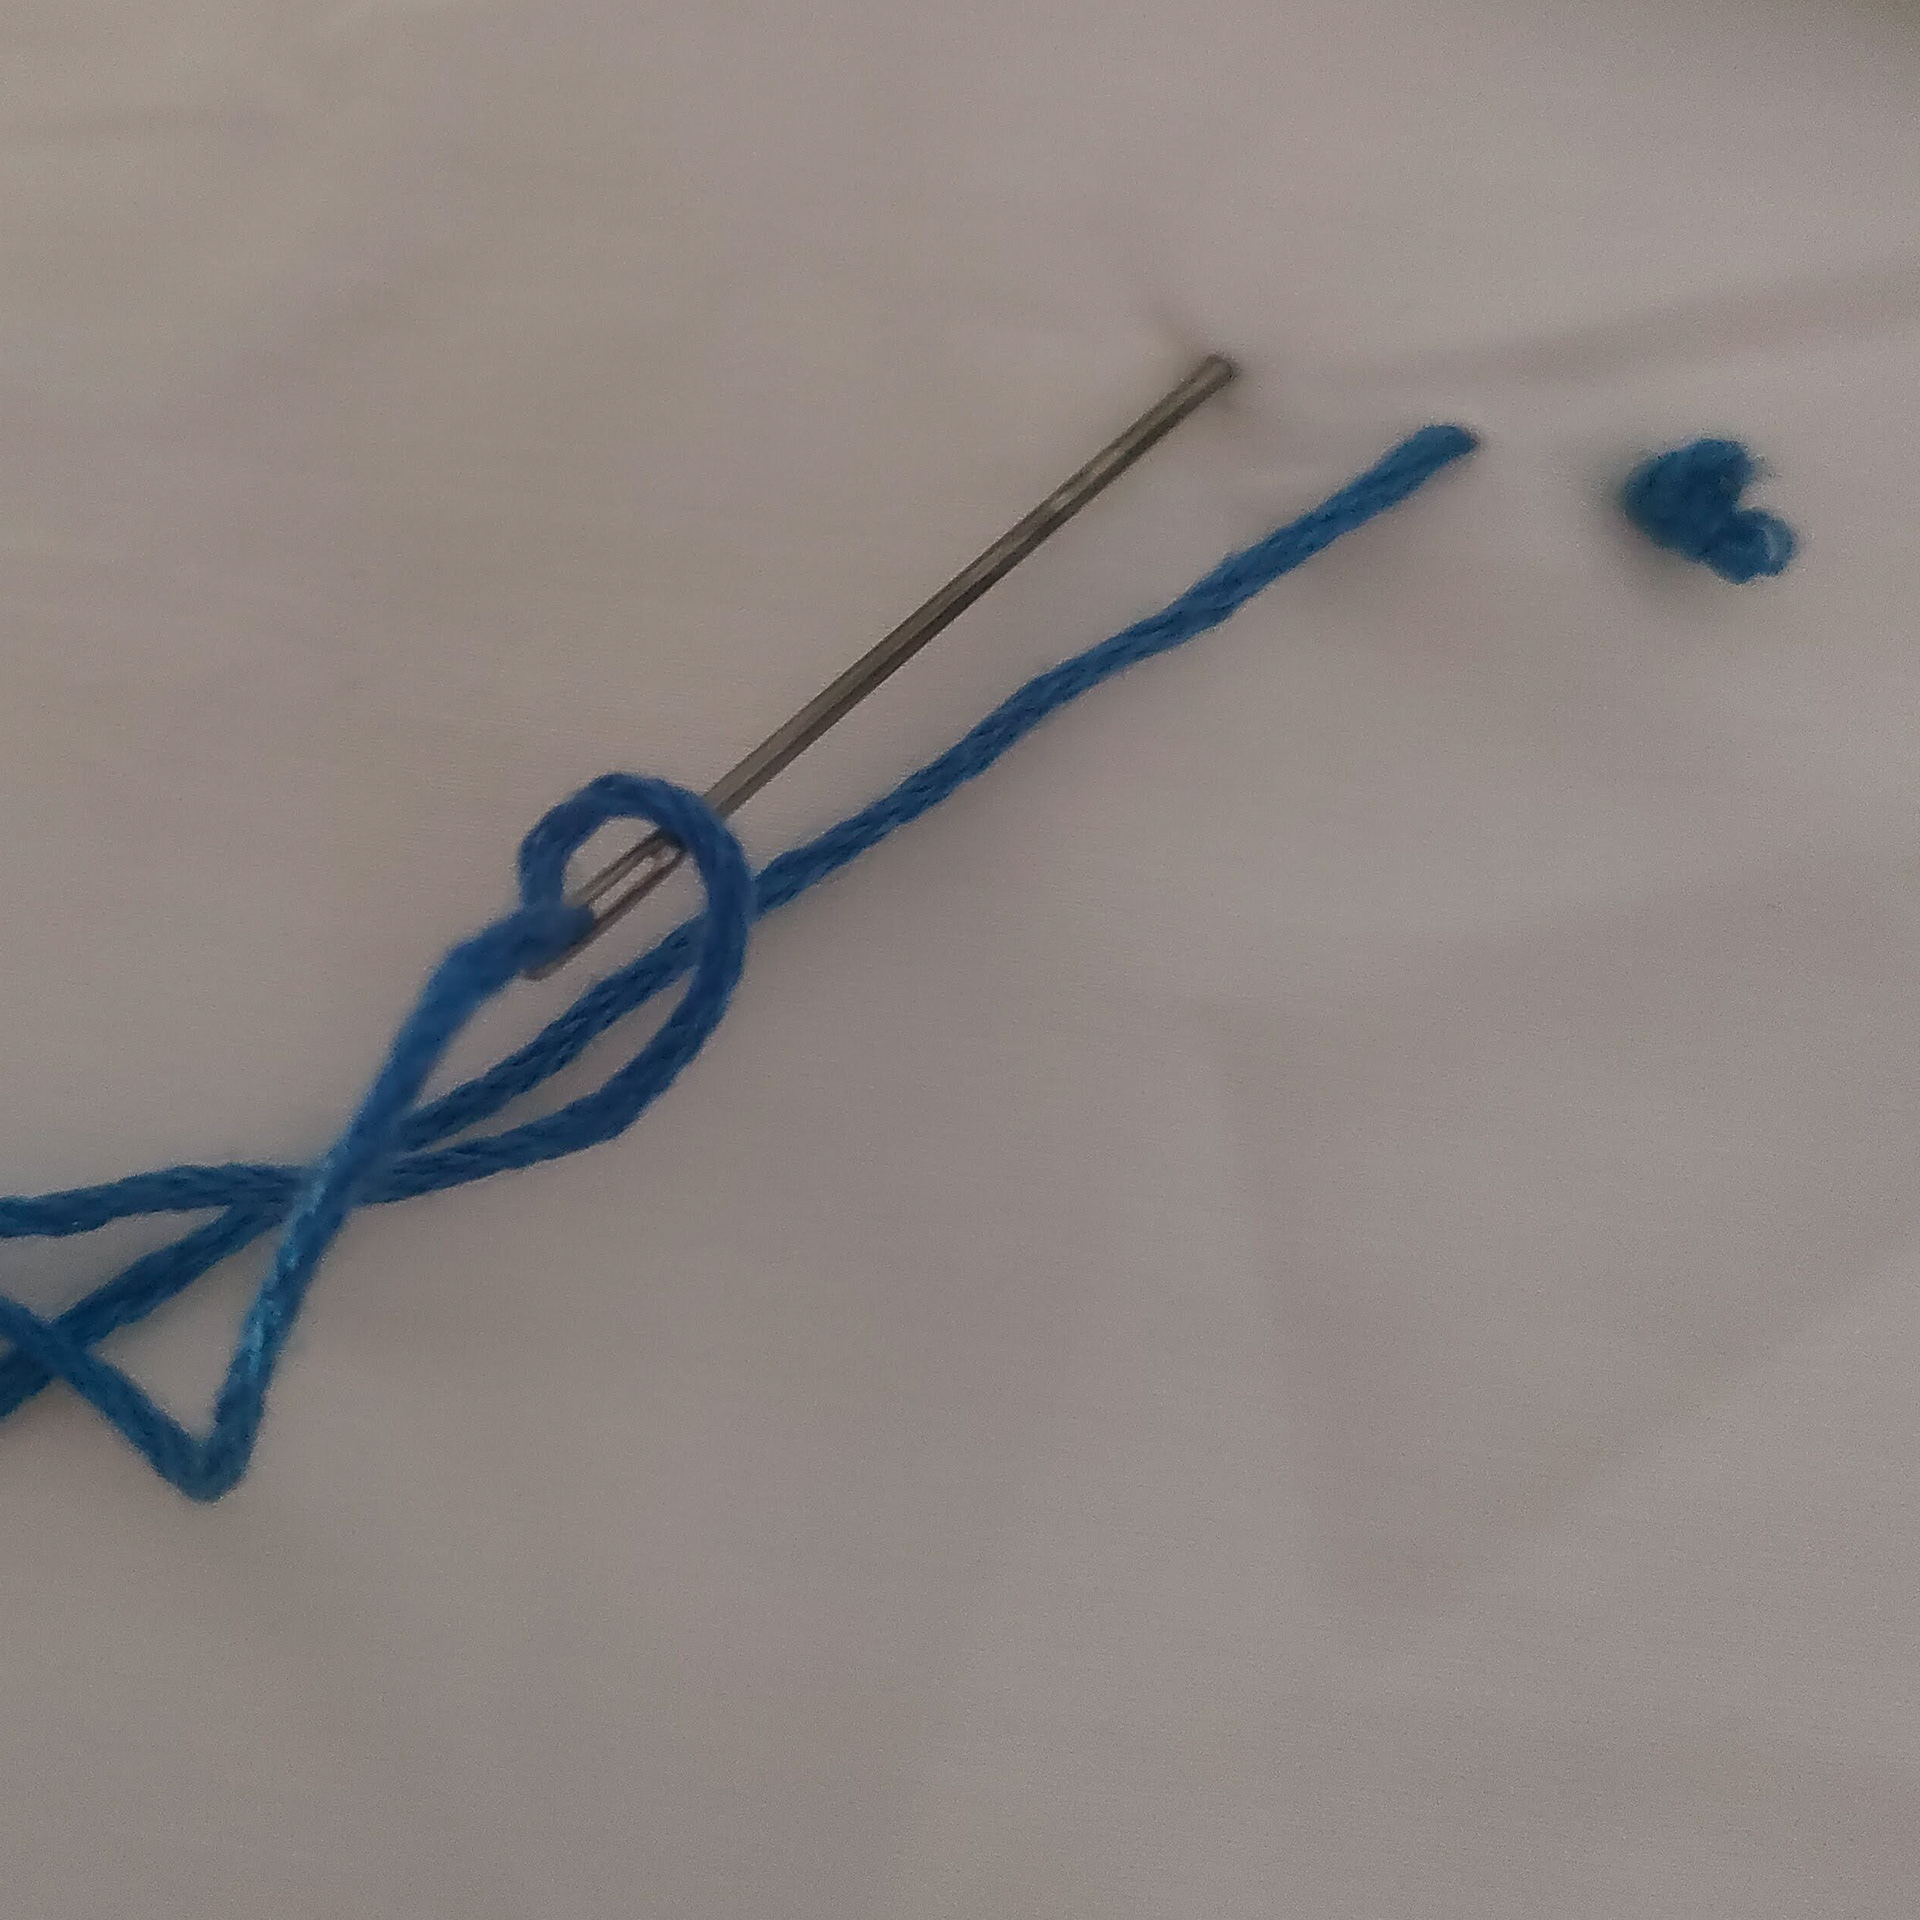
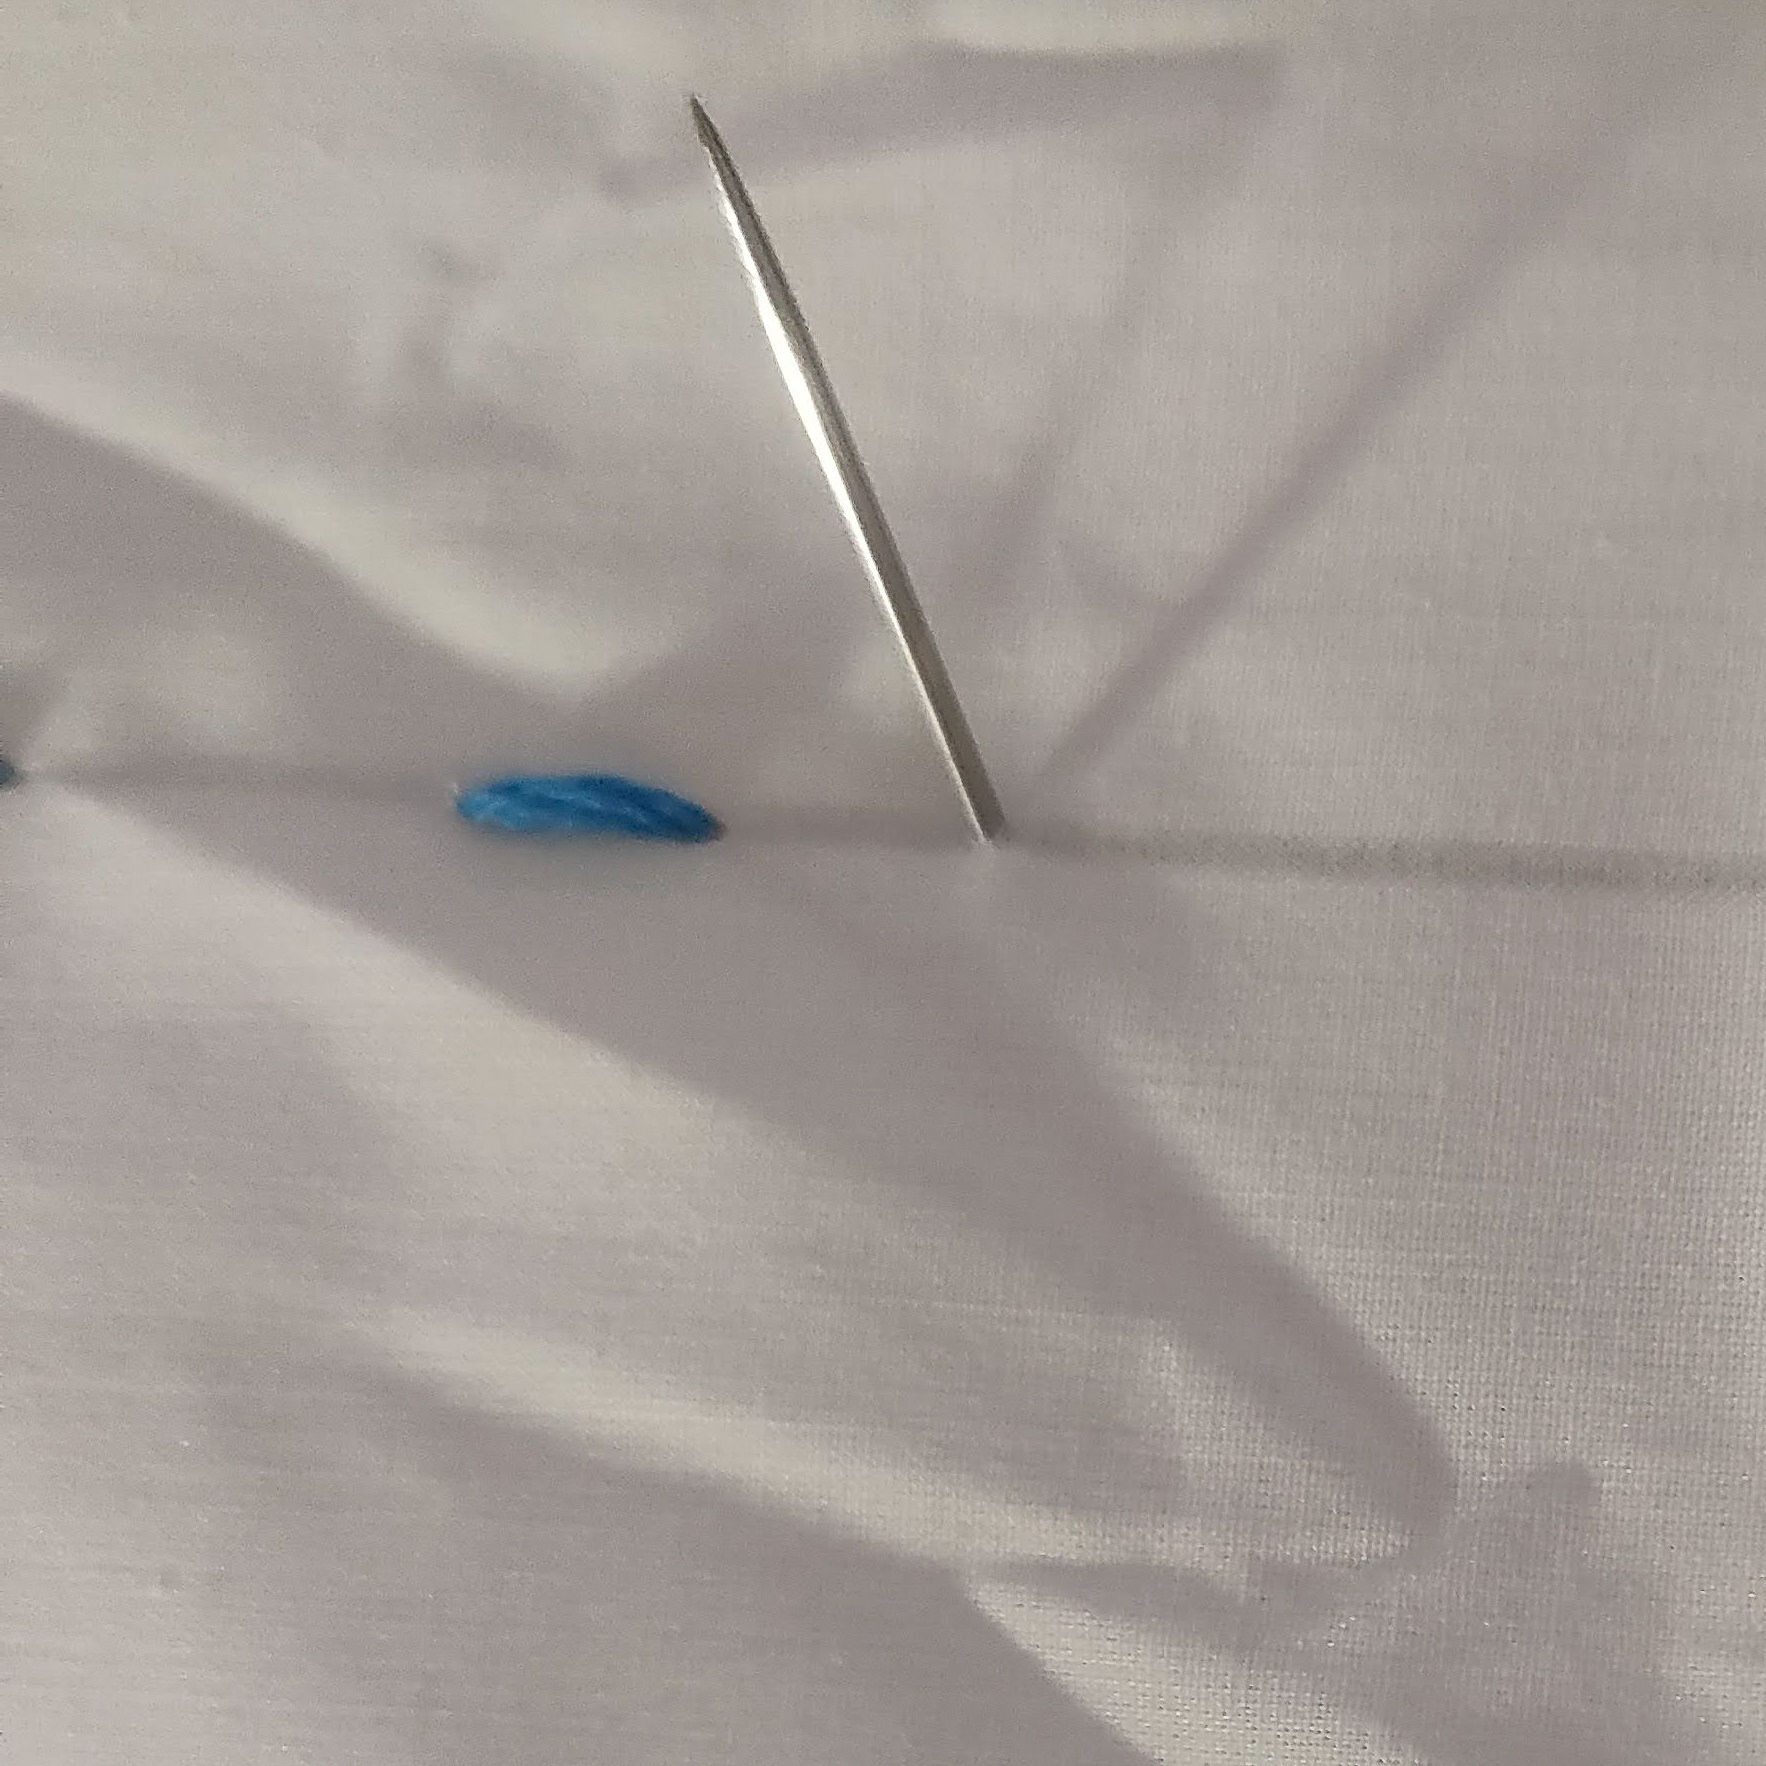
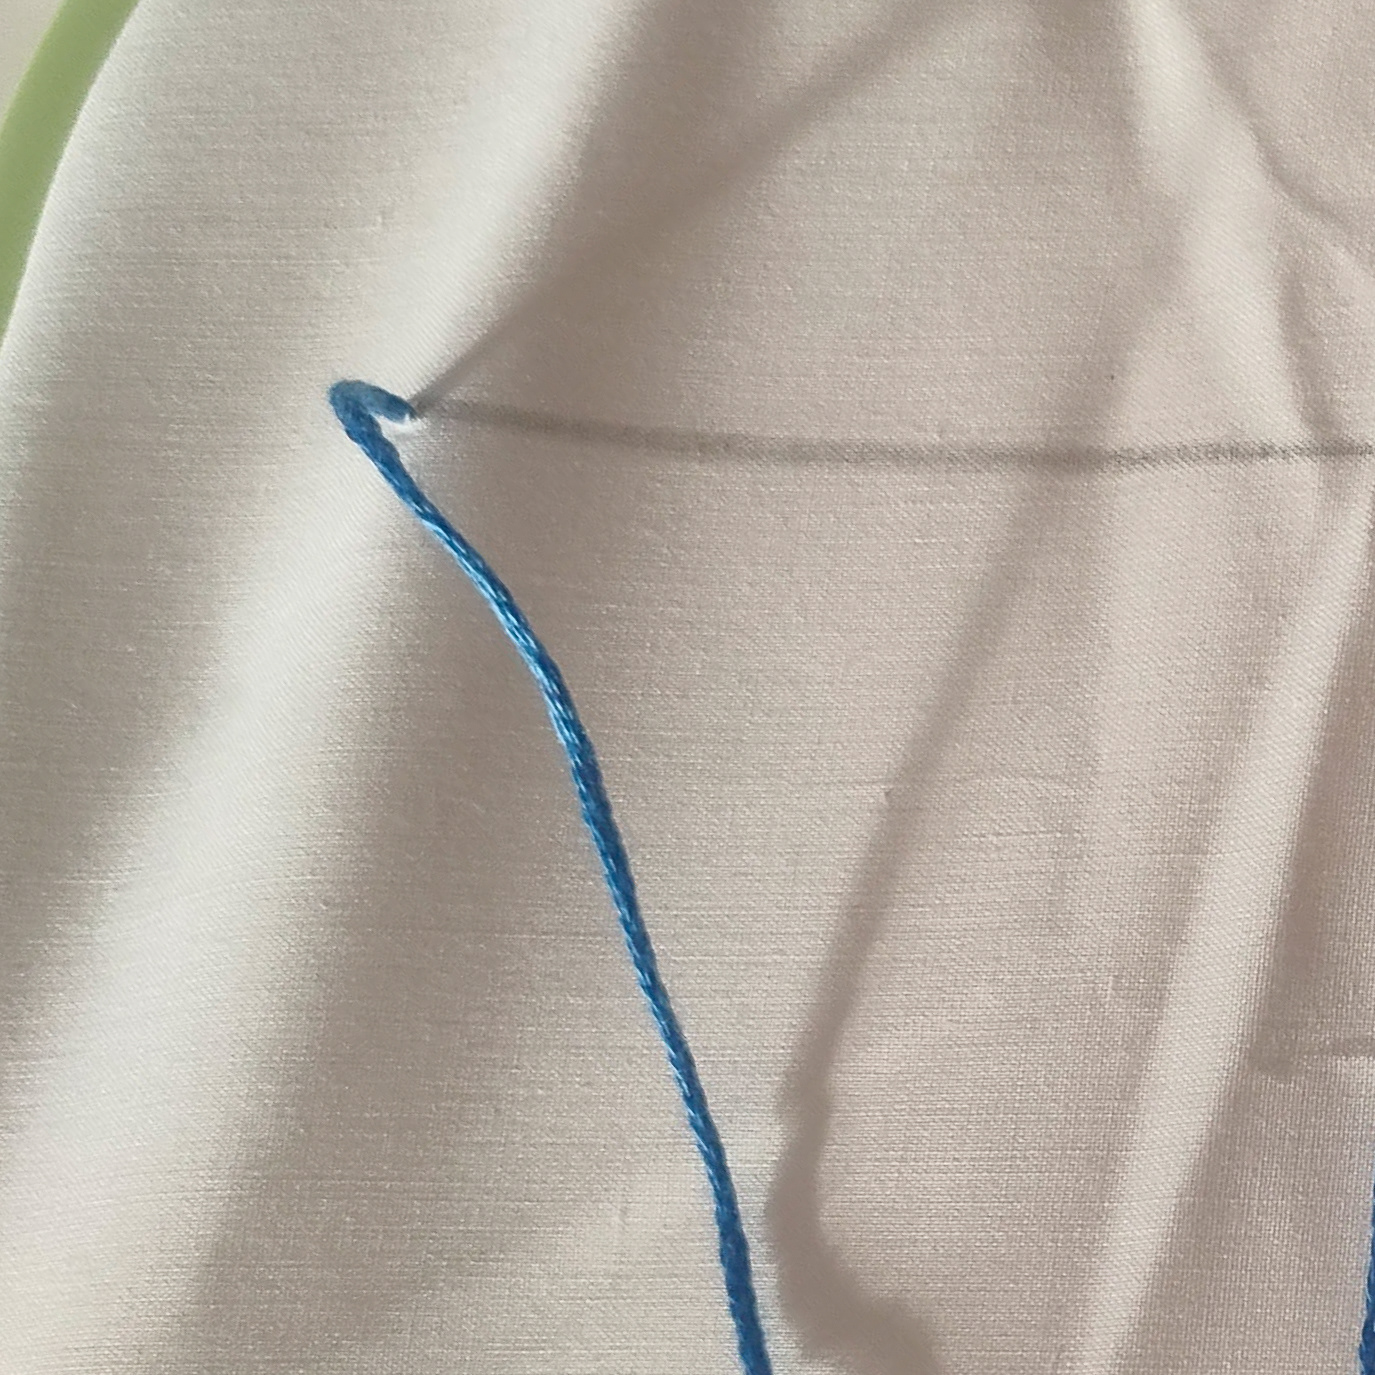
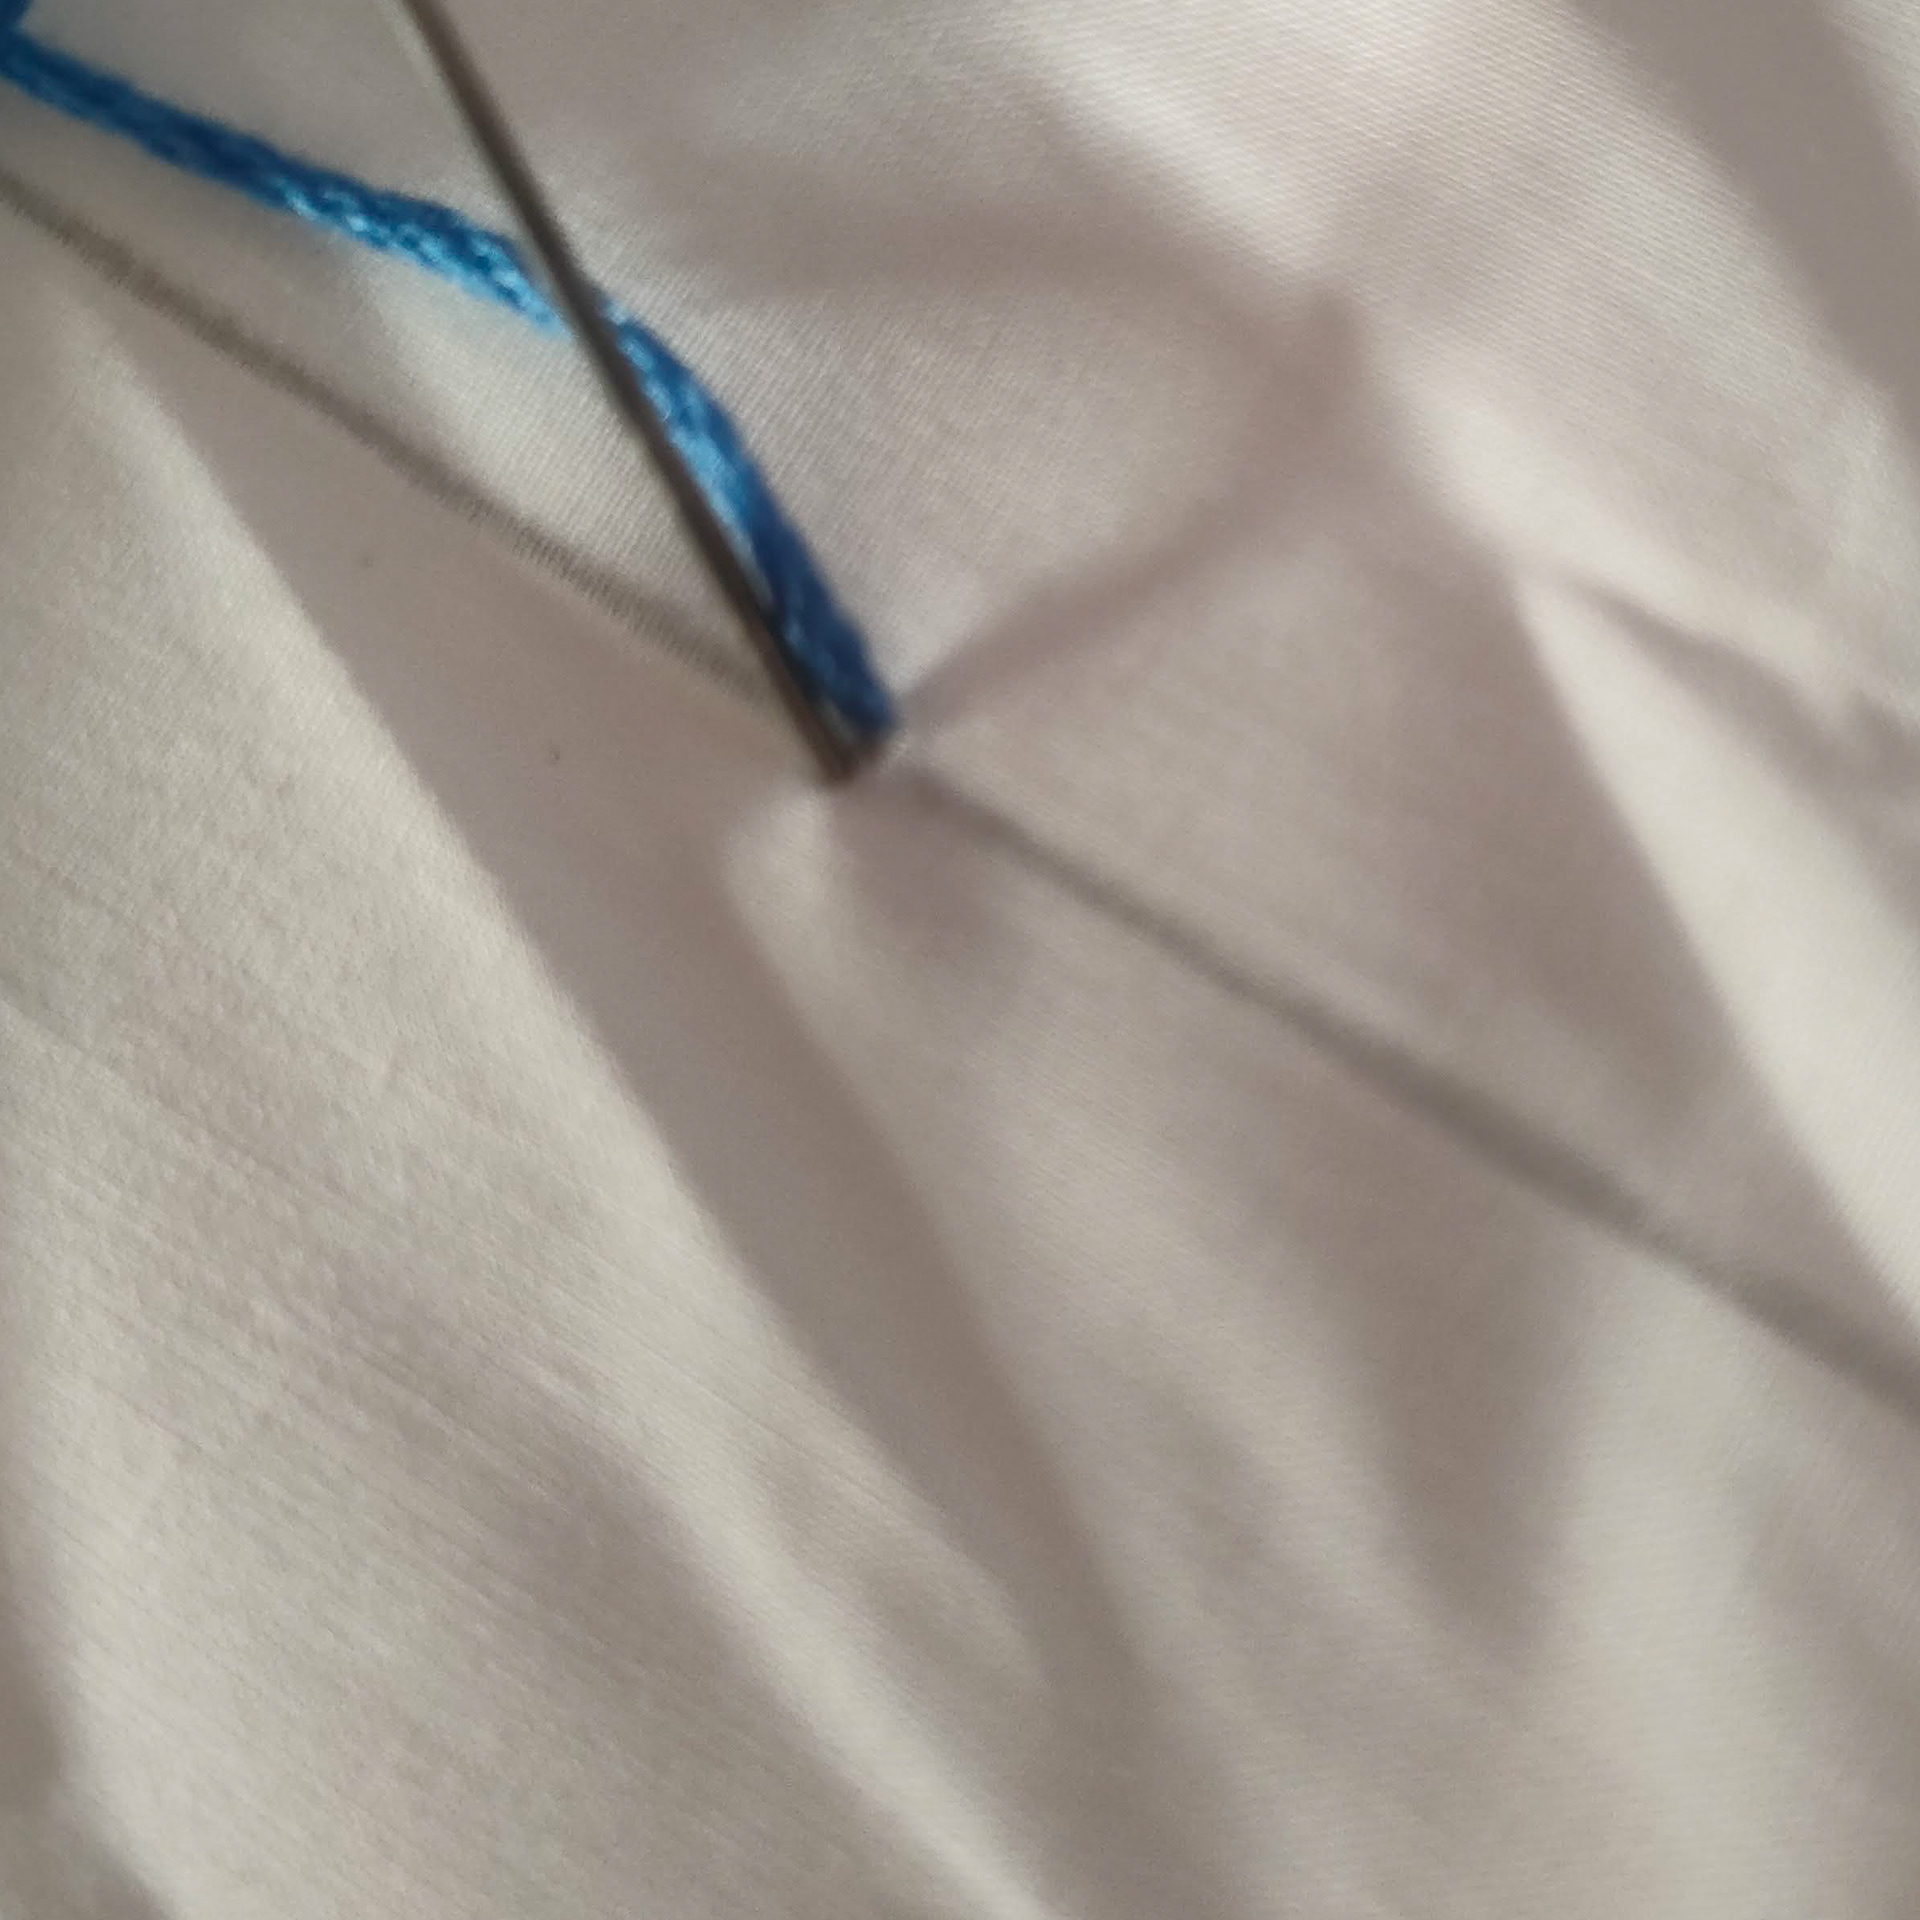
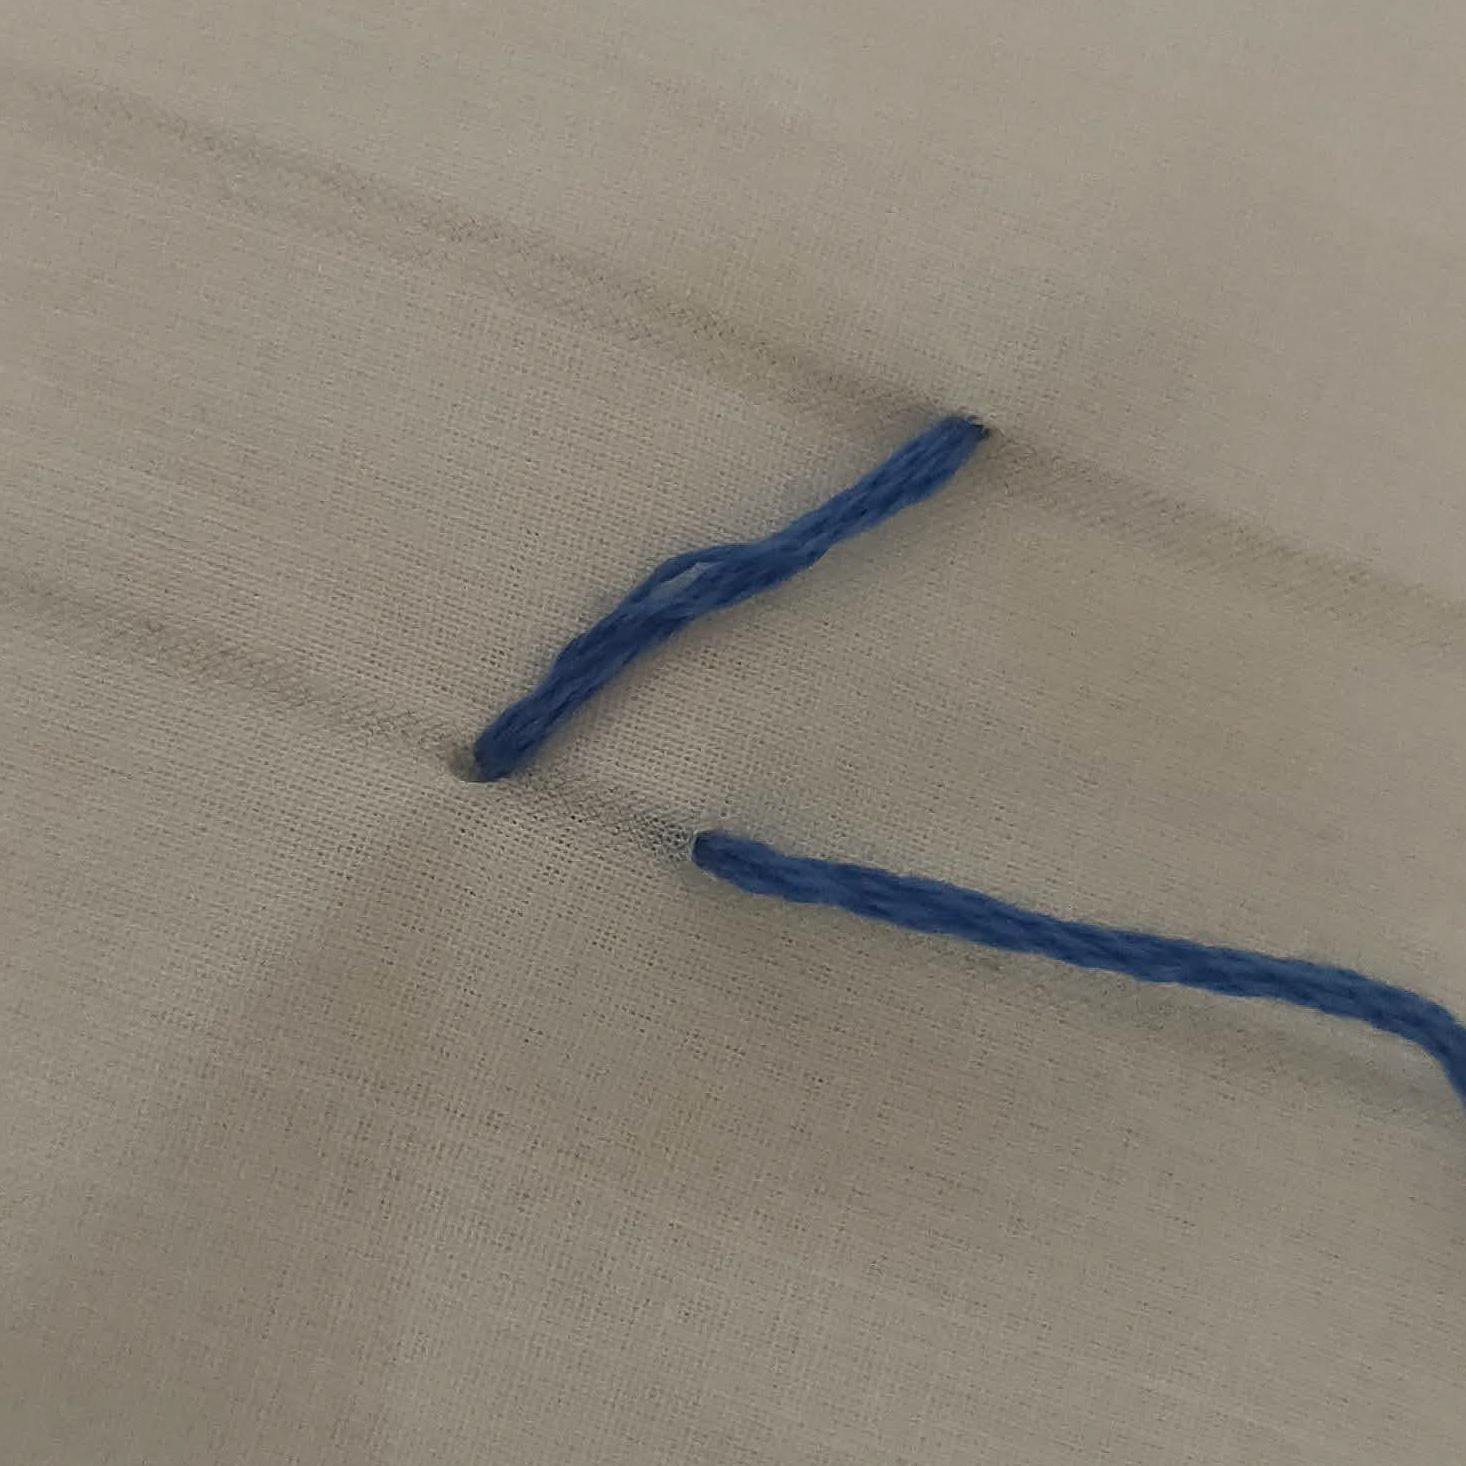
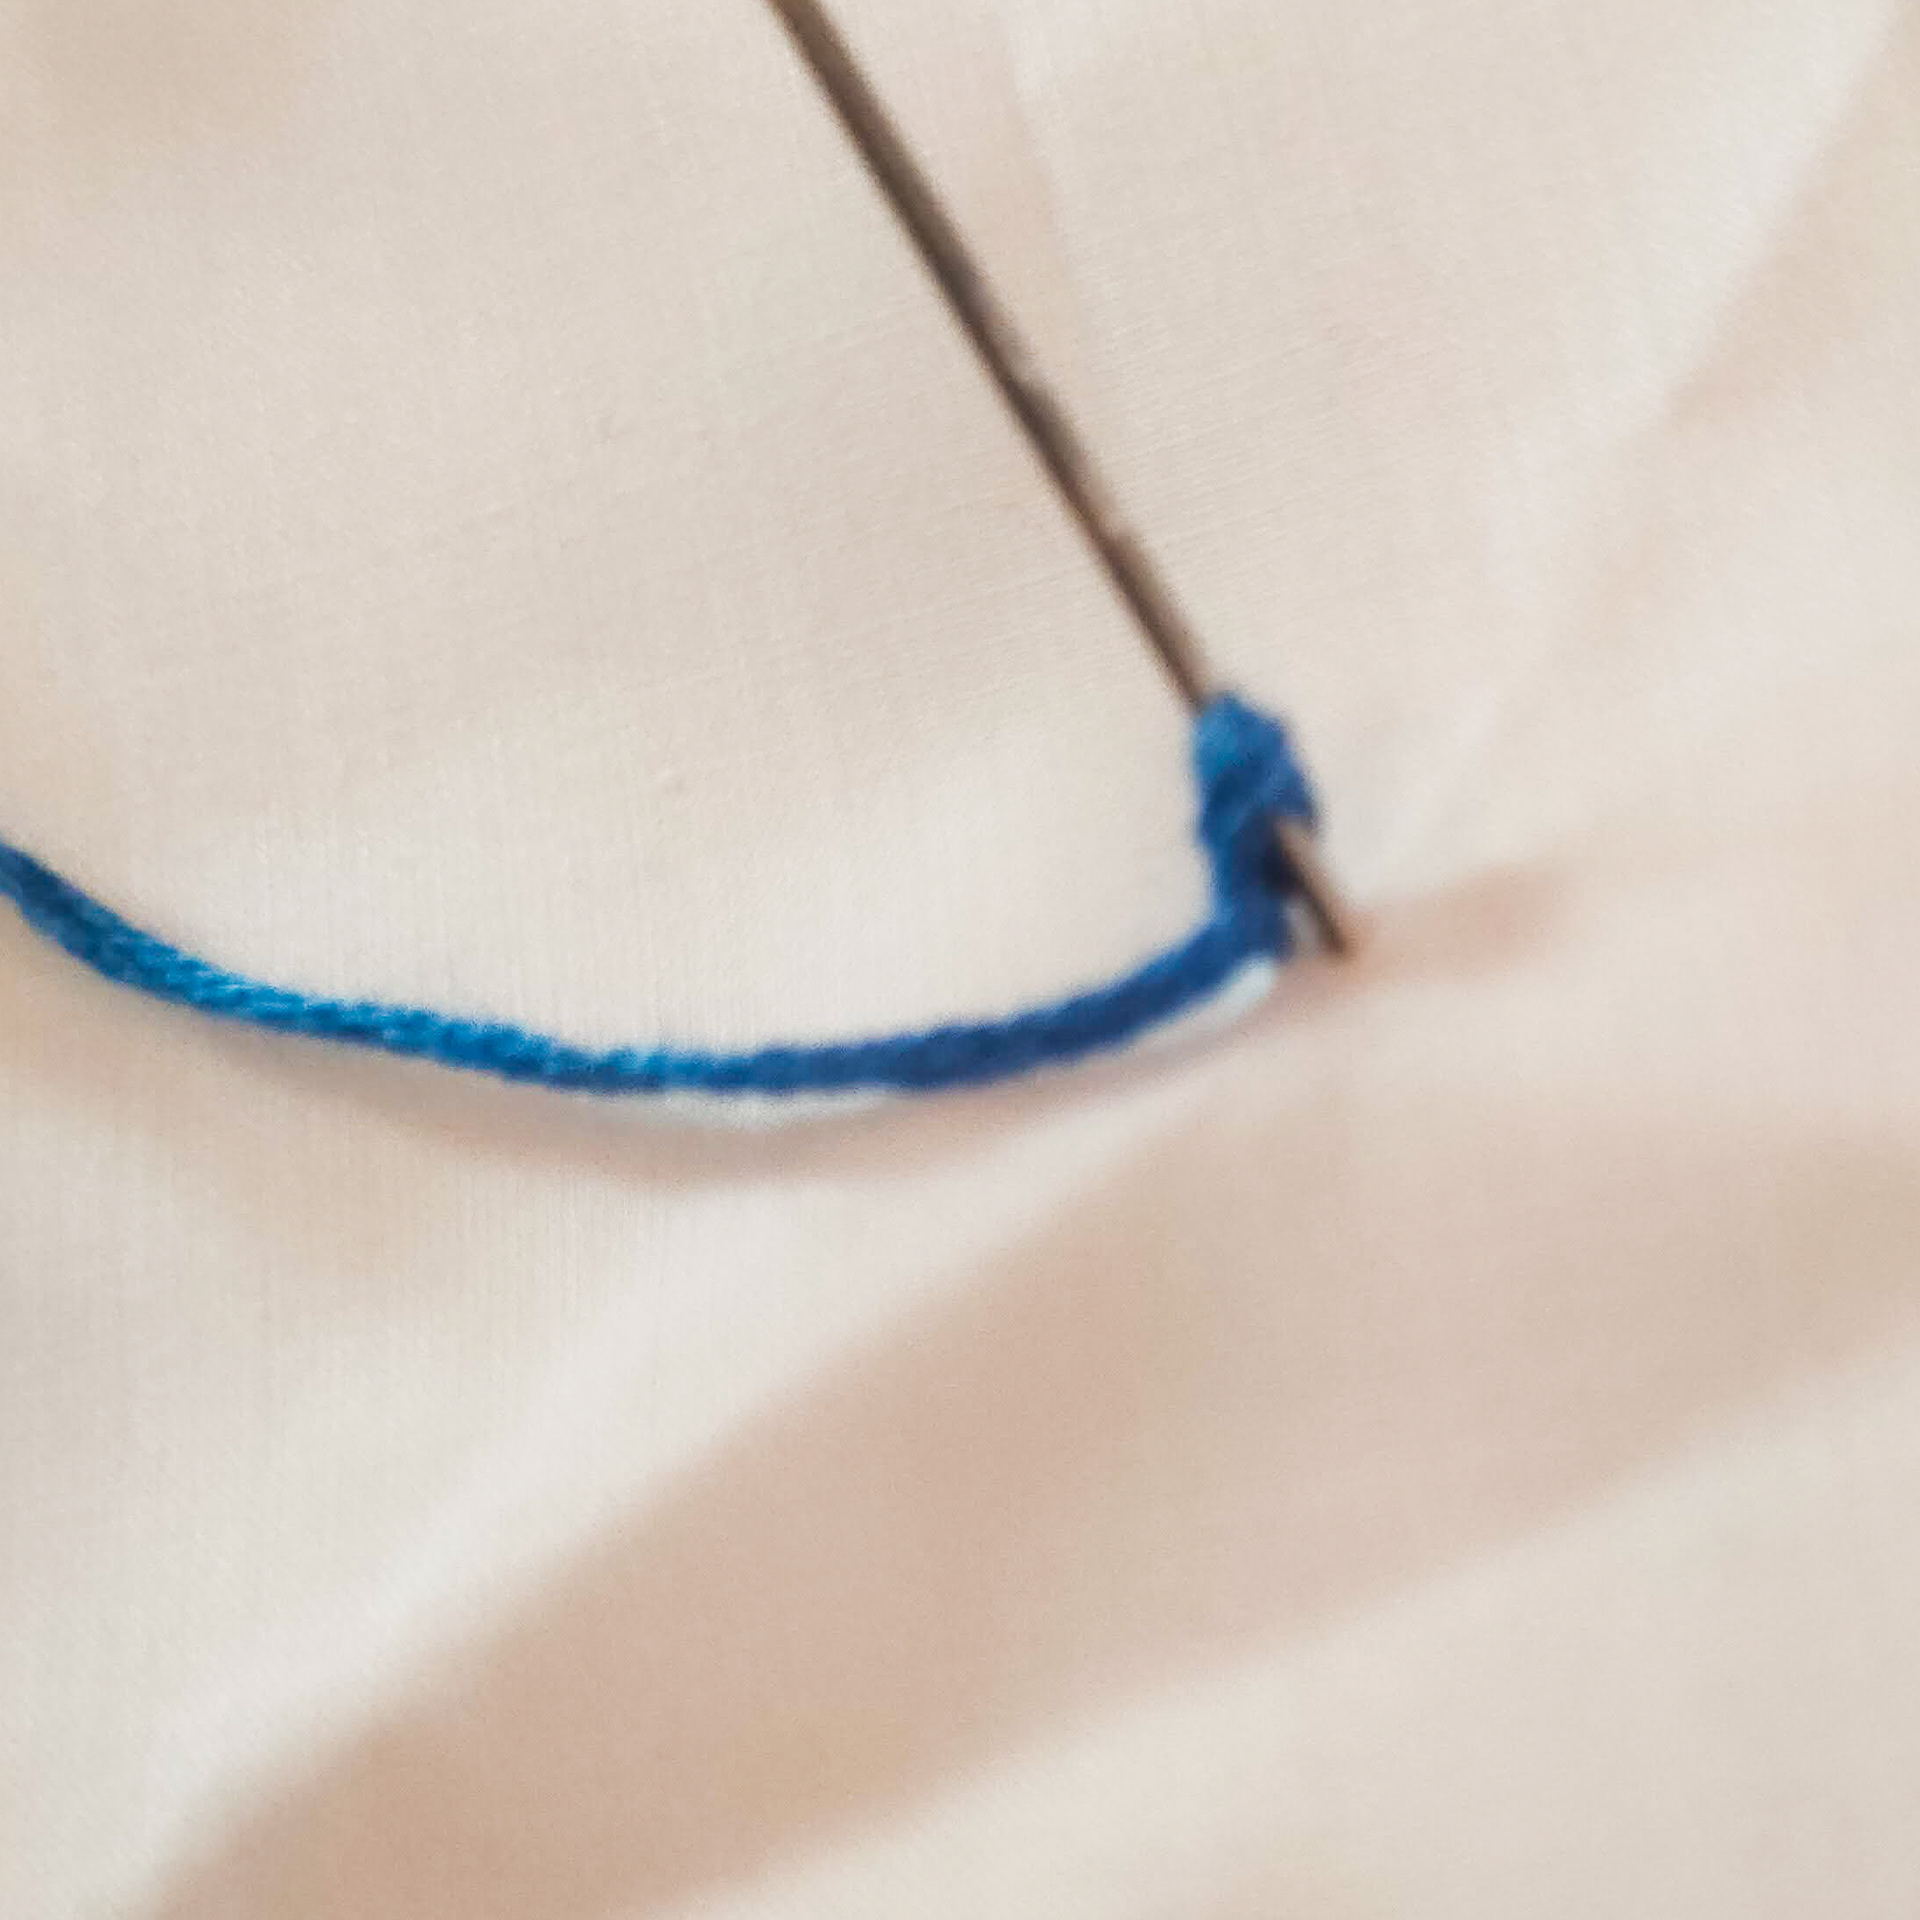
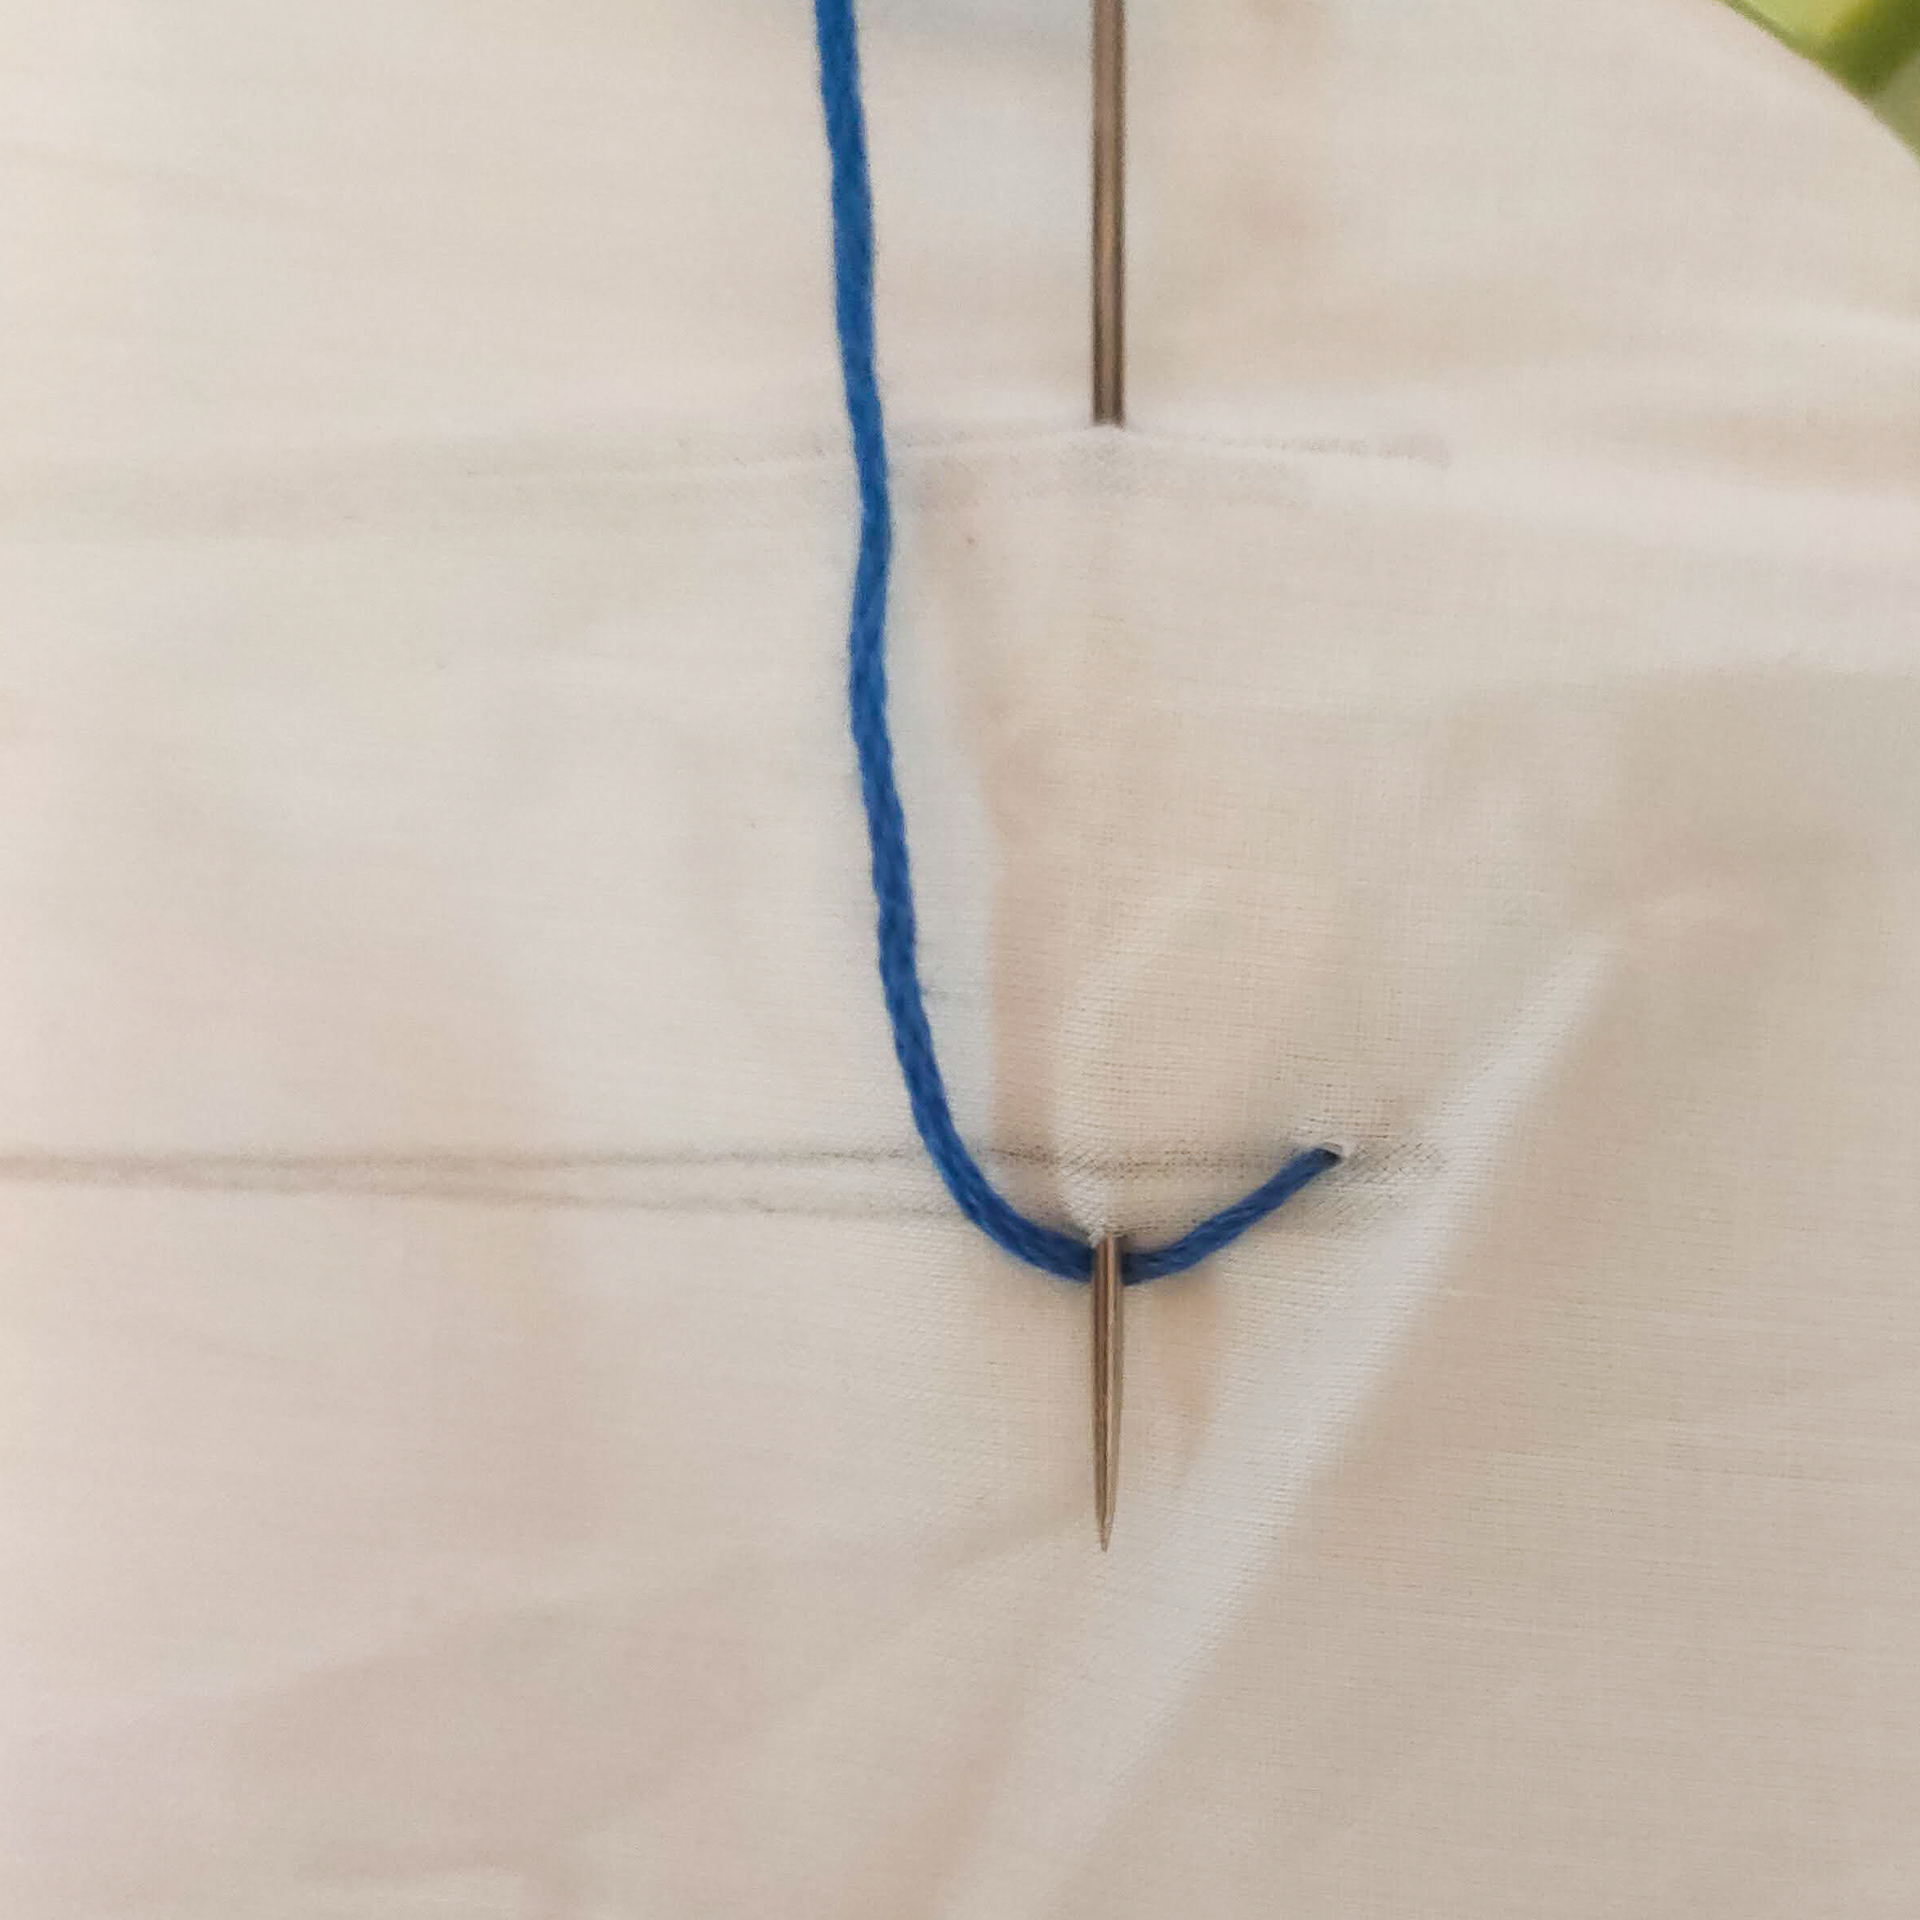
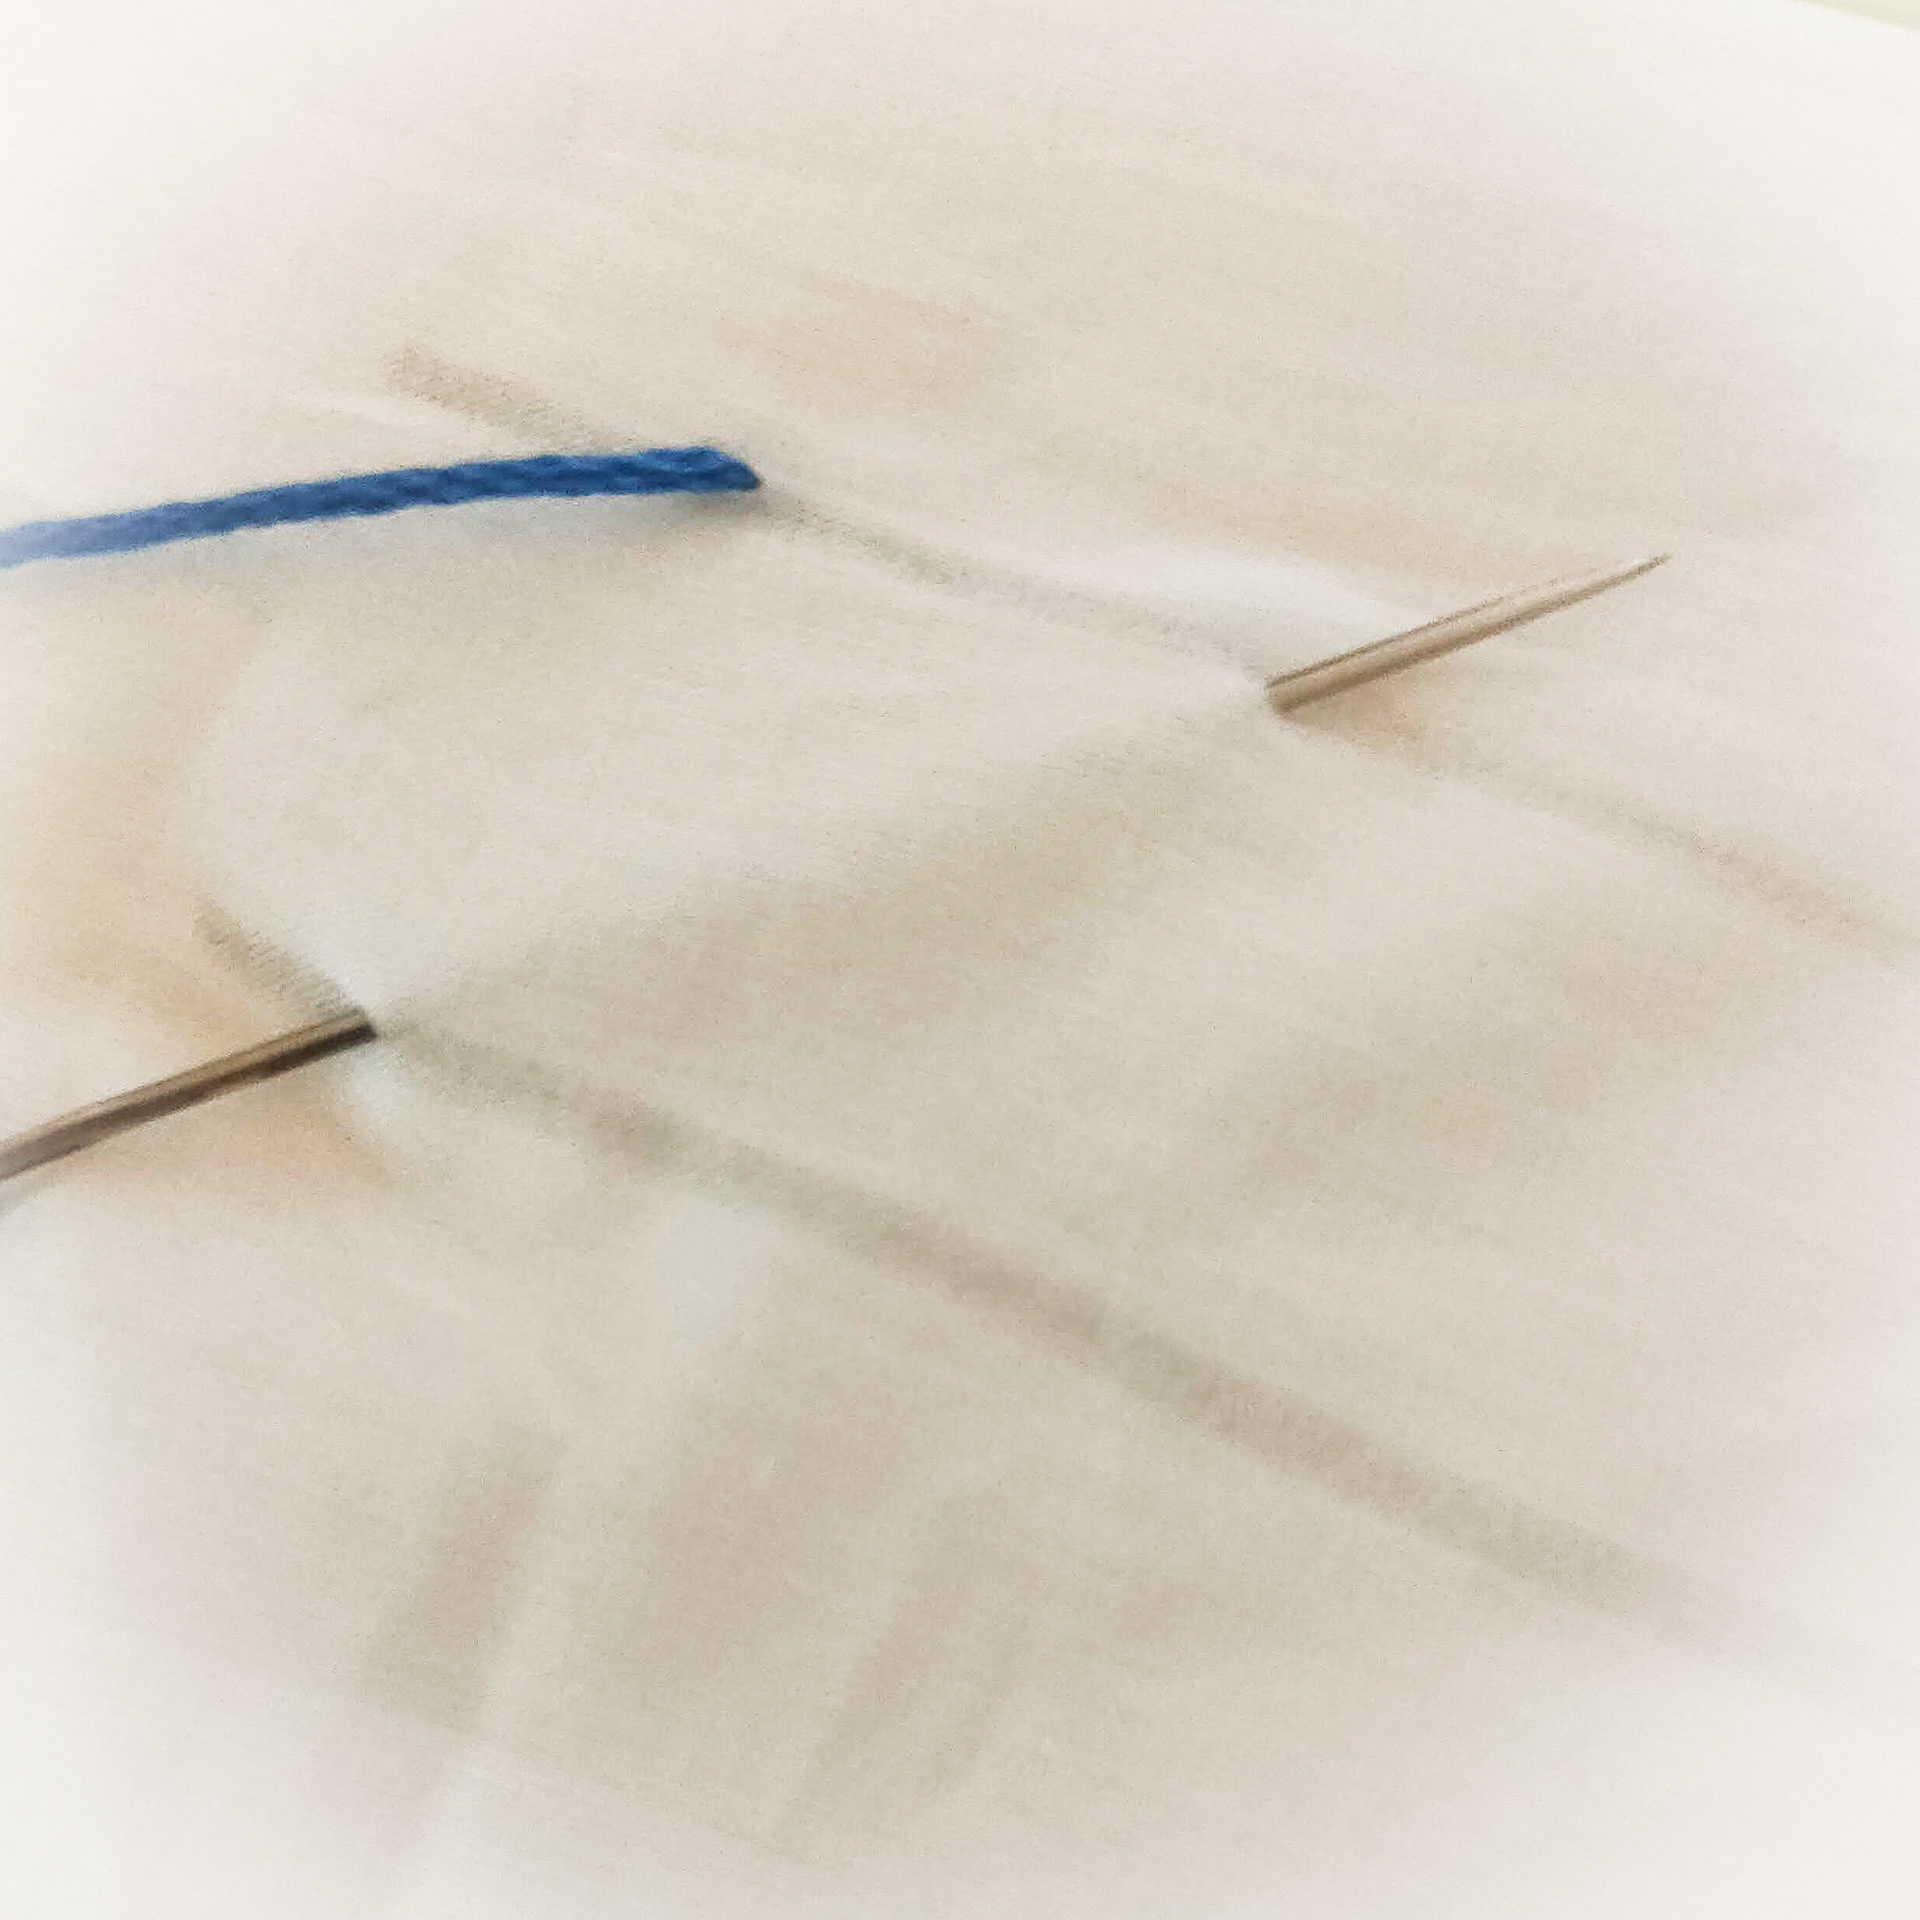
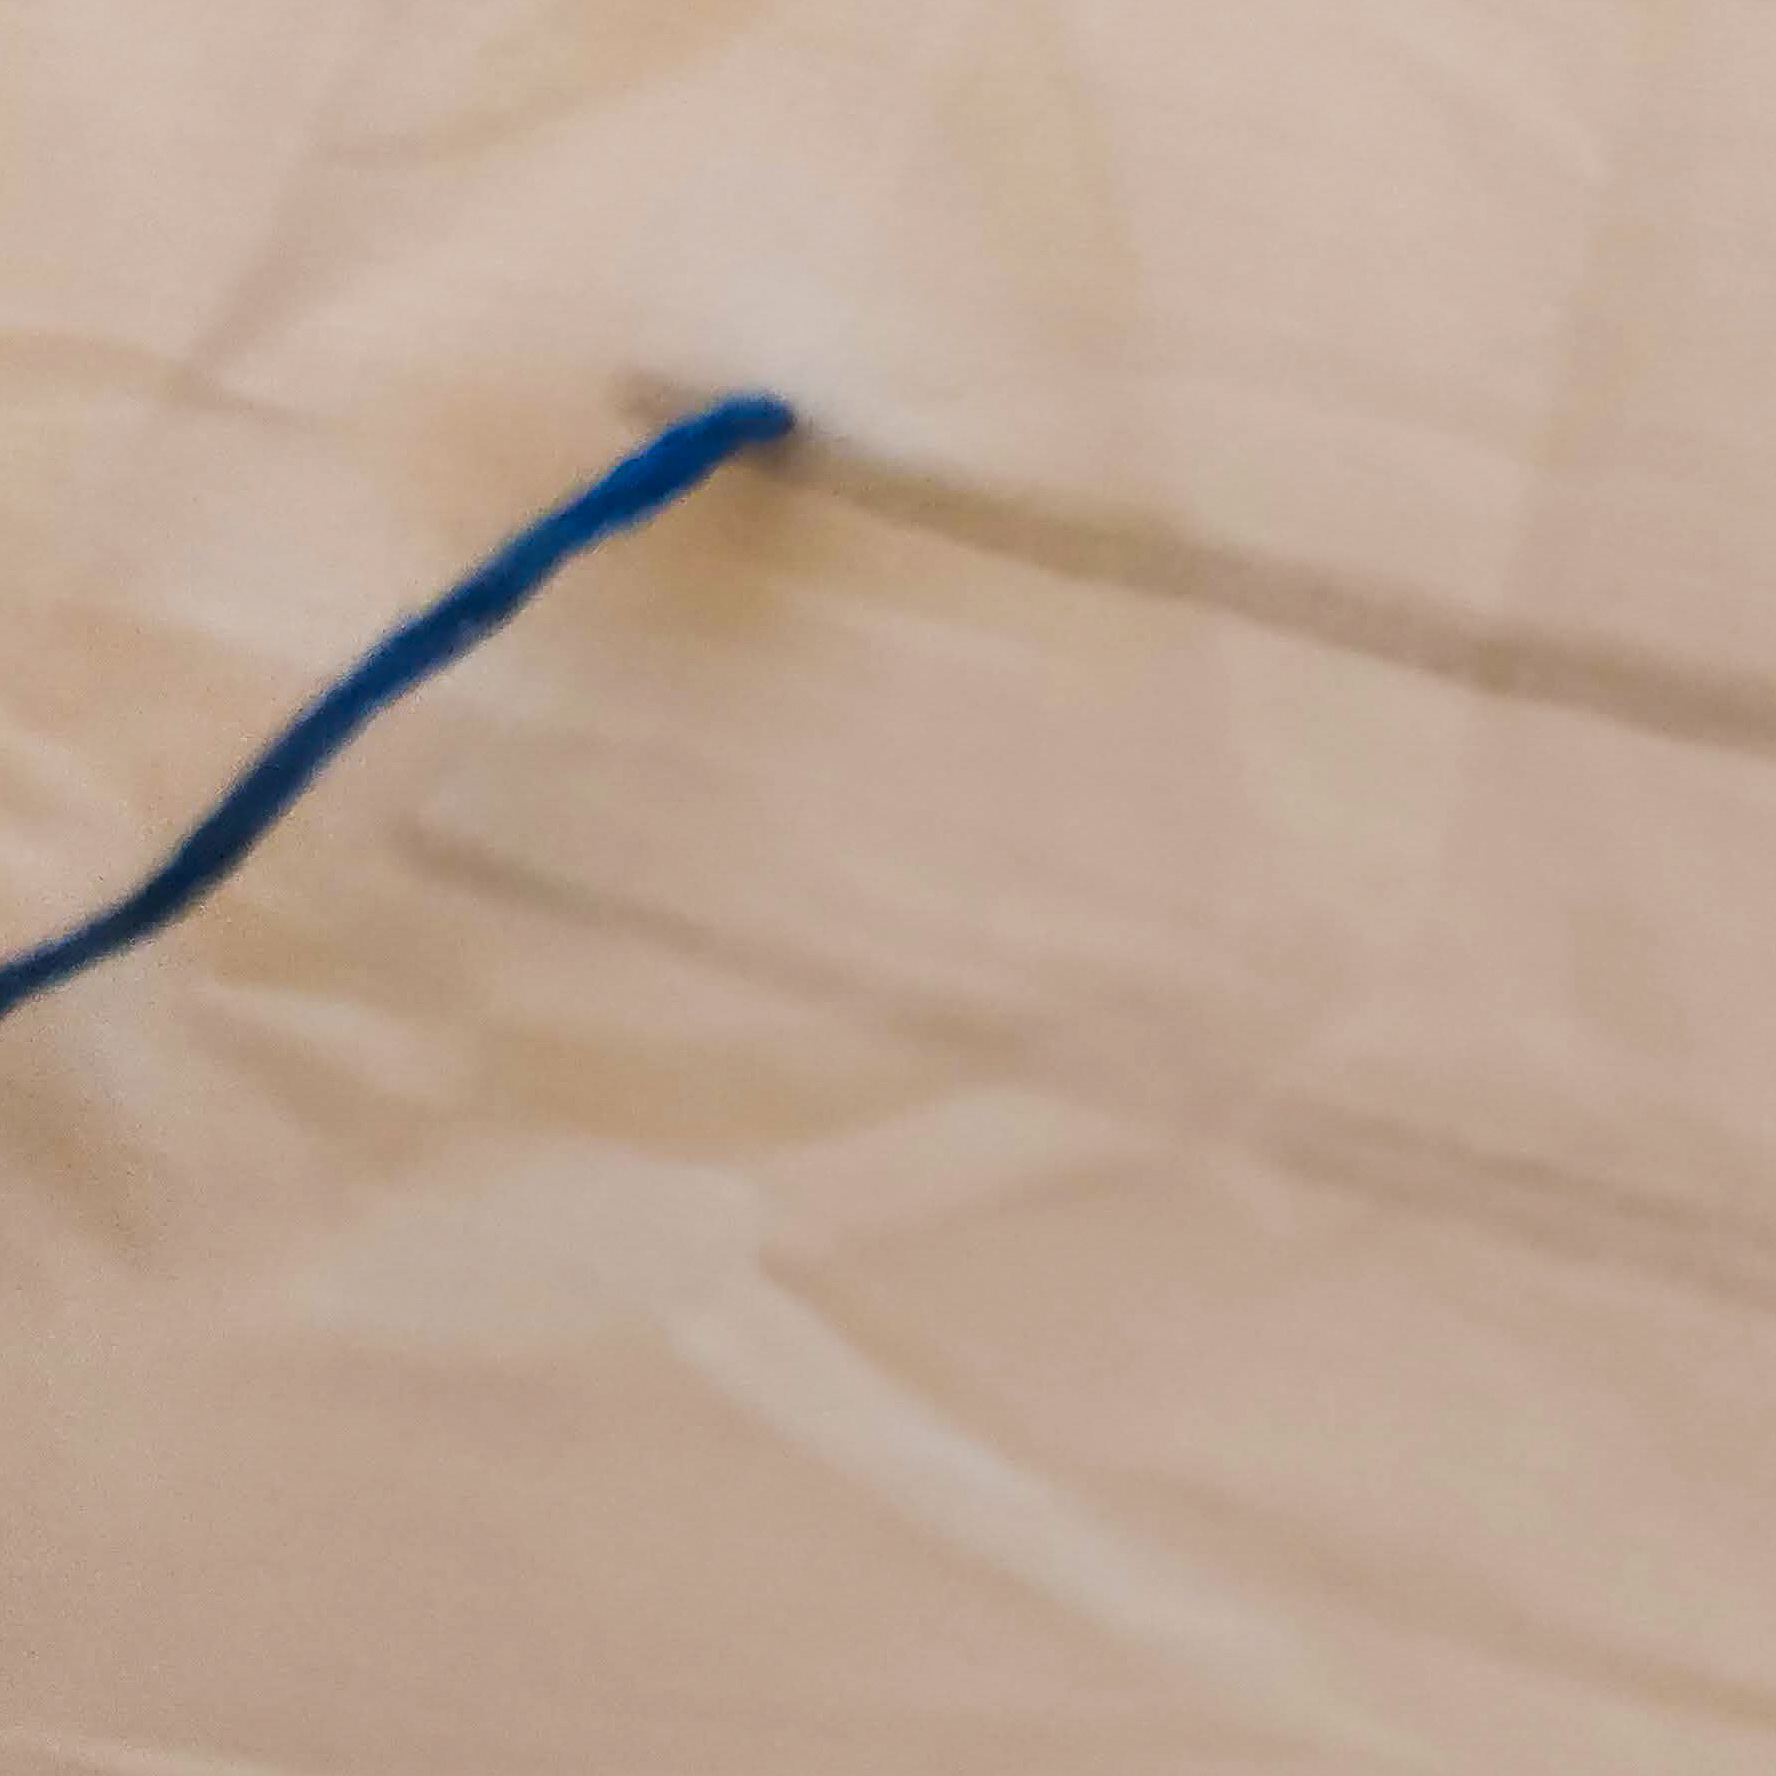
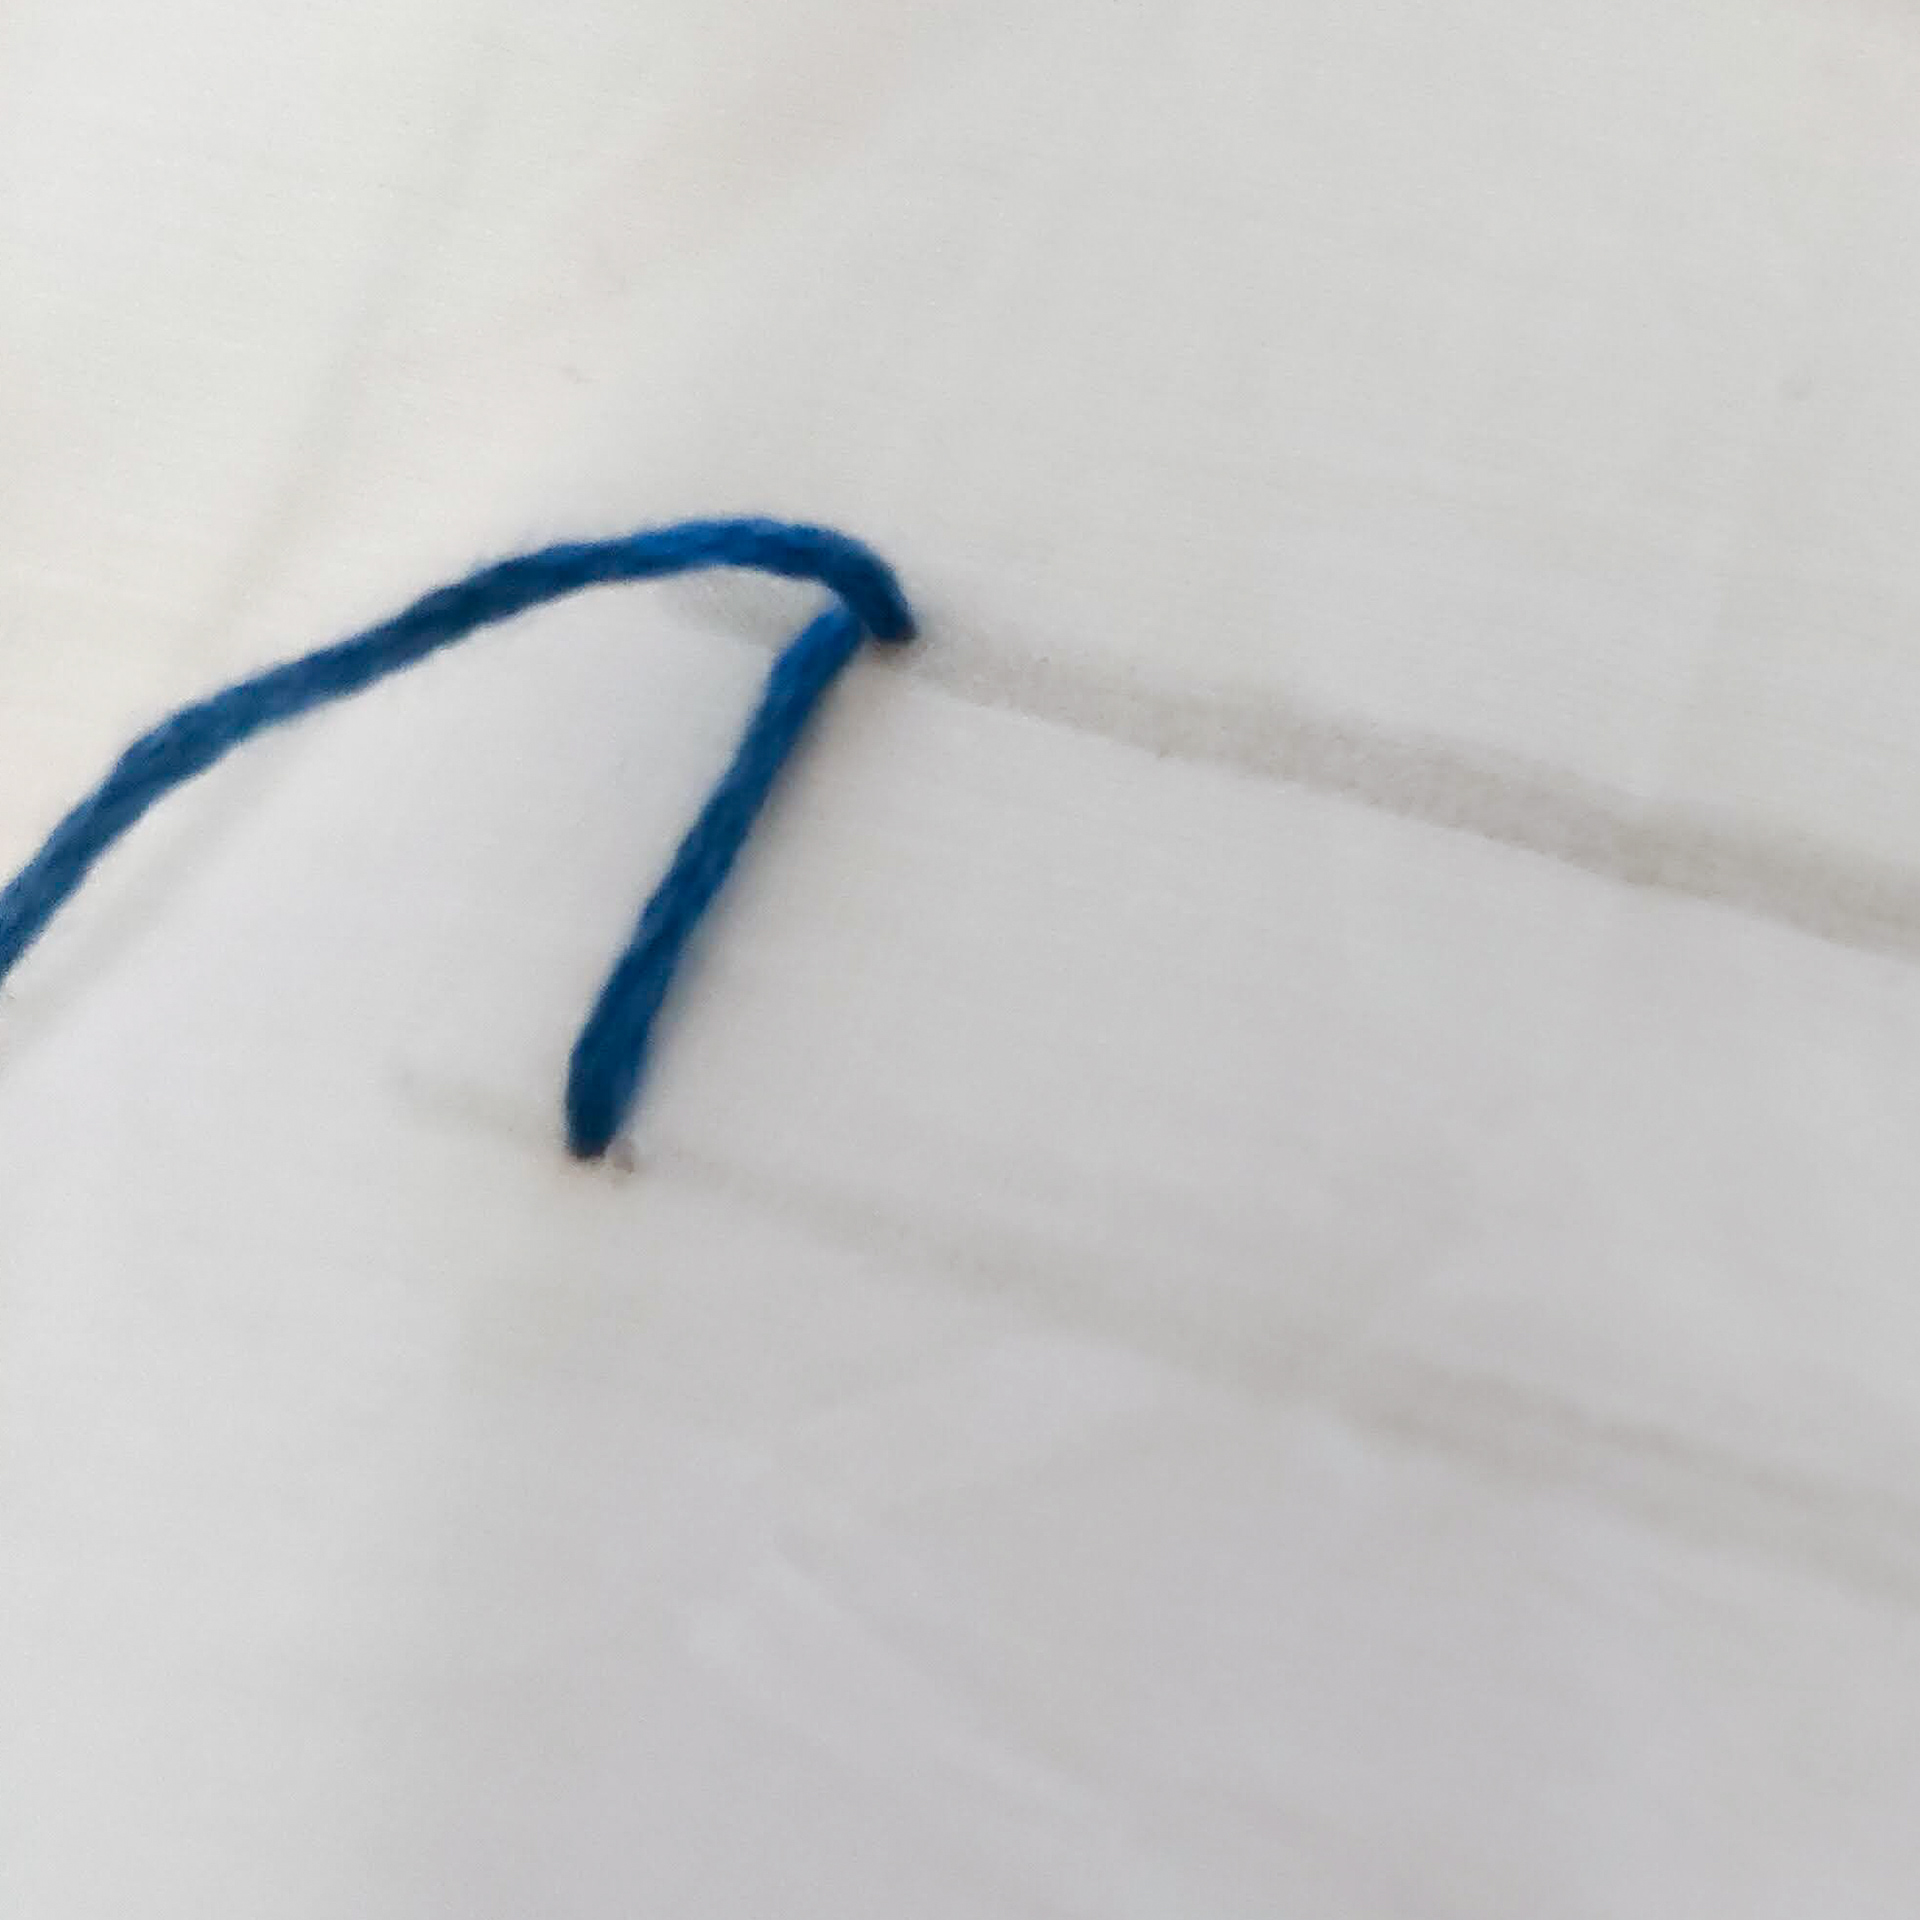
Running Stitch
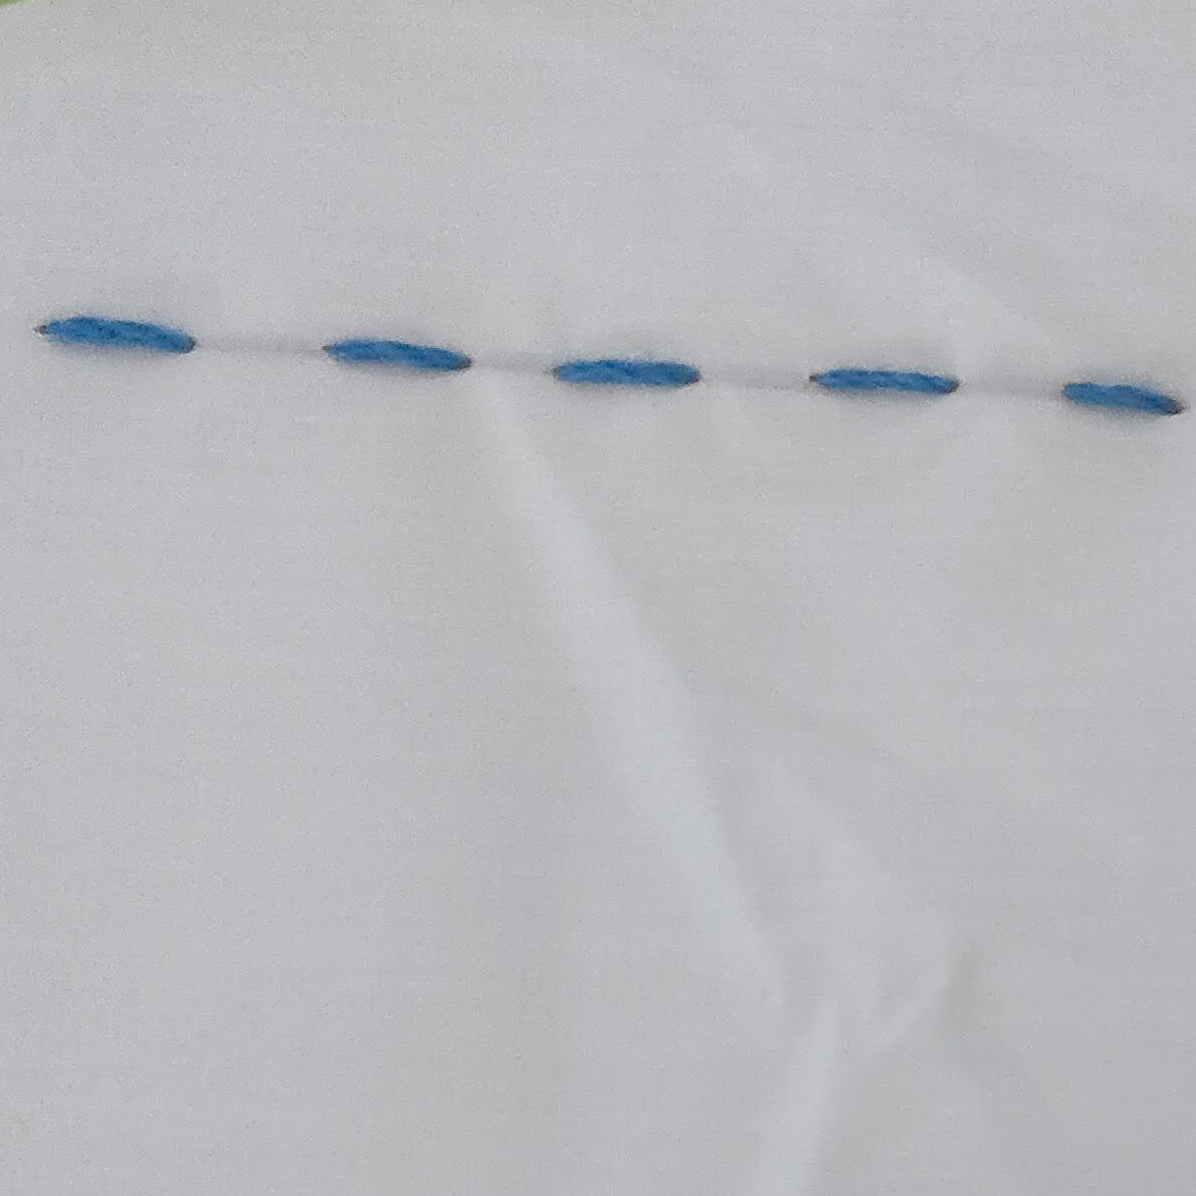
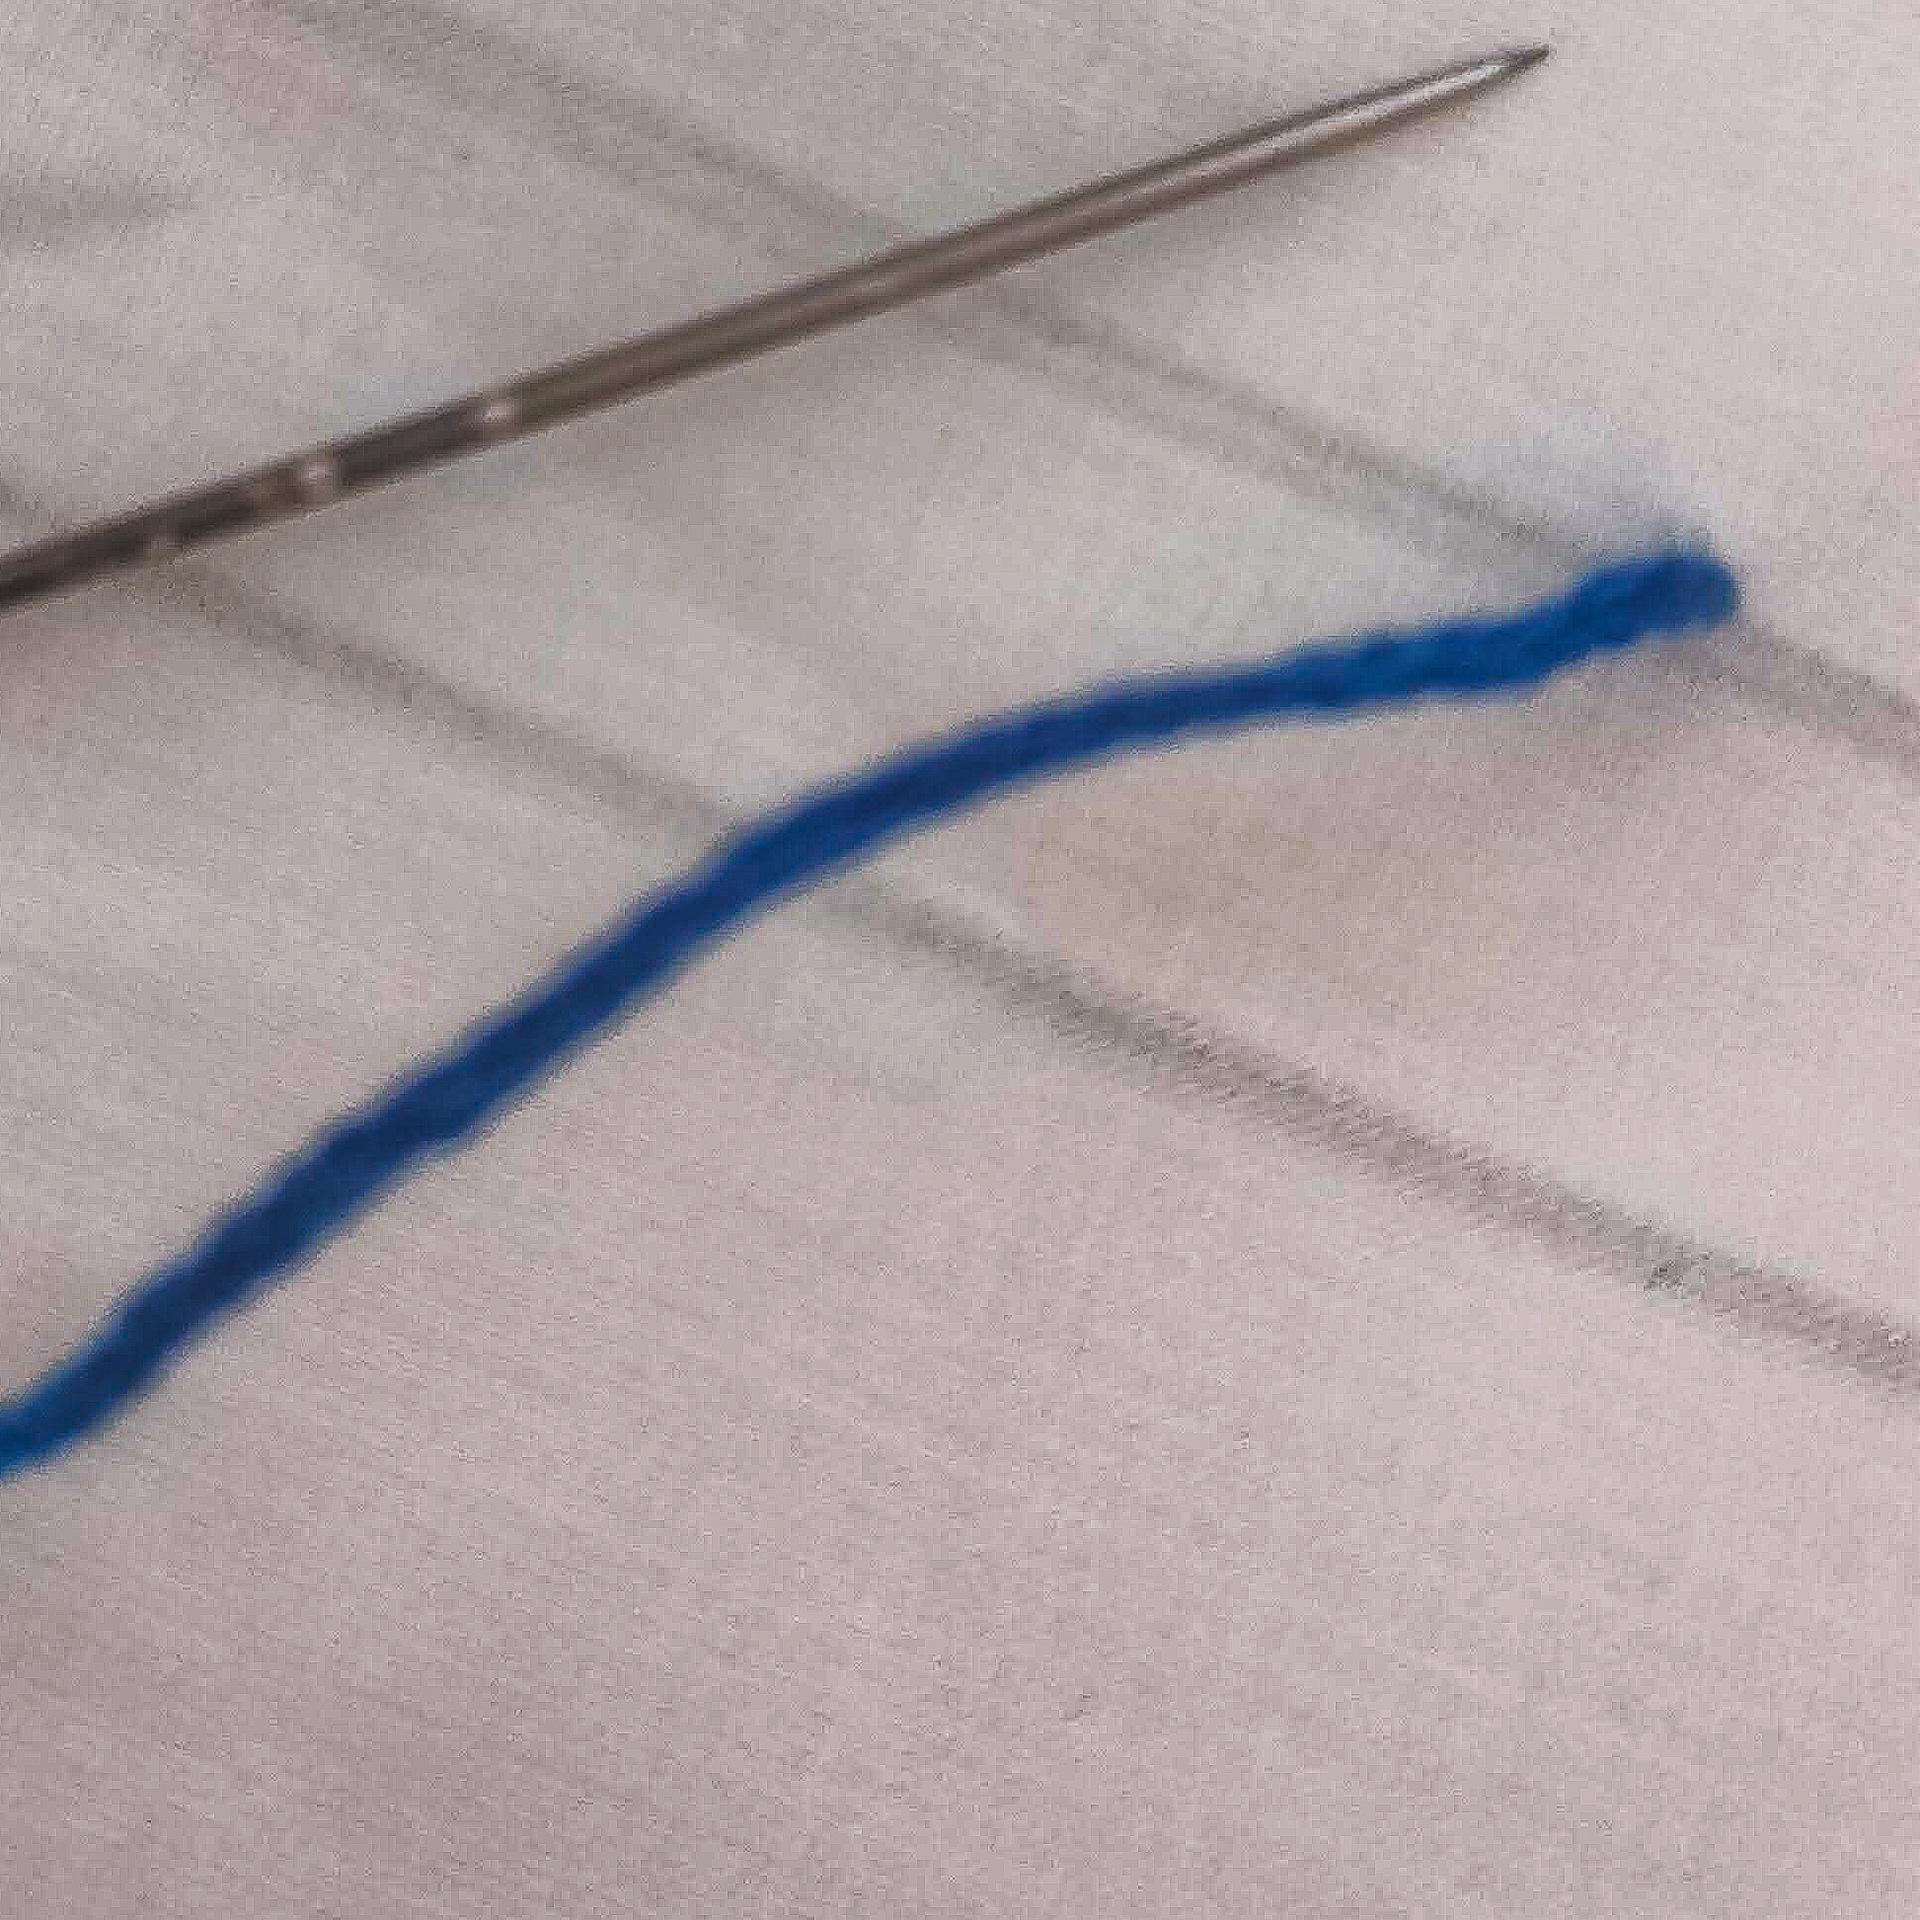
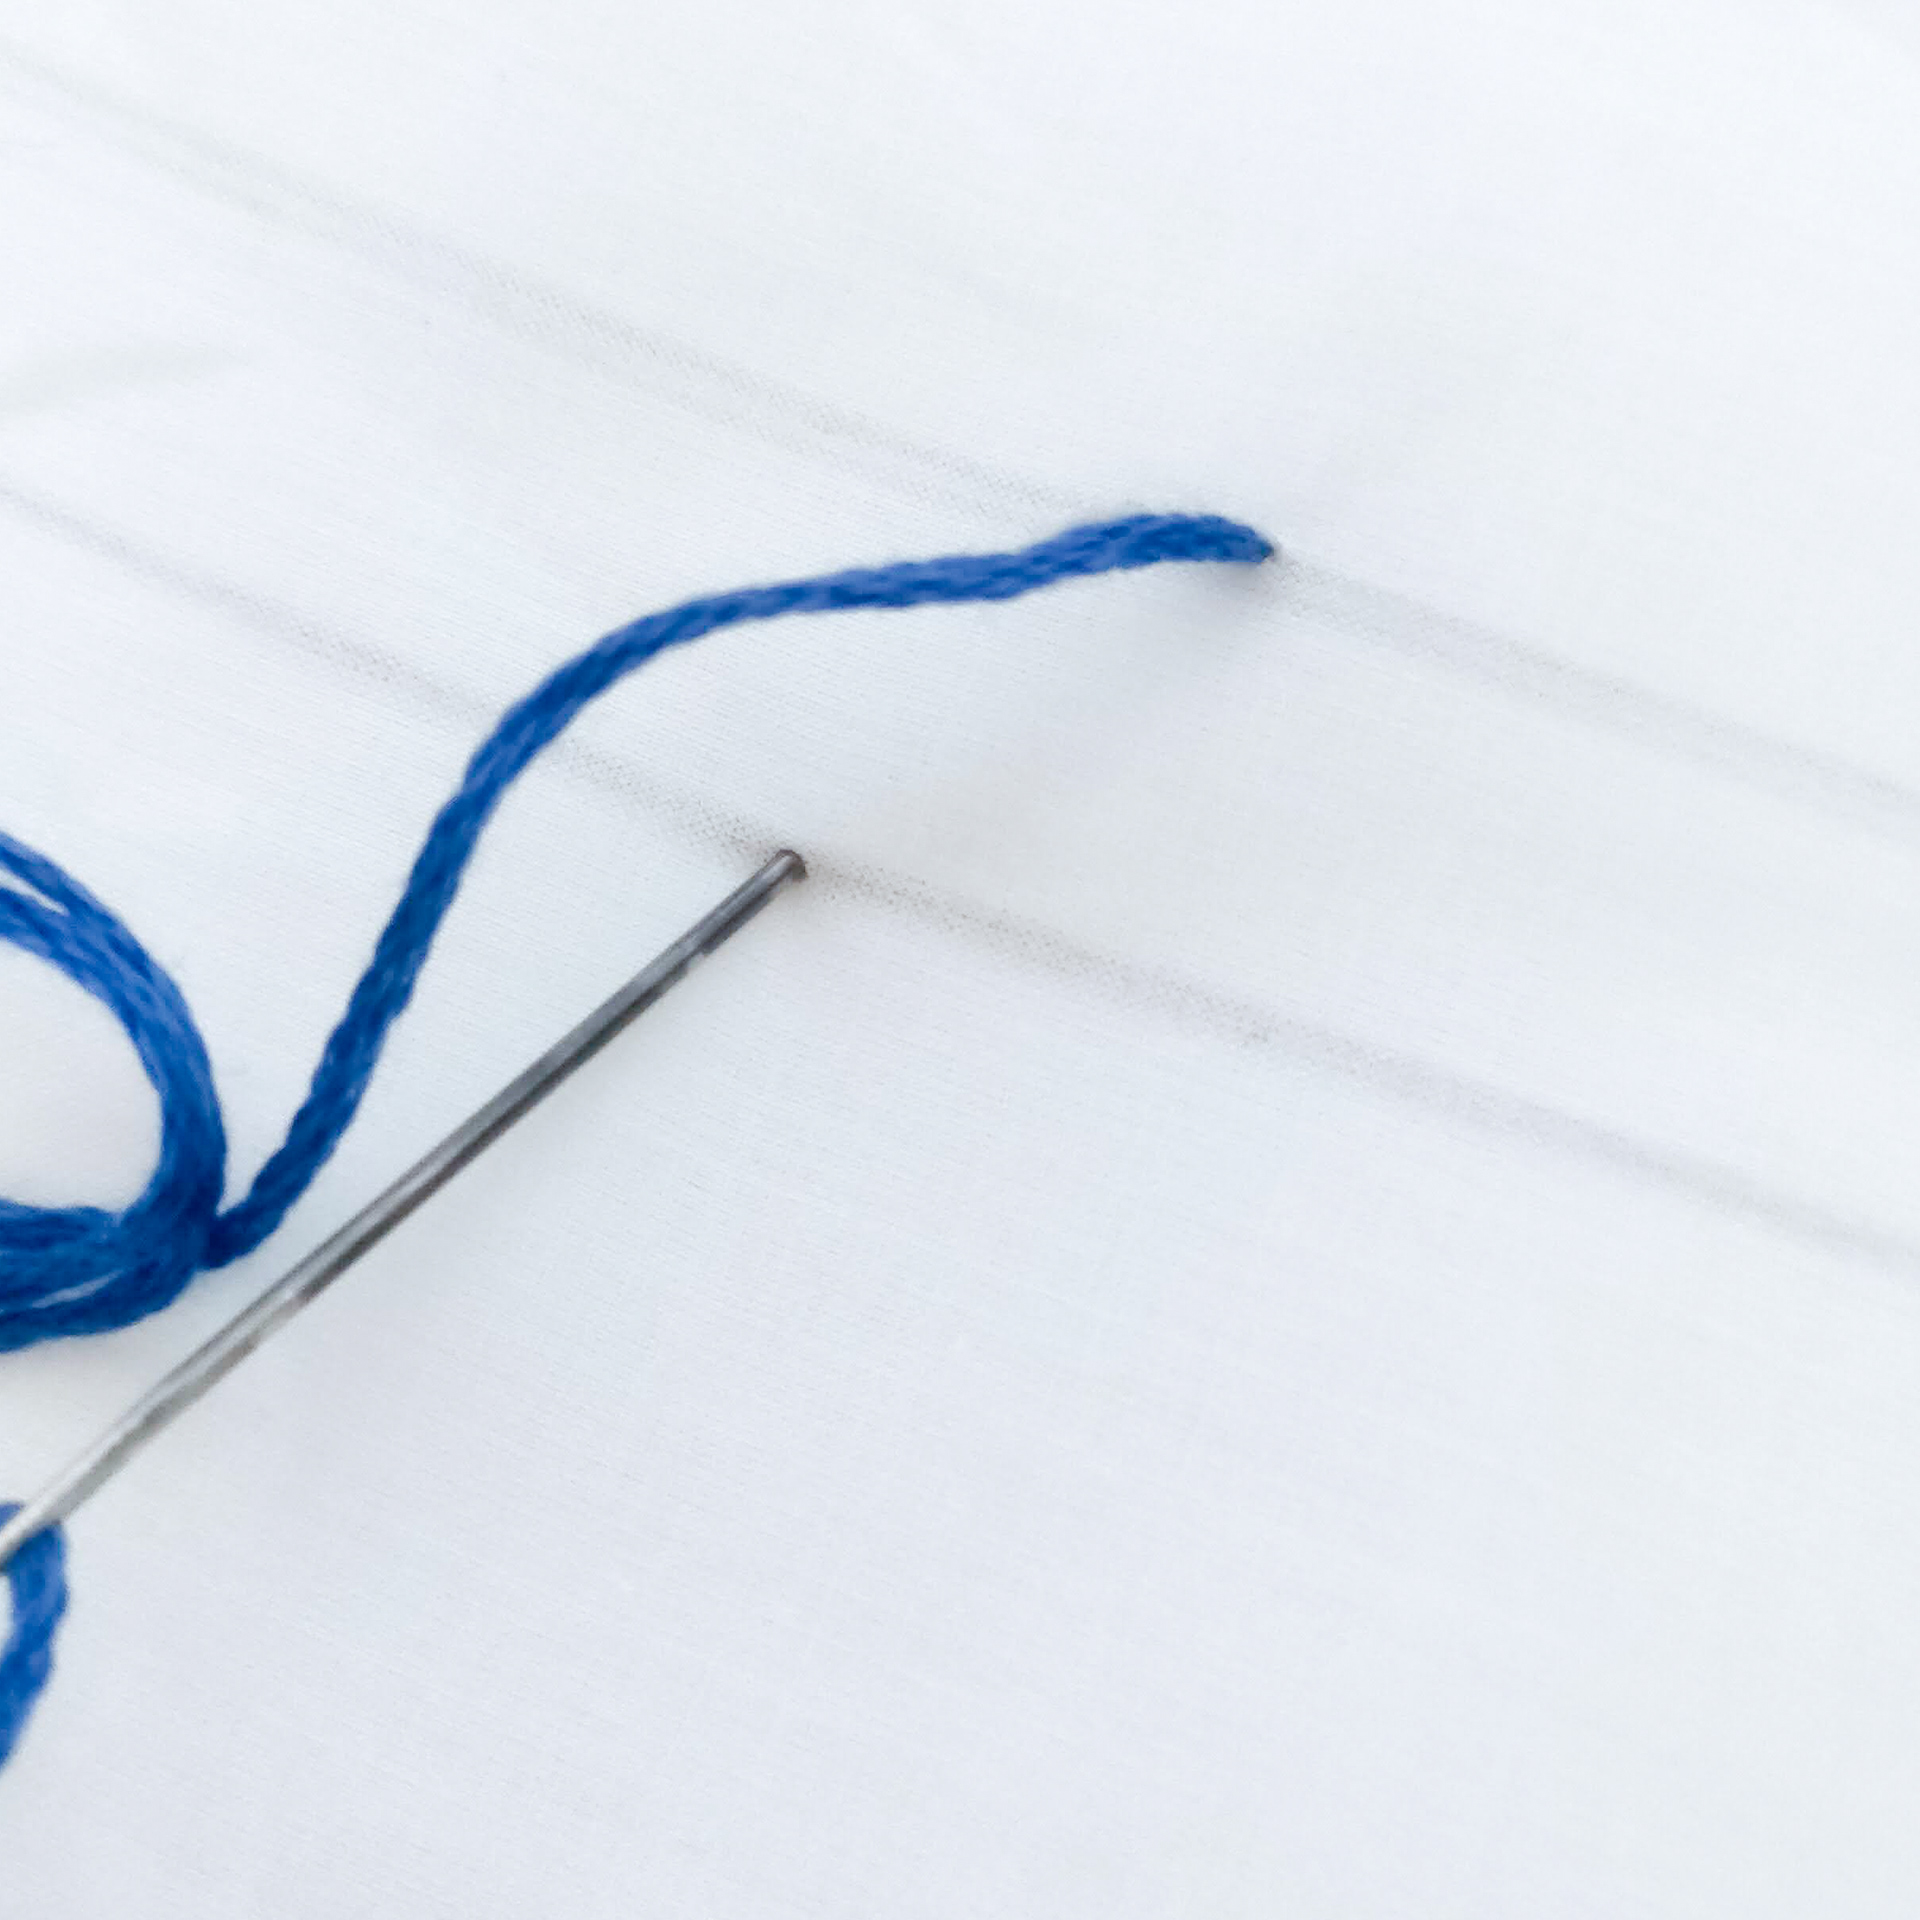
place your needle under your fabric and pull through to the RS (right side).

once that is done move your needle around 1 or 2 cm to the right and insert your needle through the fabric to the WS (wrong side).
Repeat this to your desired length

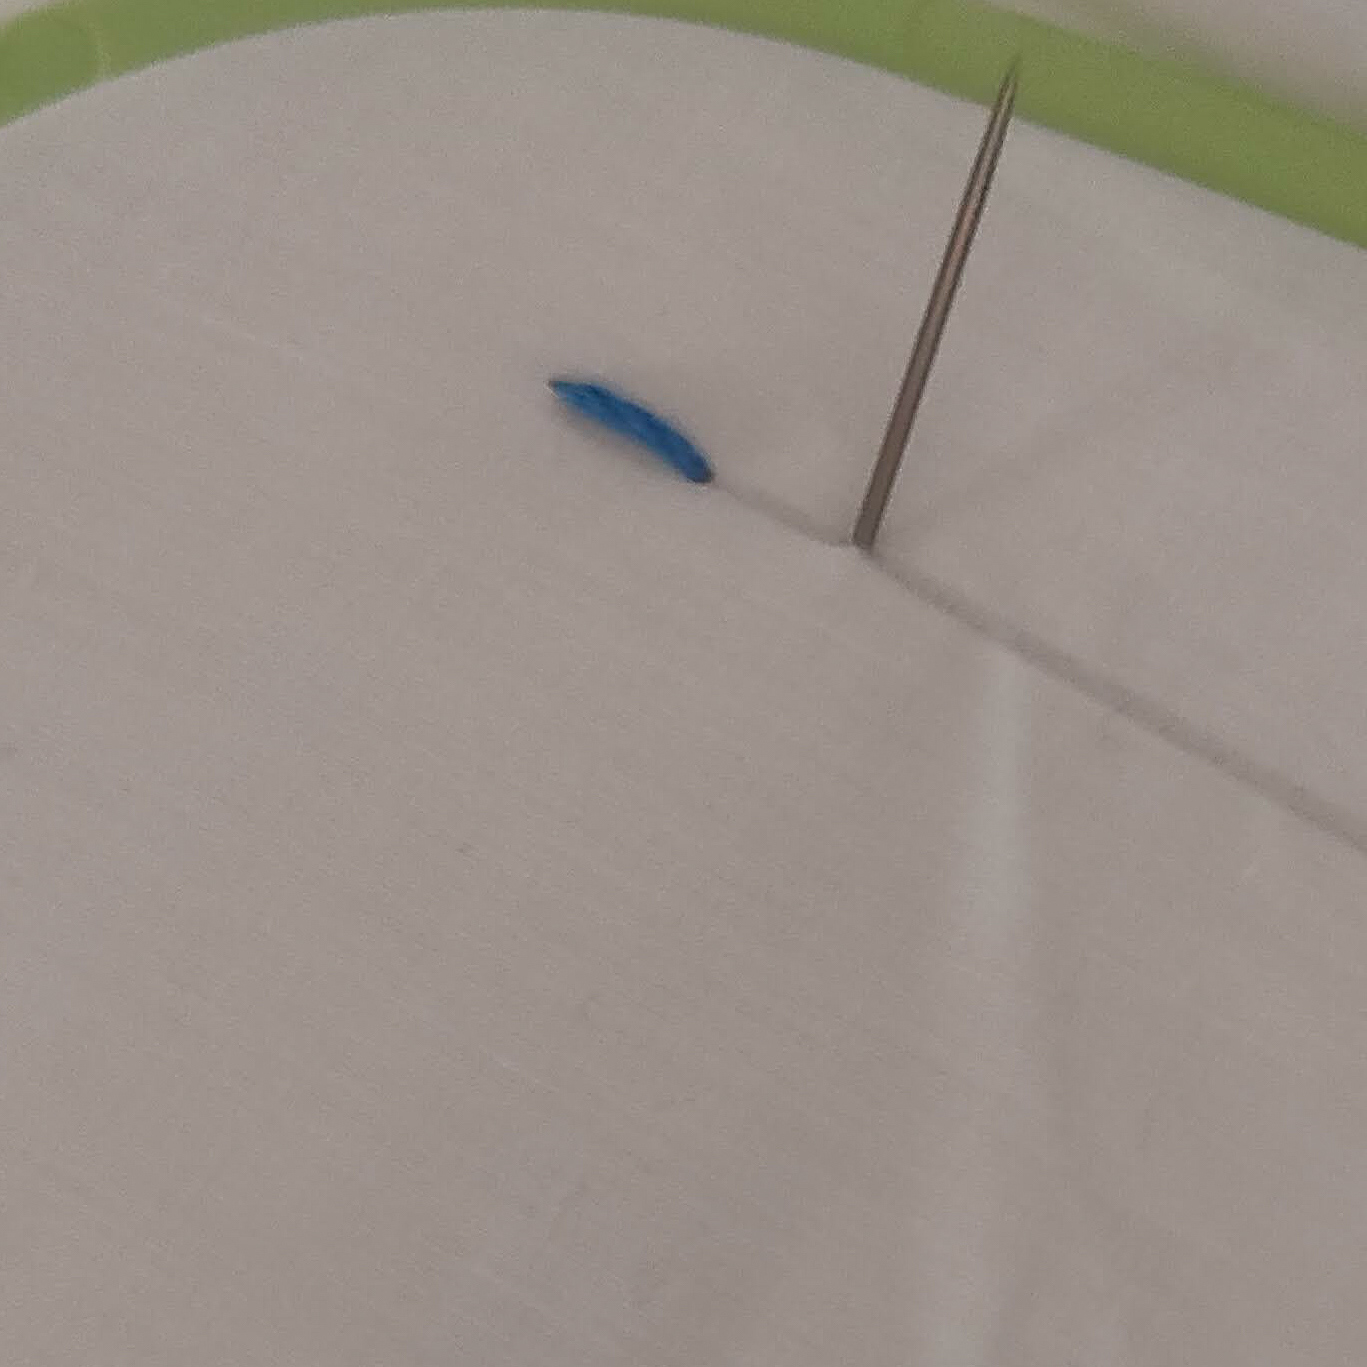
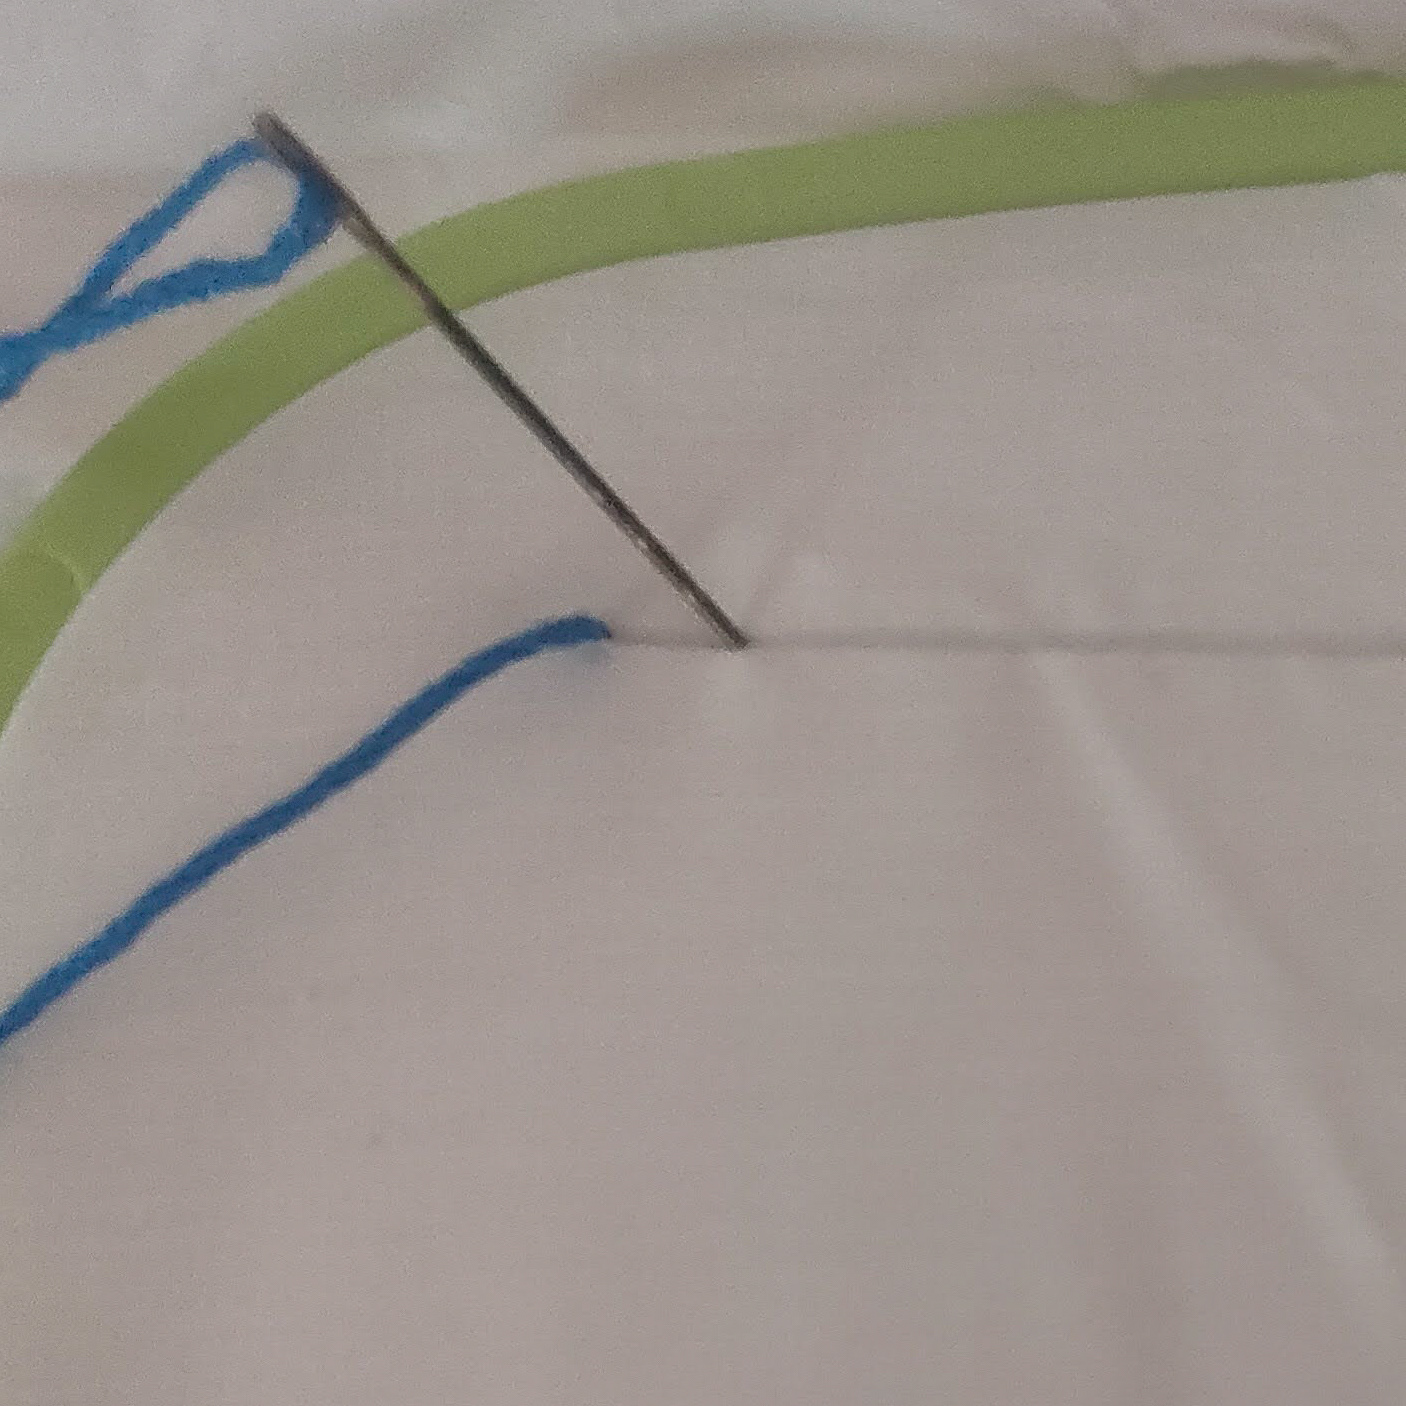
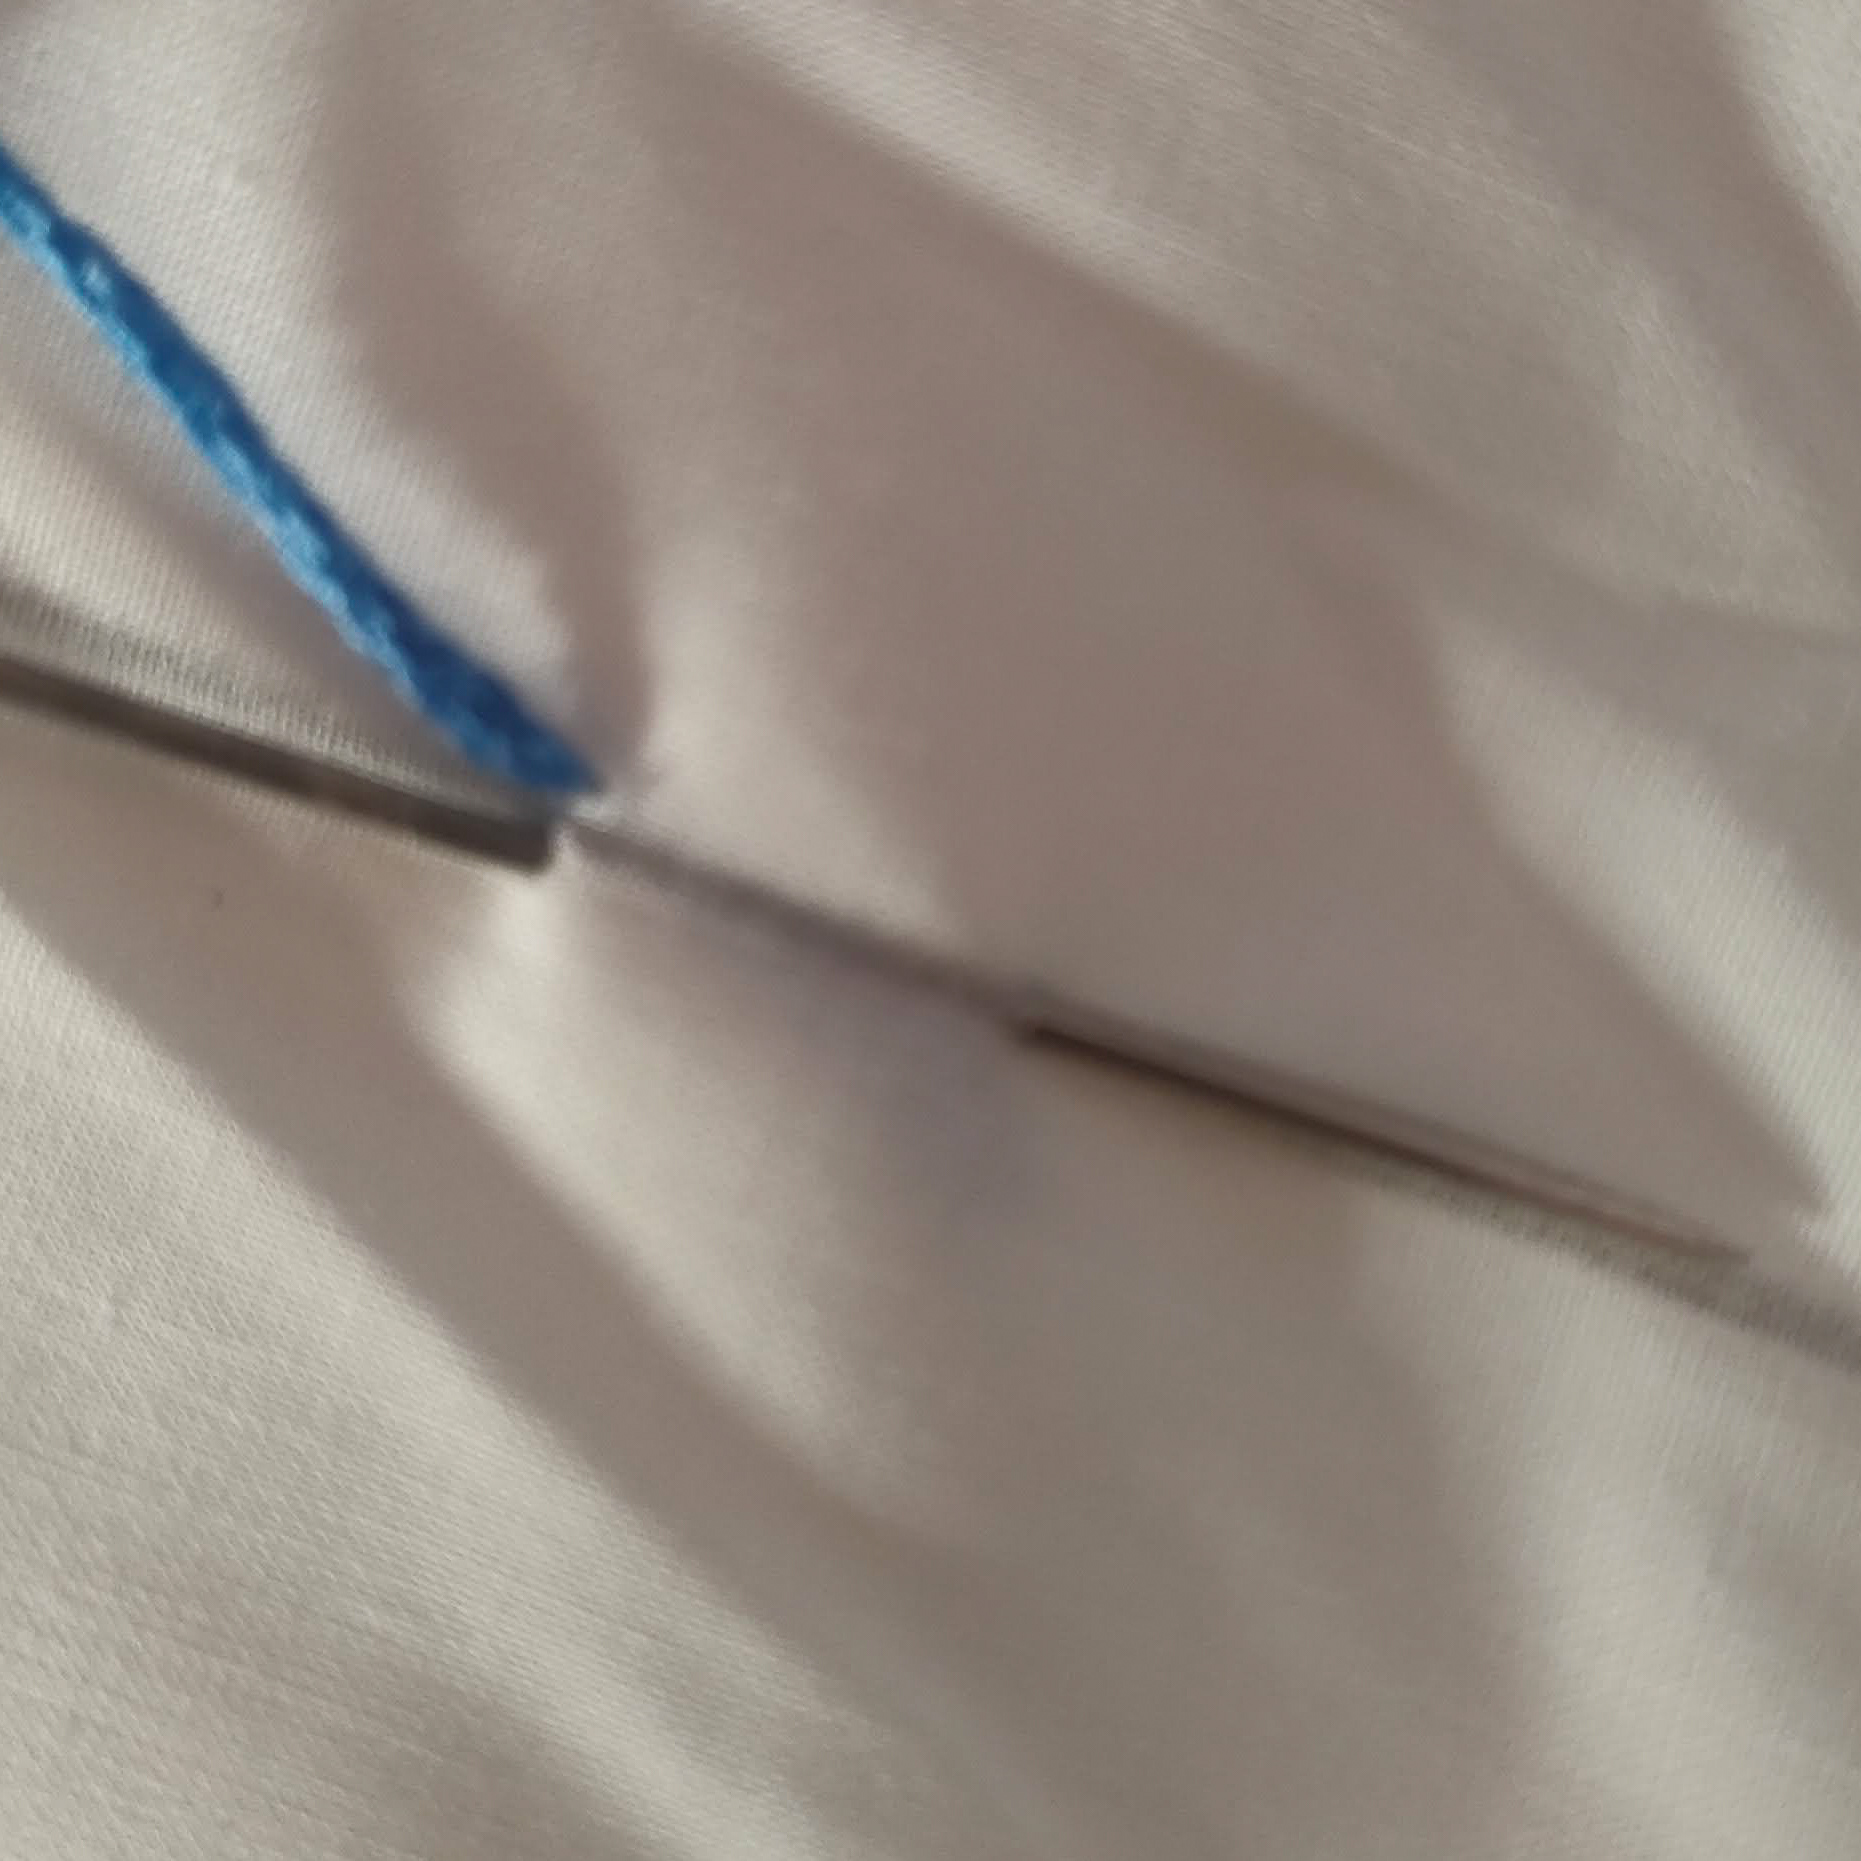
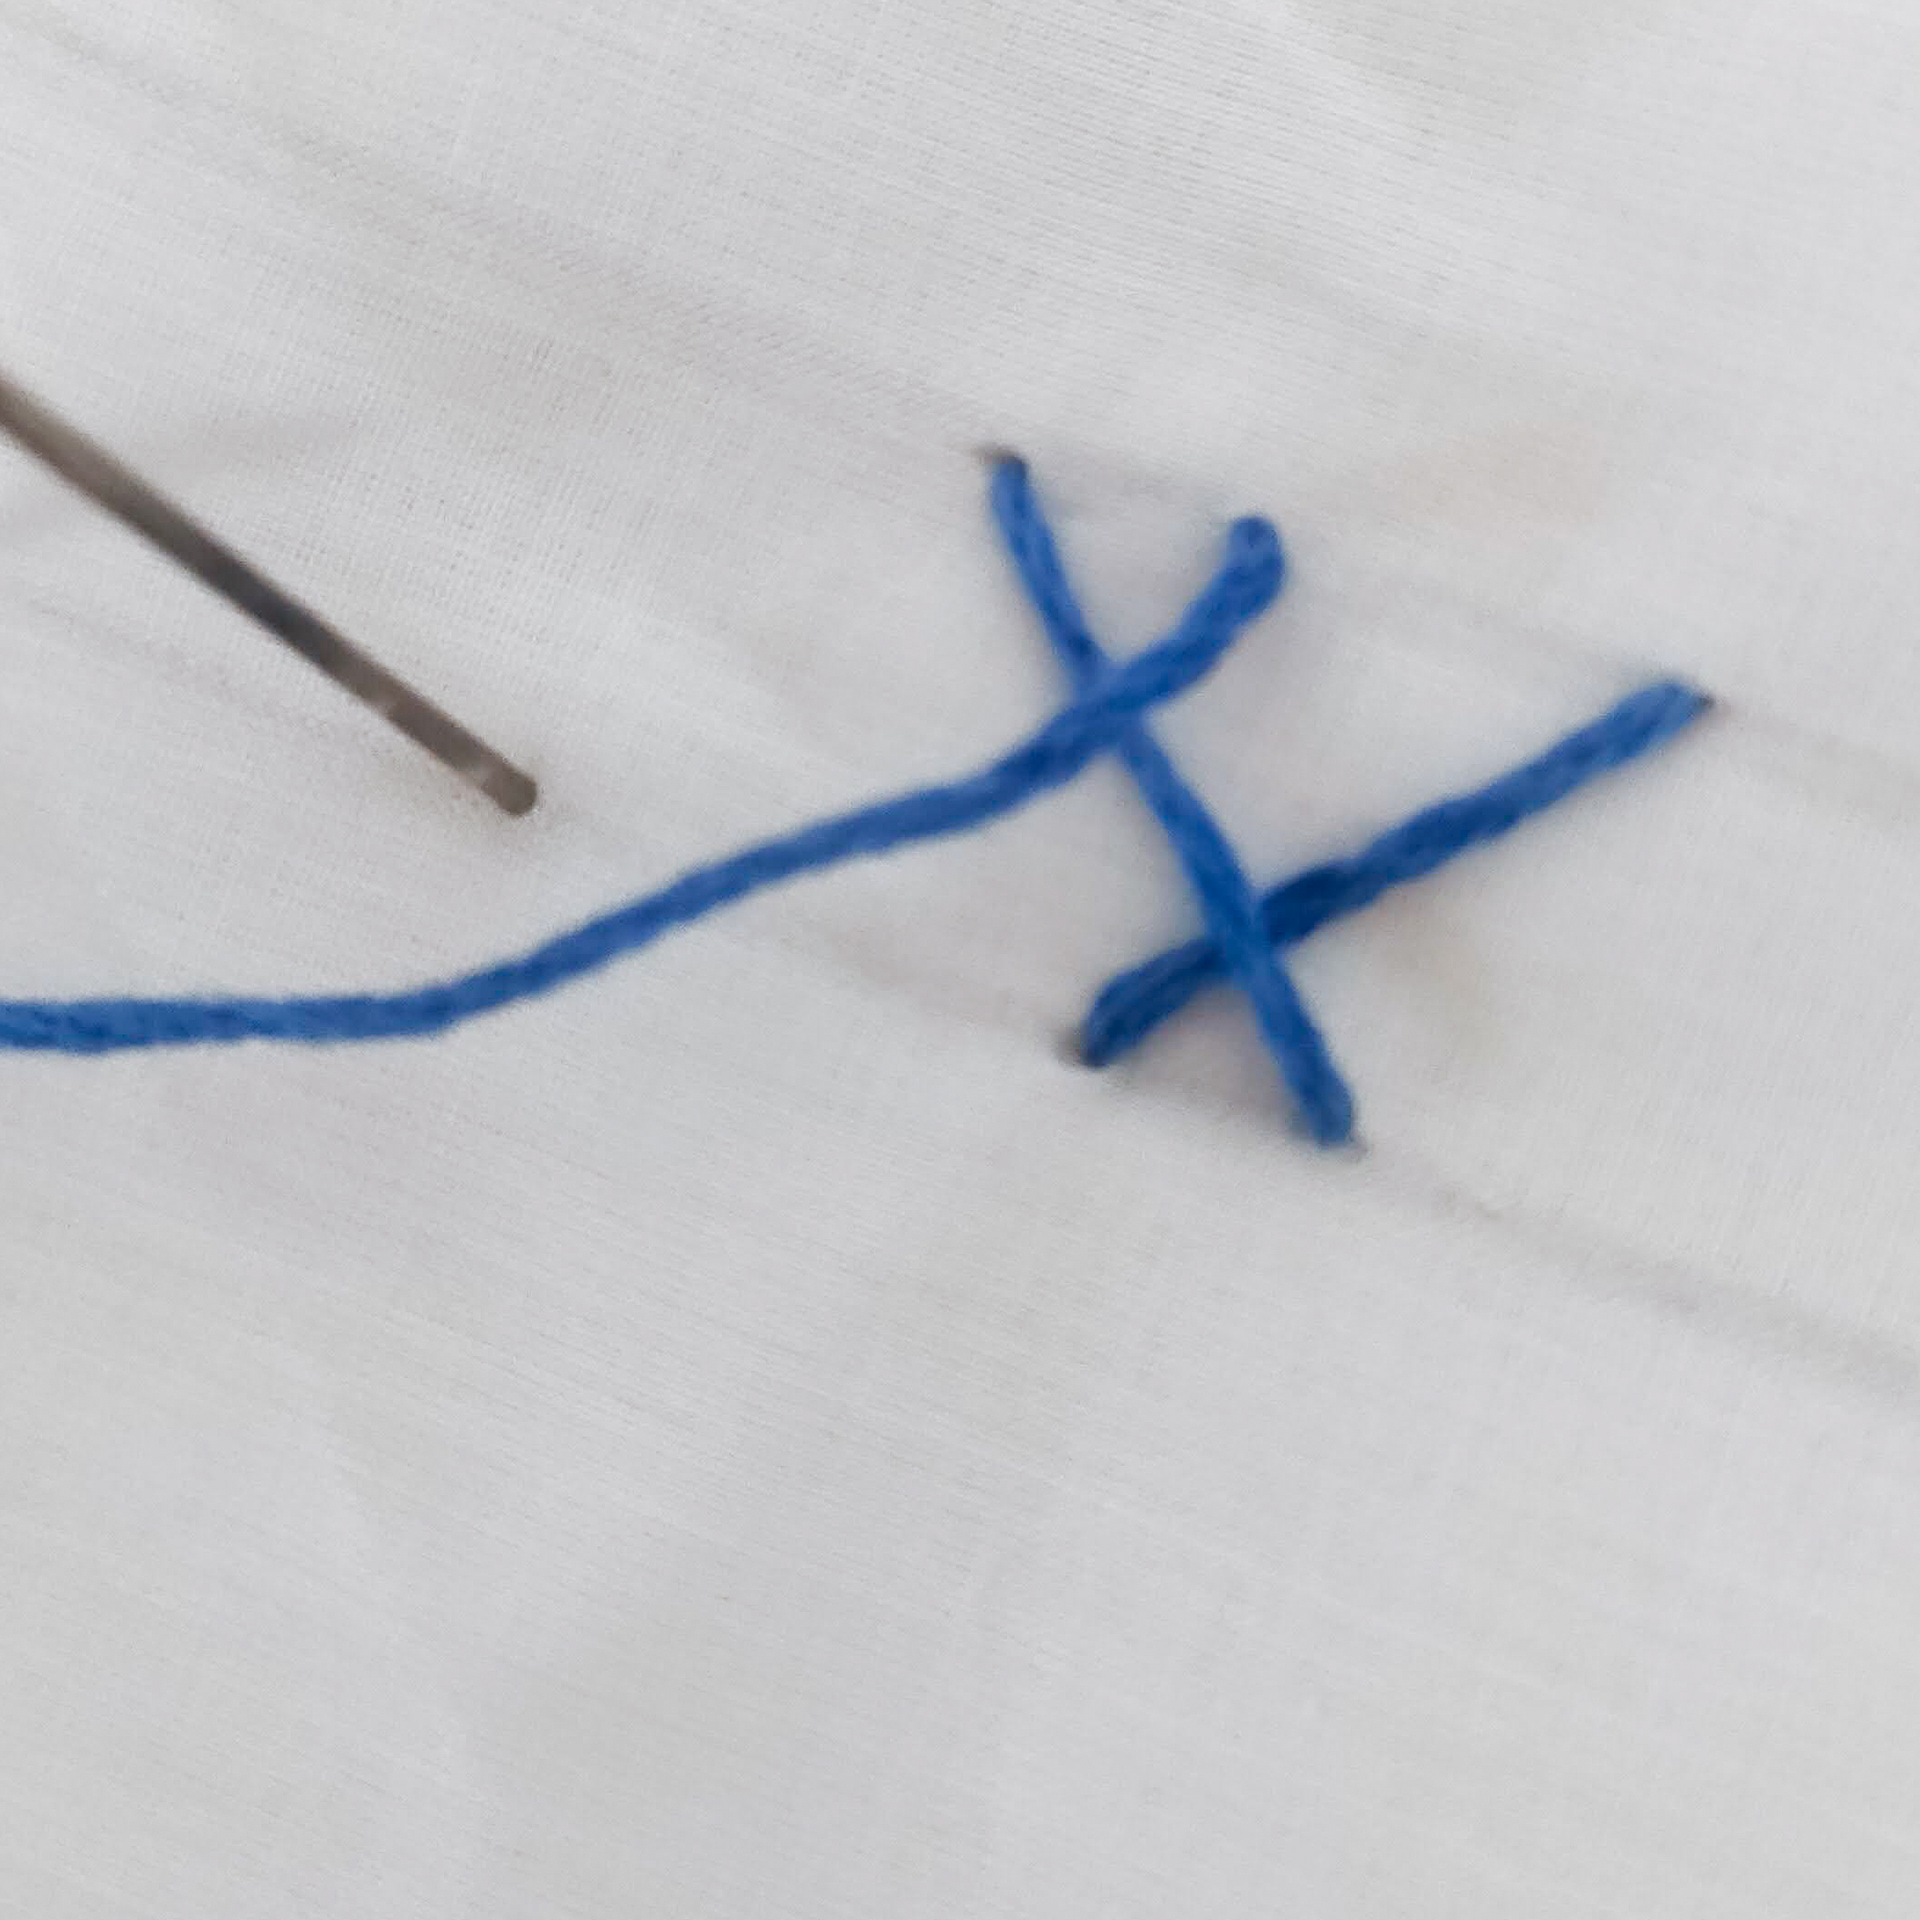
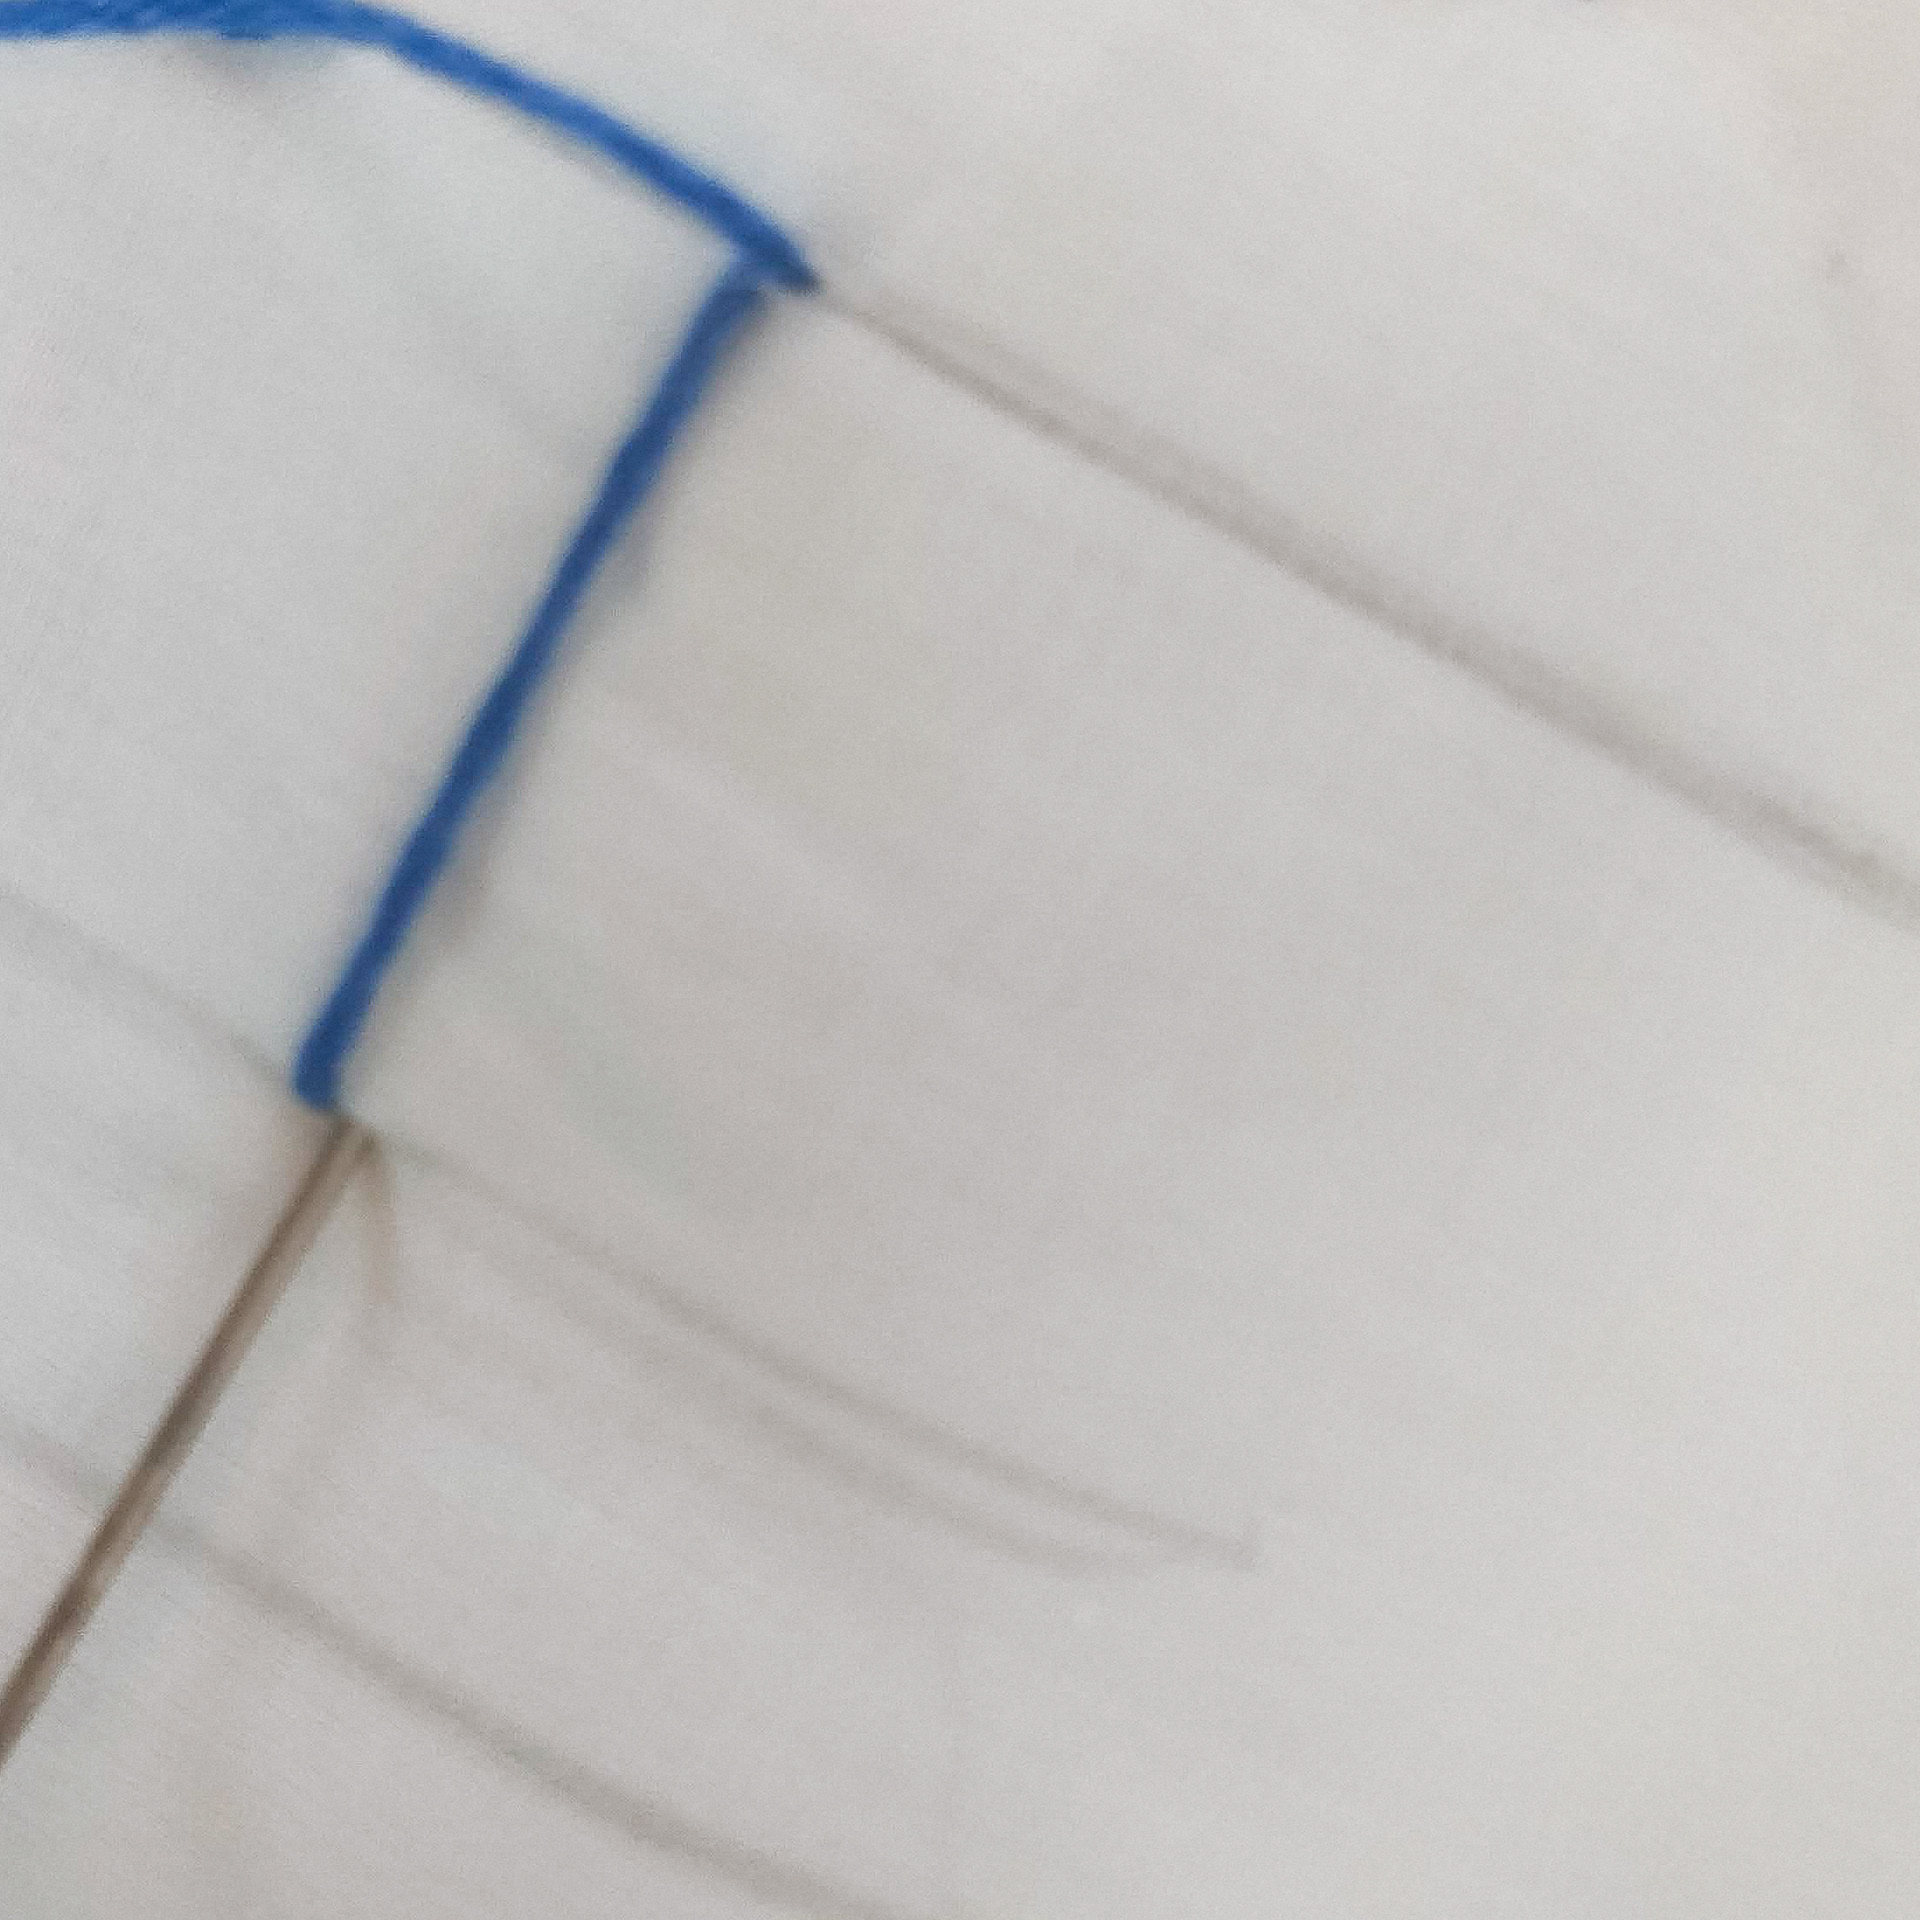
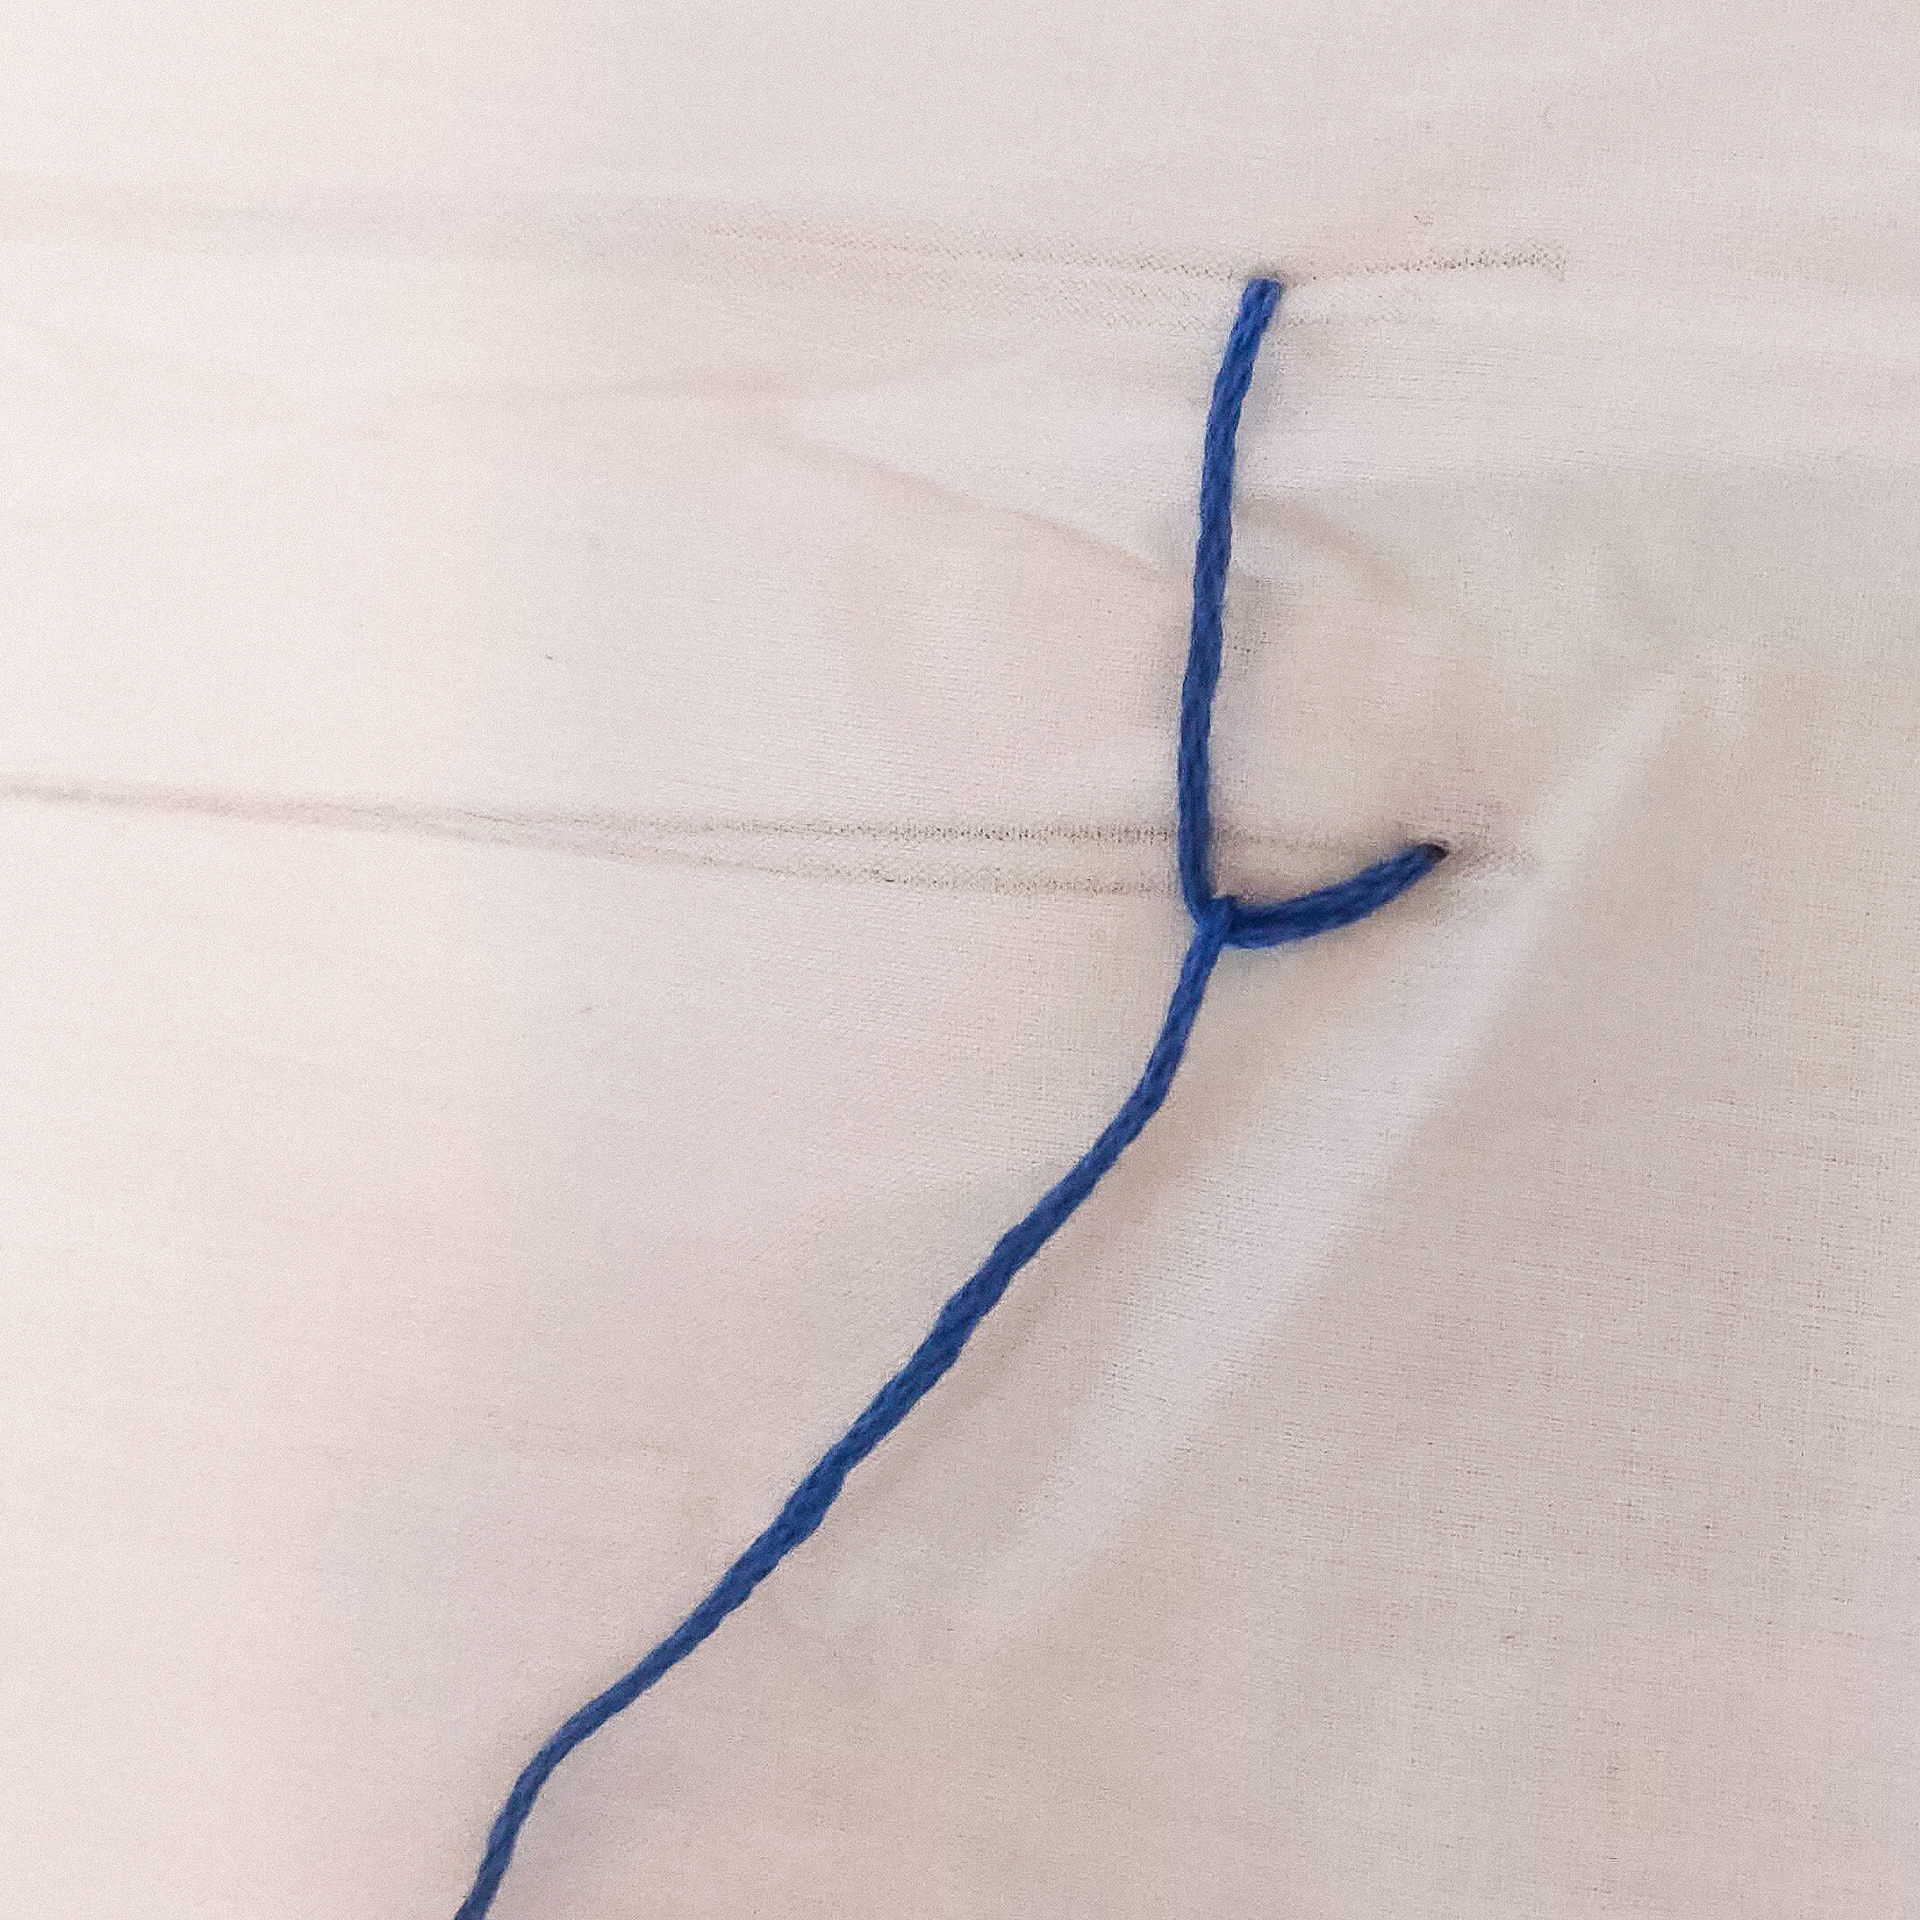
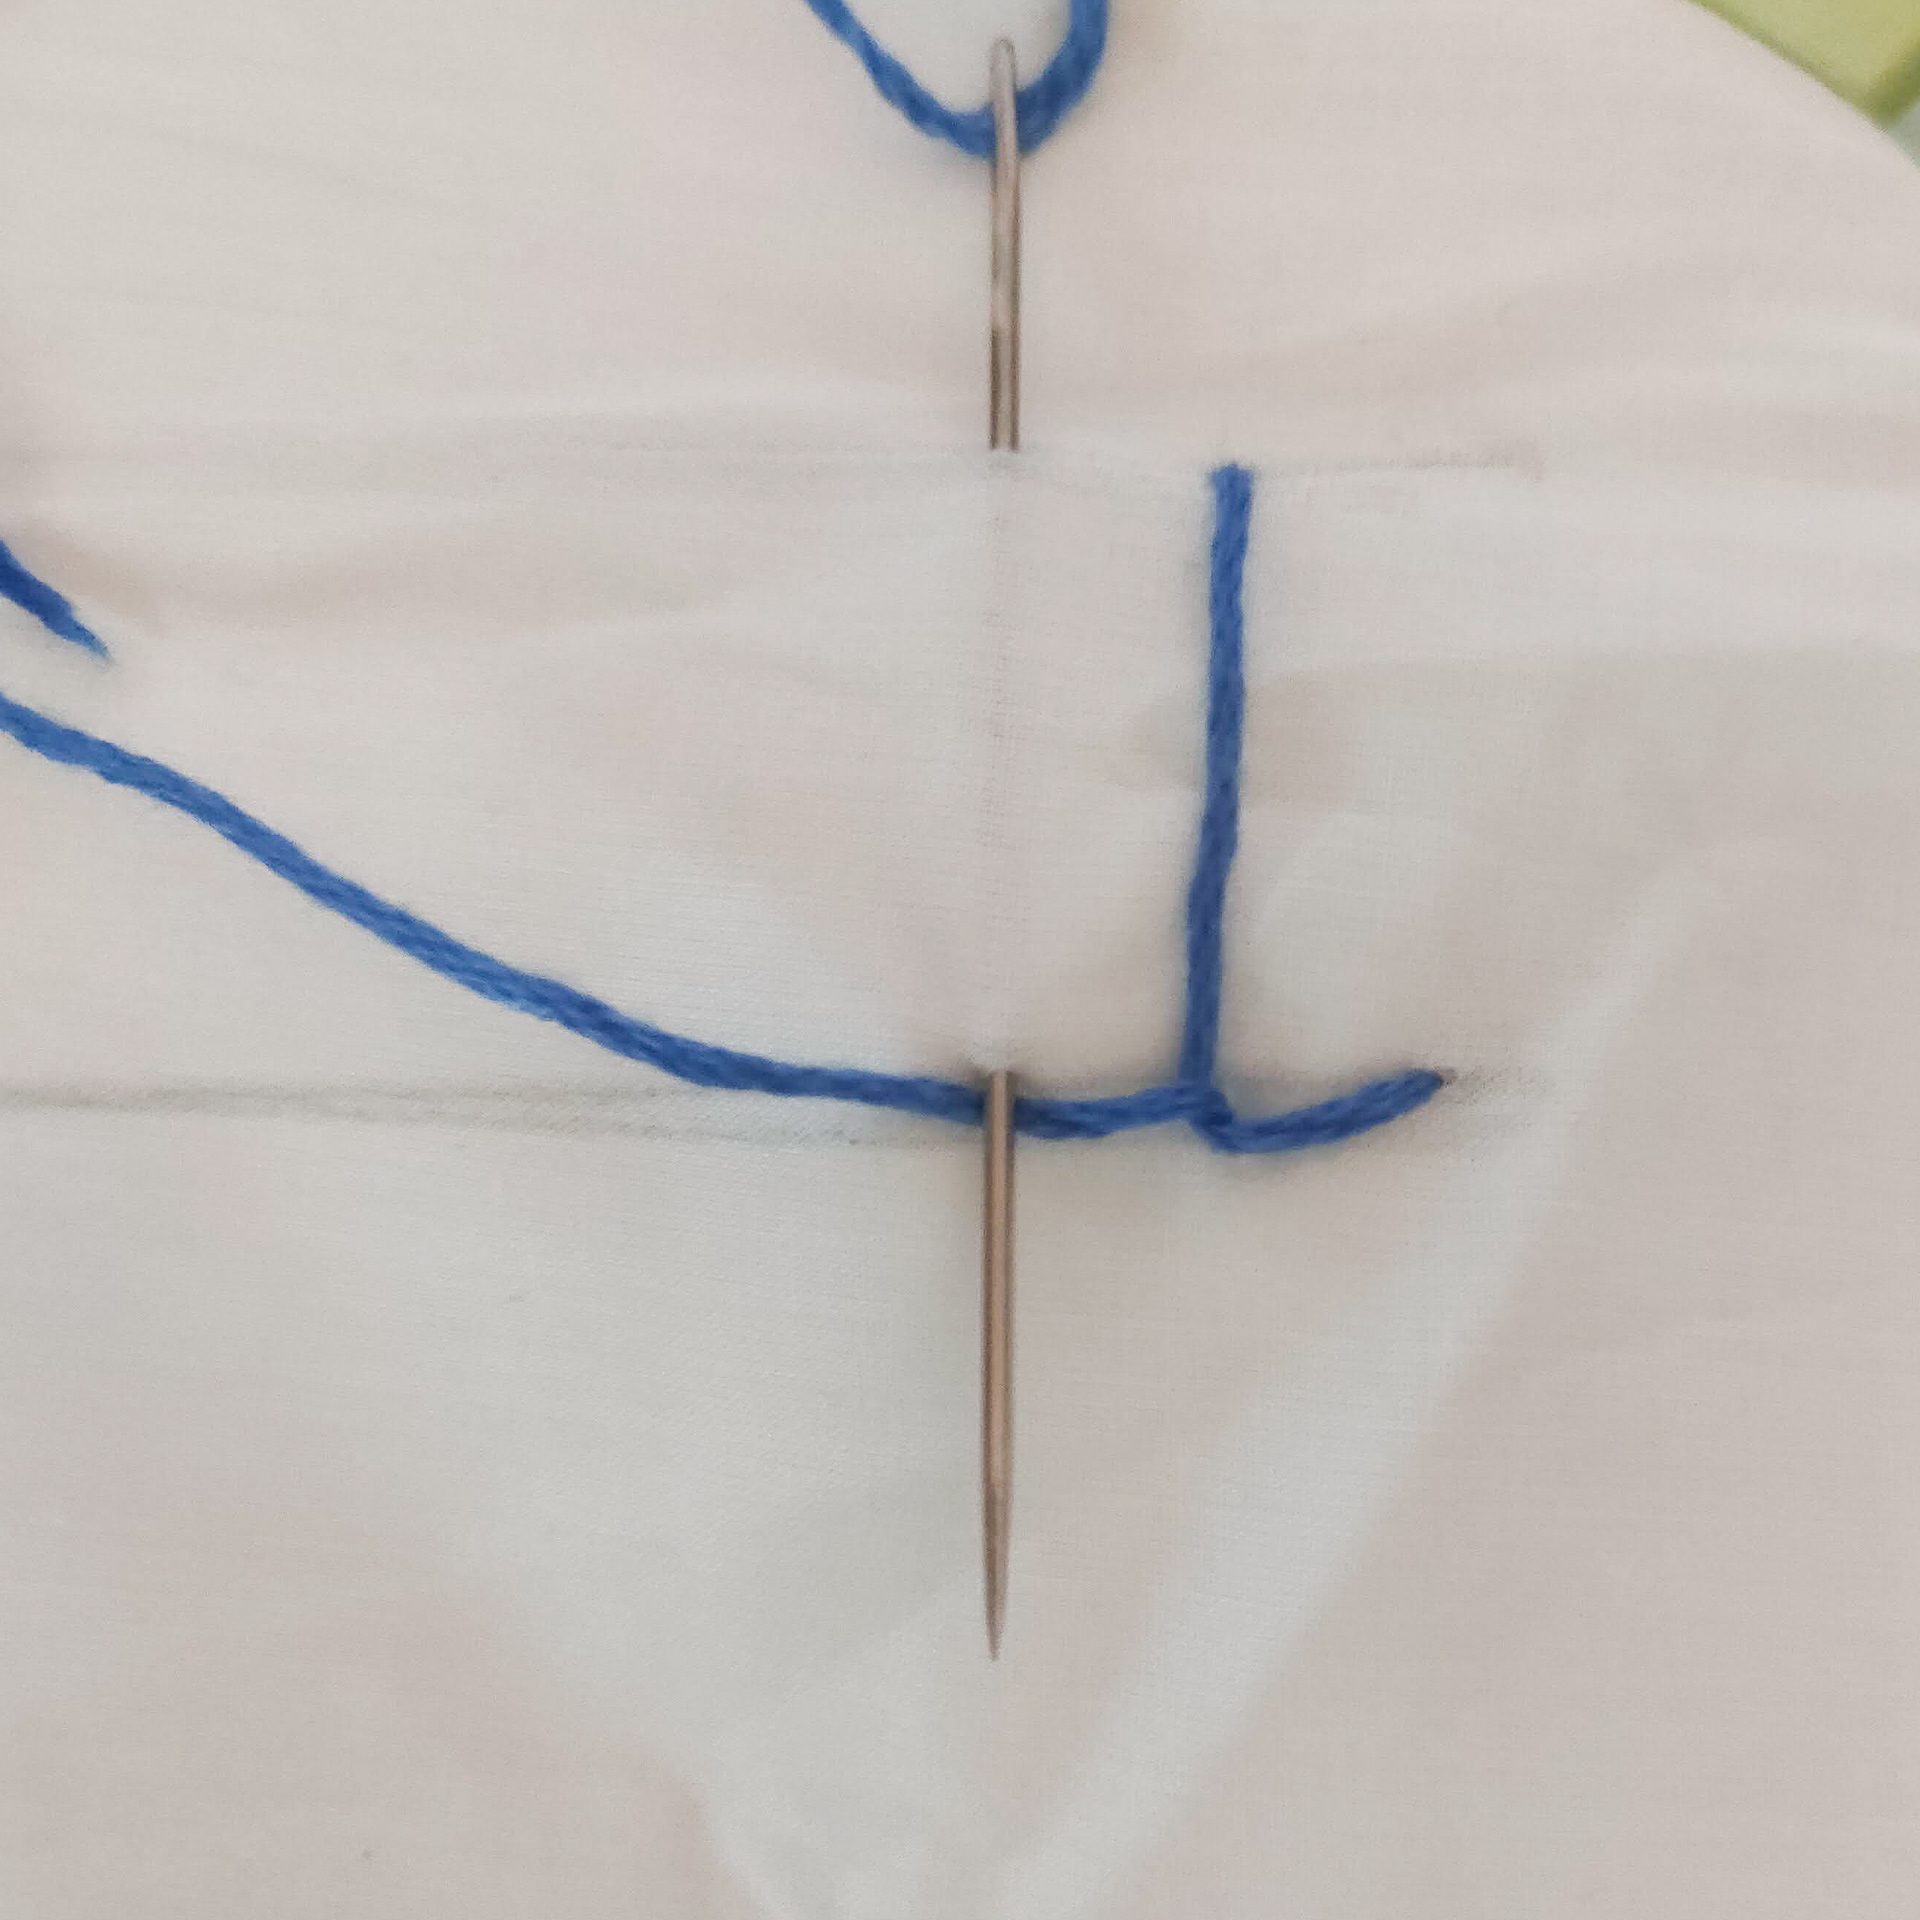
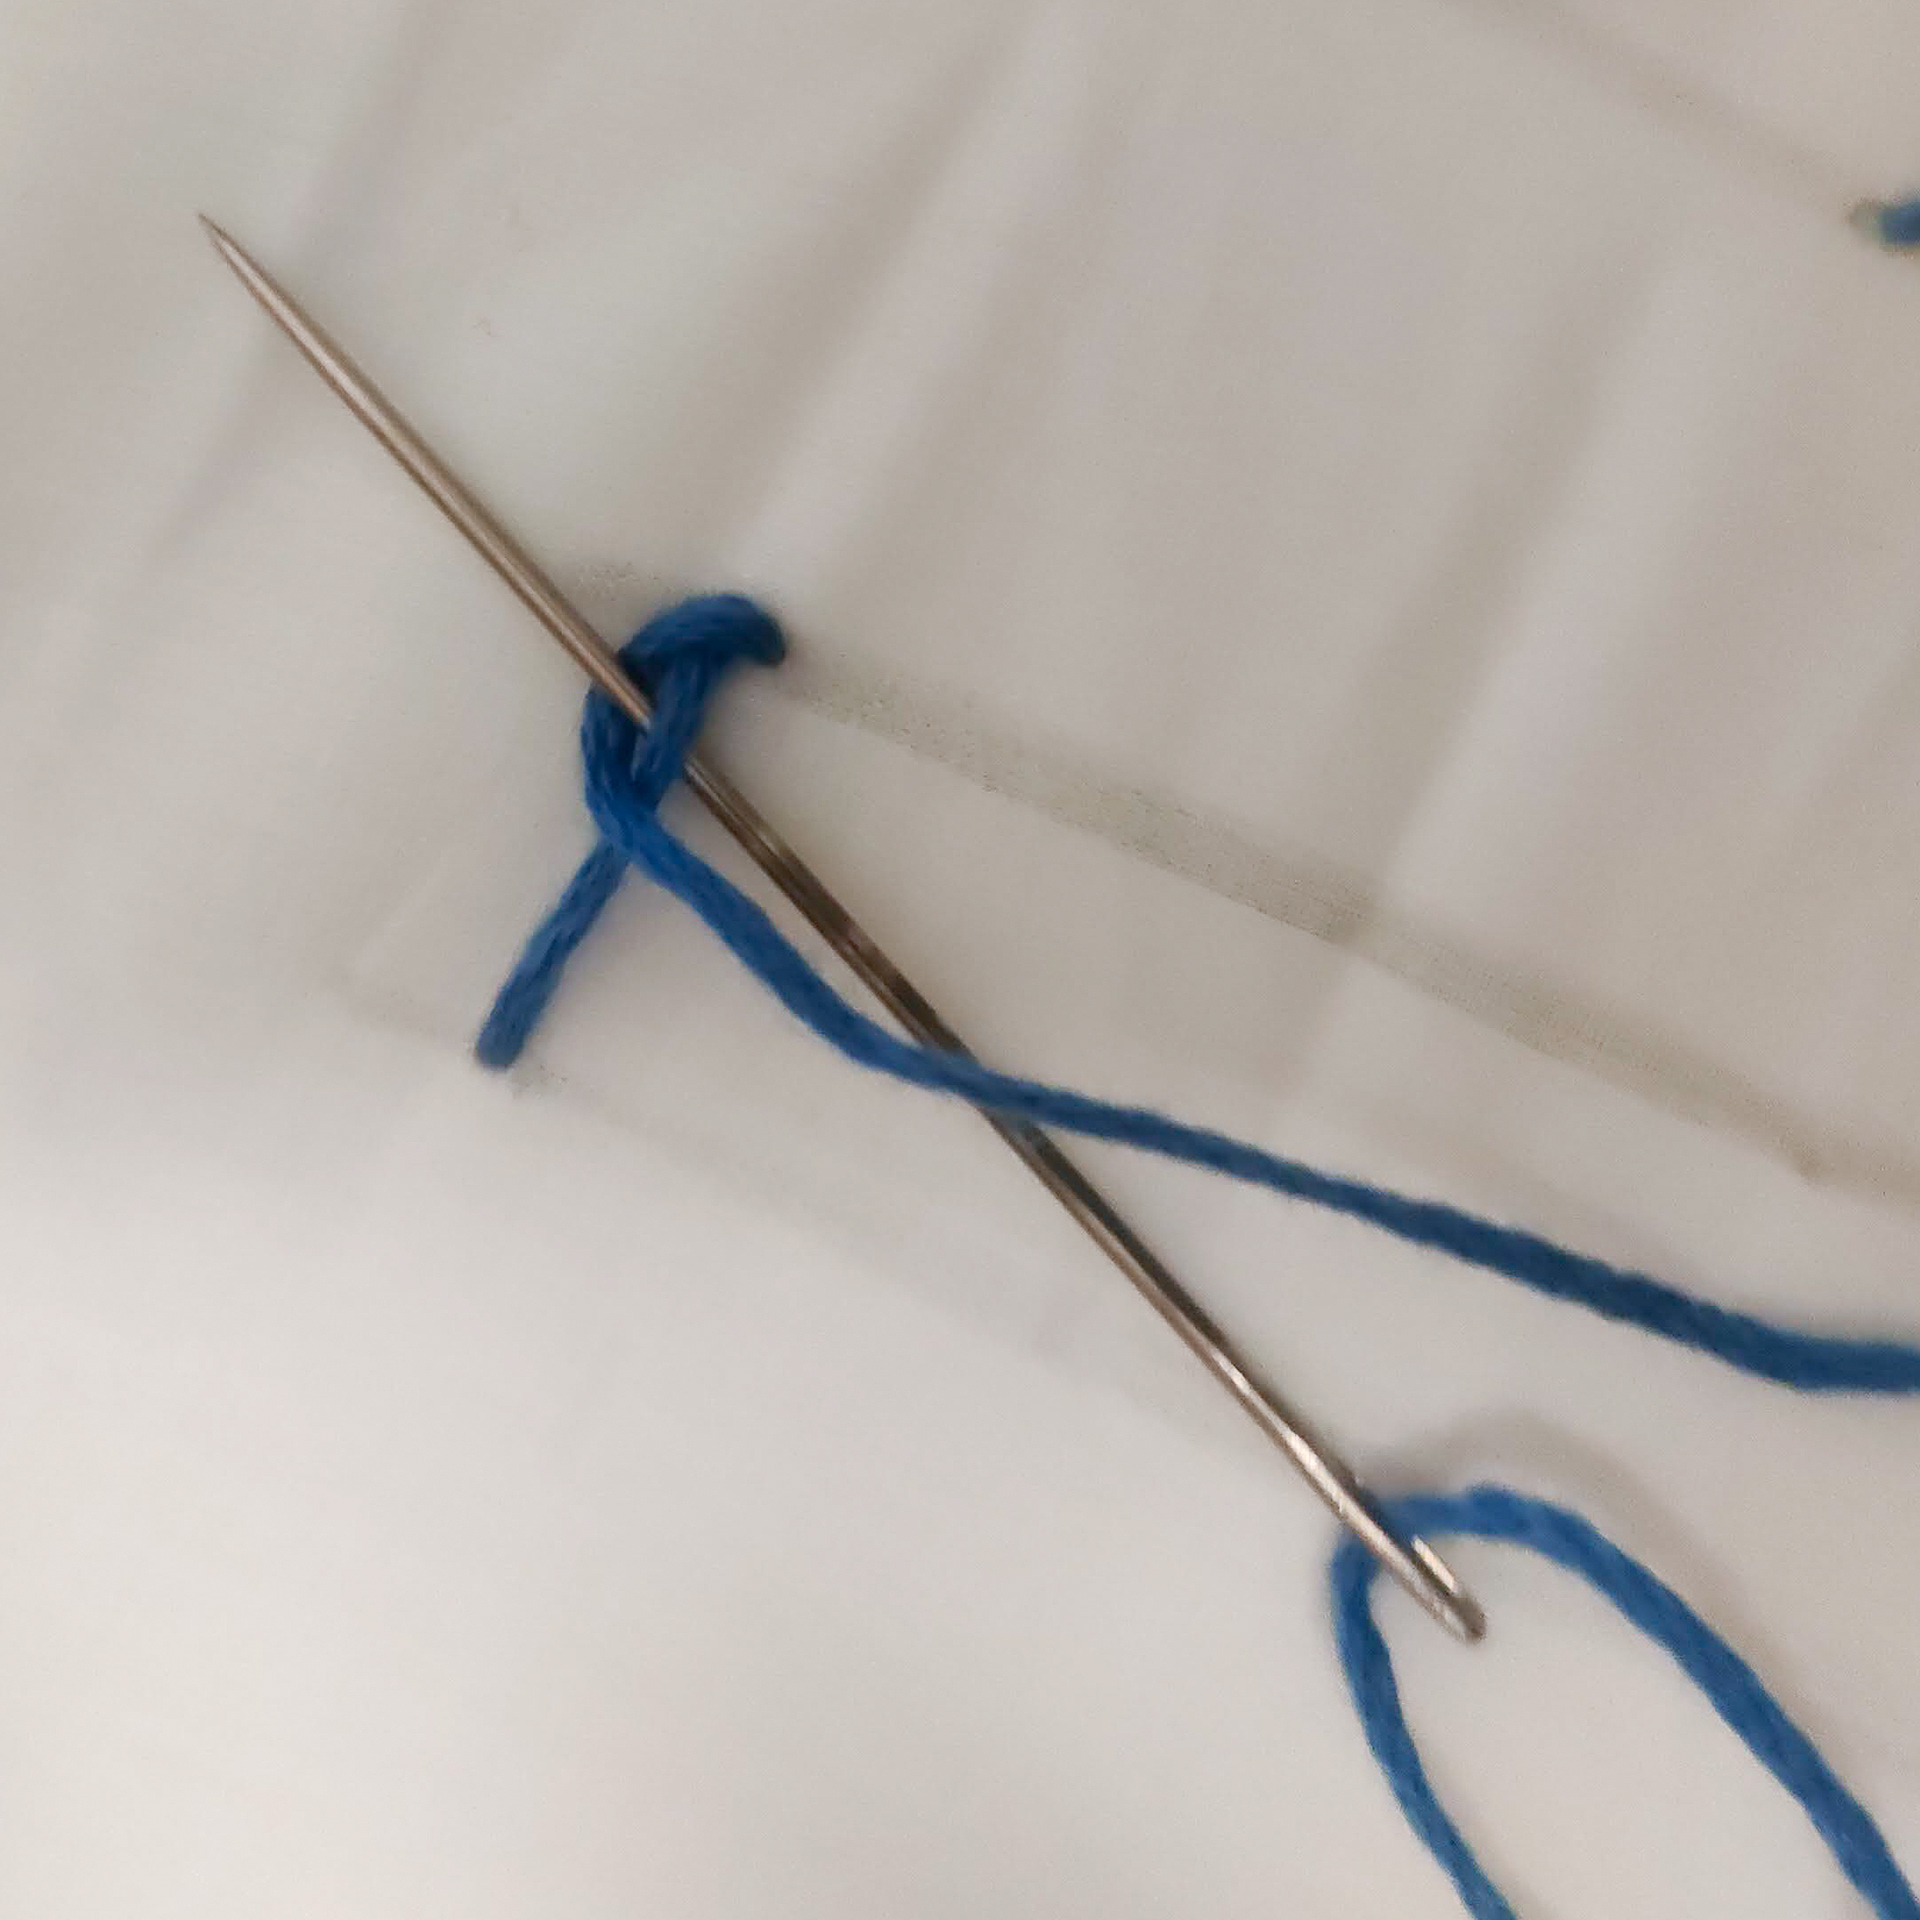
Back Stitch
start your first stitch as you did with the running stitch
From the WS of the fabric move the needle the same size apart as the previous stitch and pull through to the RS.
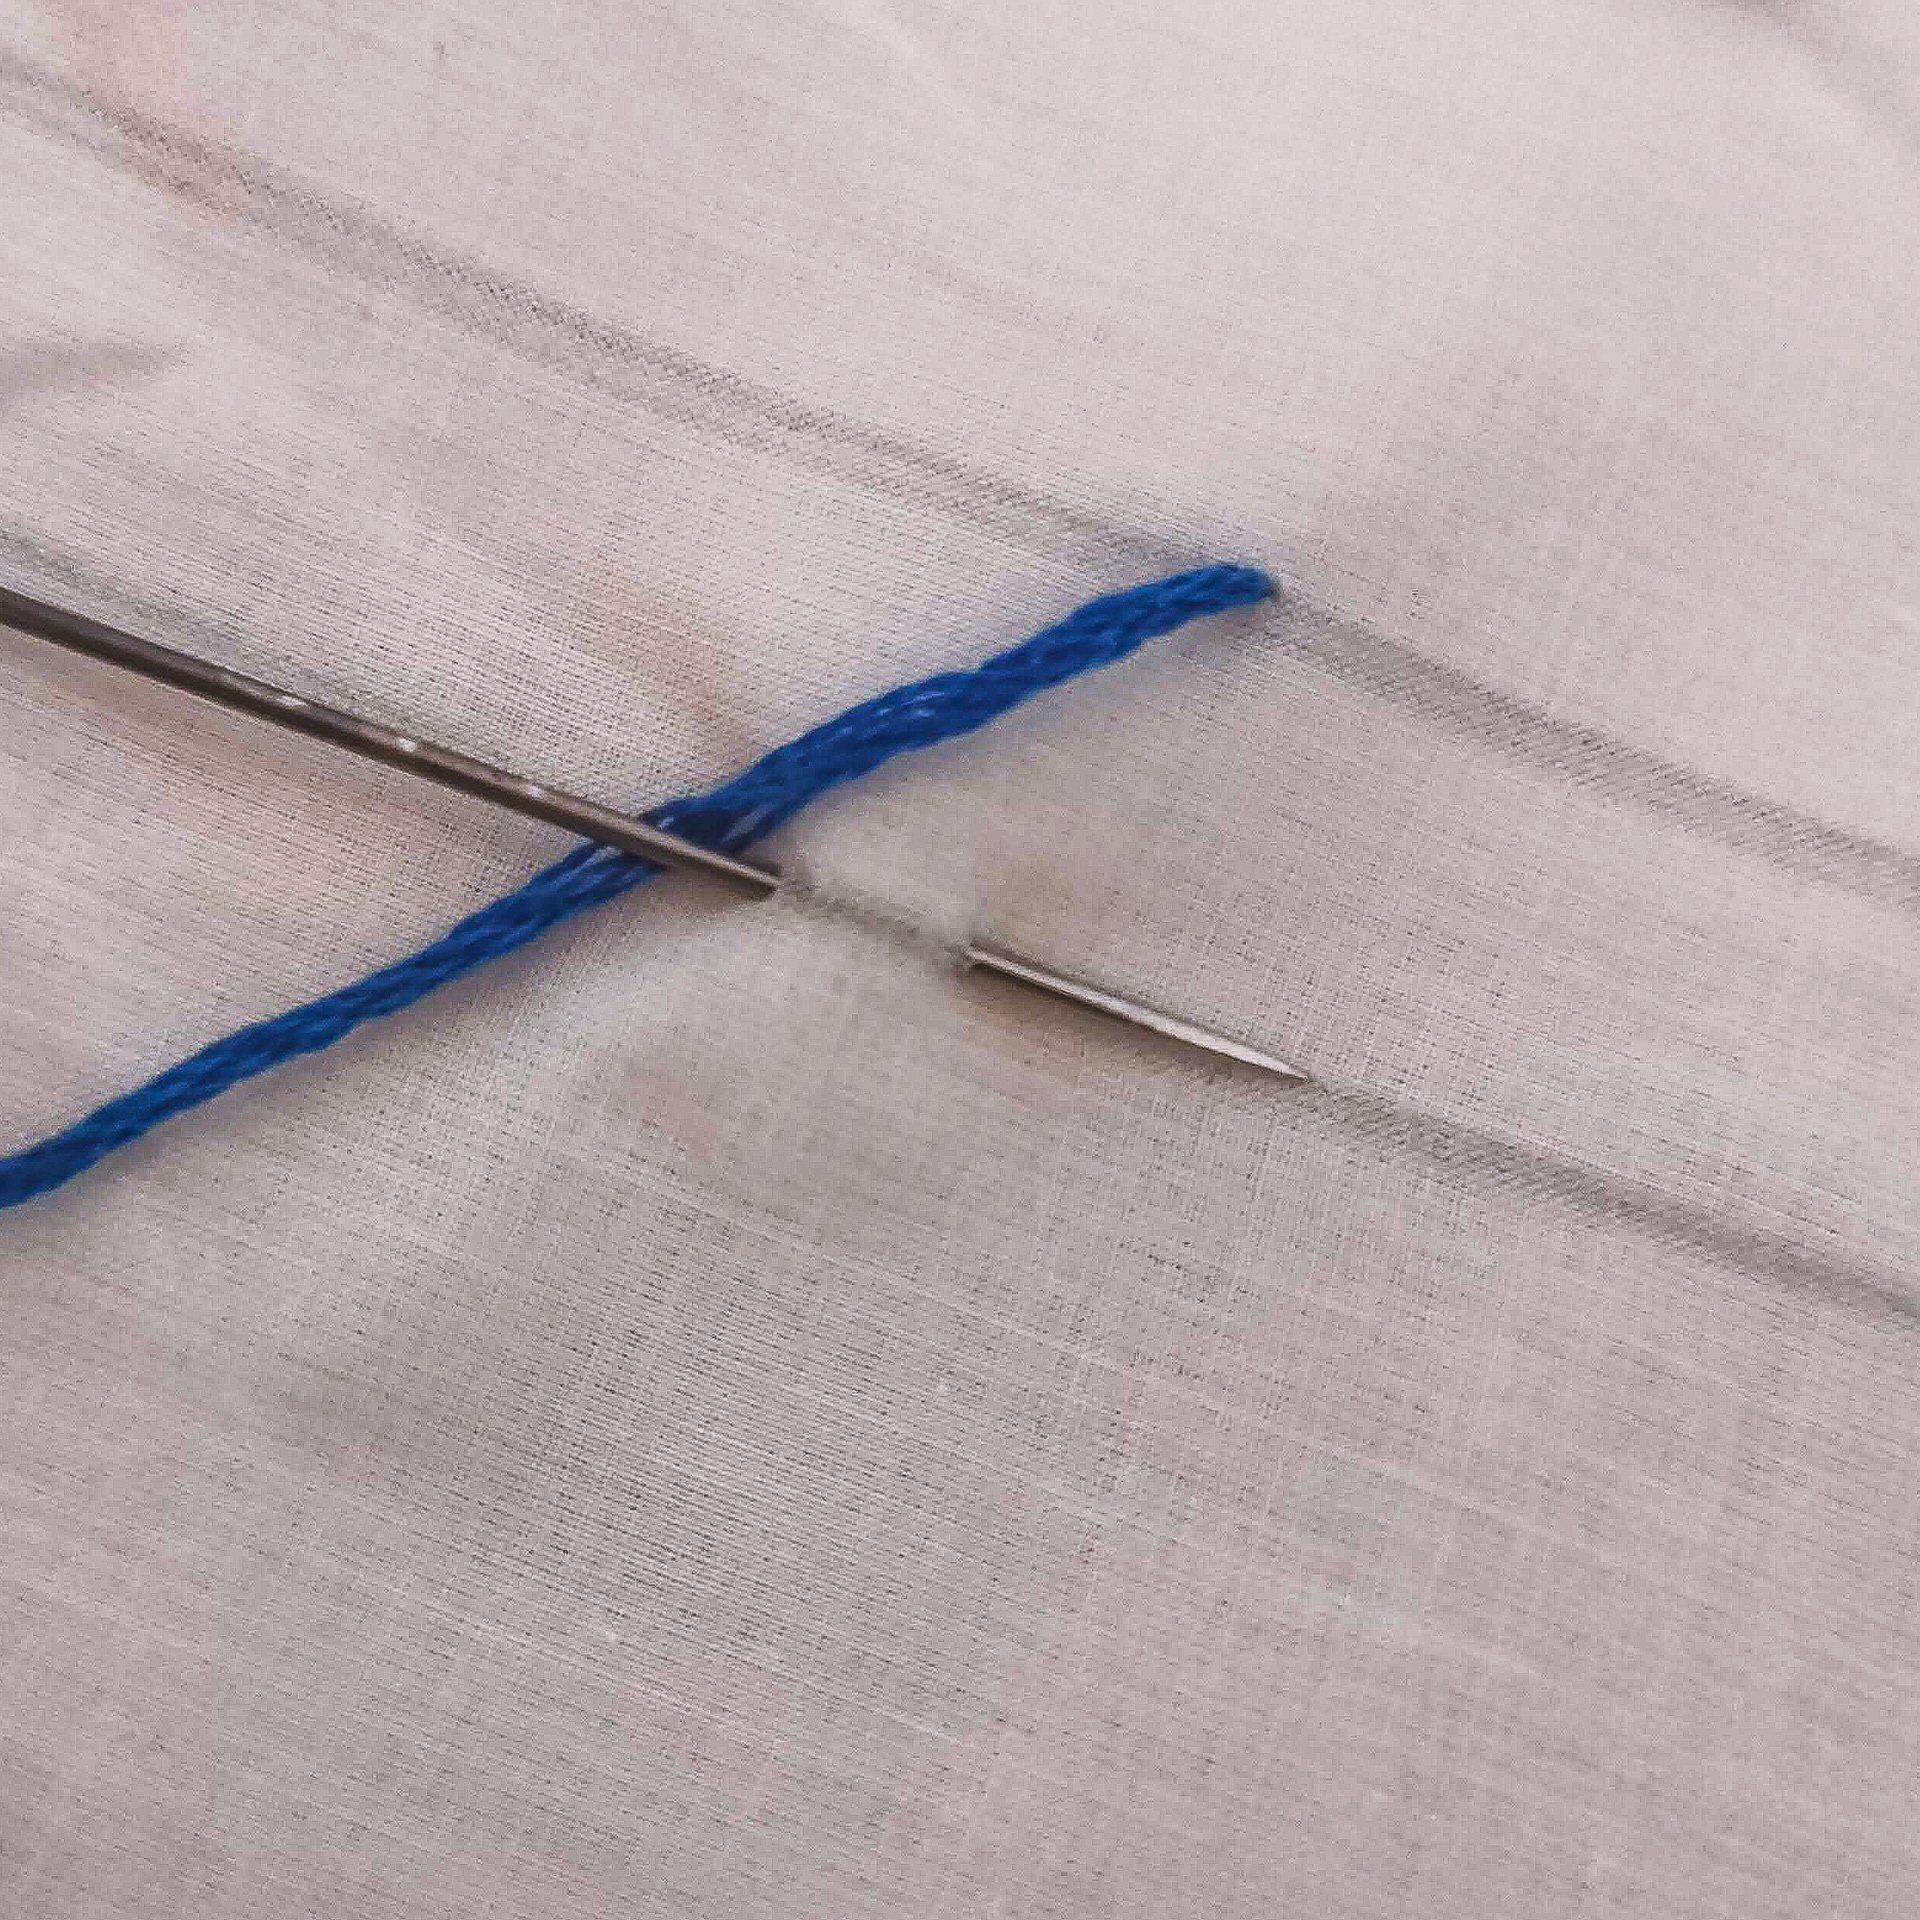
working on the RS place the needle into the hole of your last stitch.
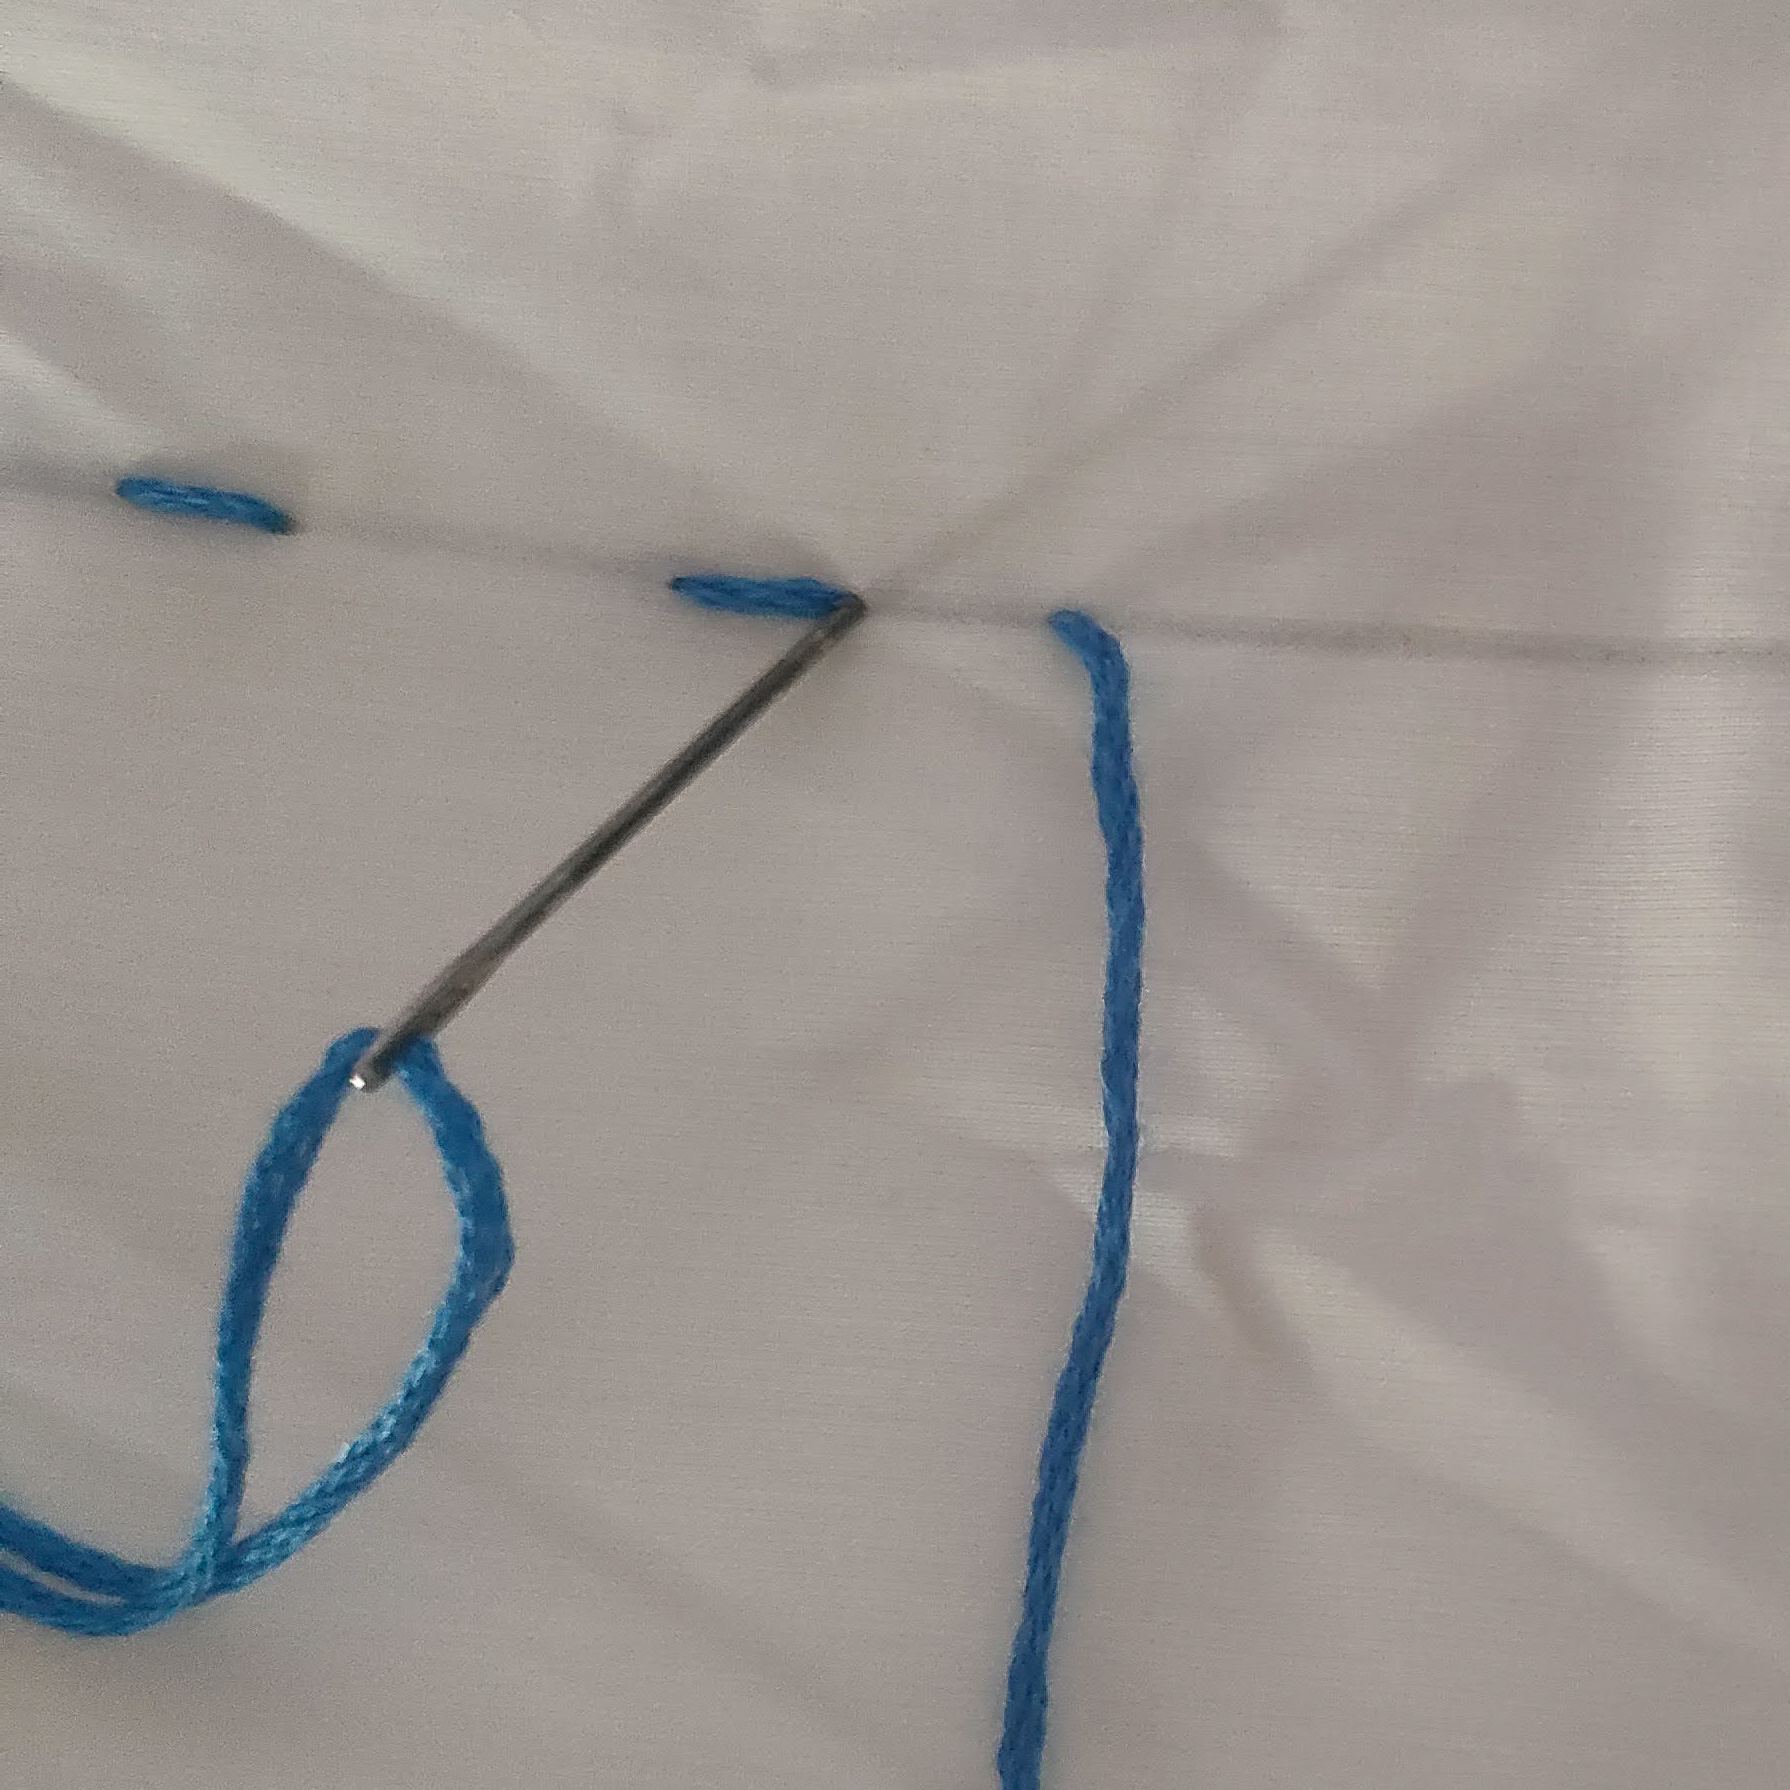
Pull your needle up at the end of your last stitch and then create another stitch.
Continue to your desired length
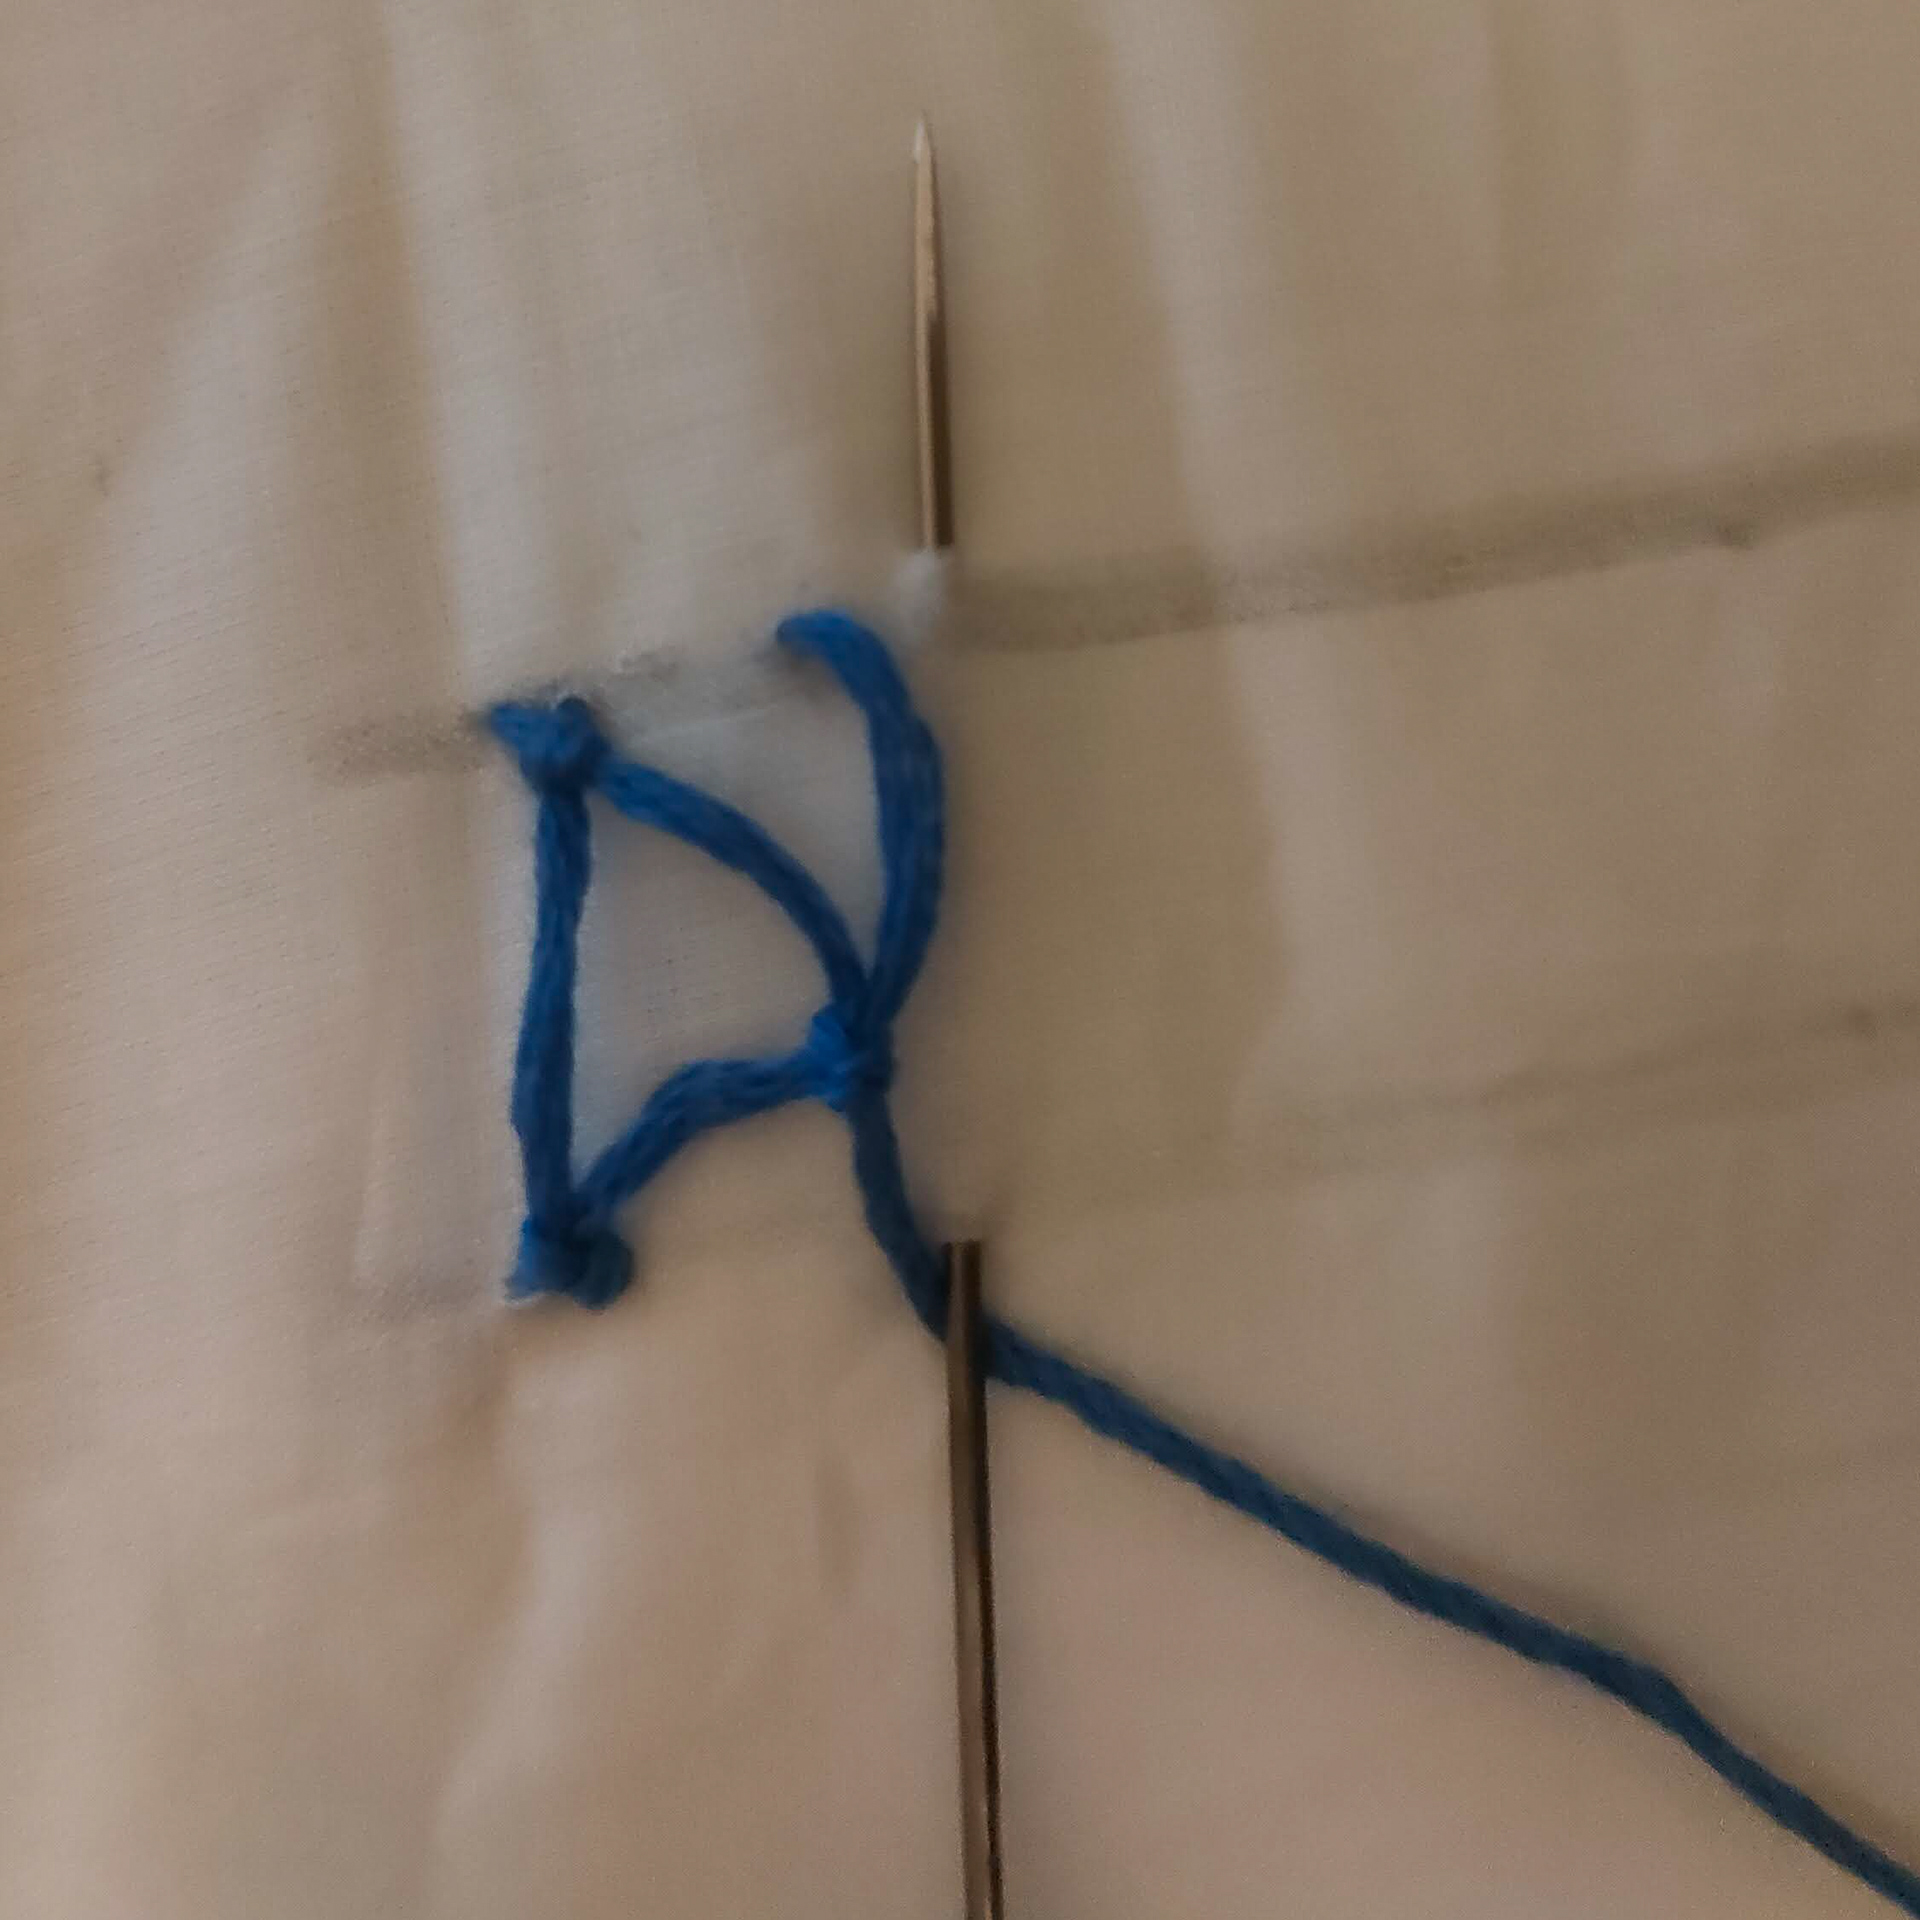
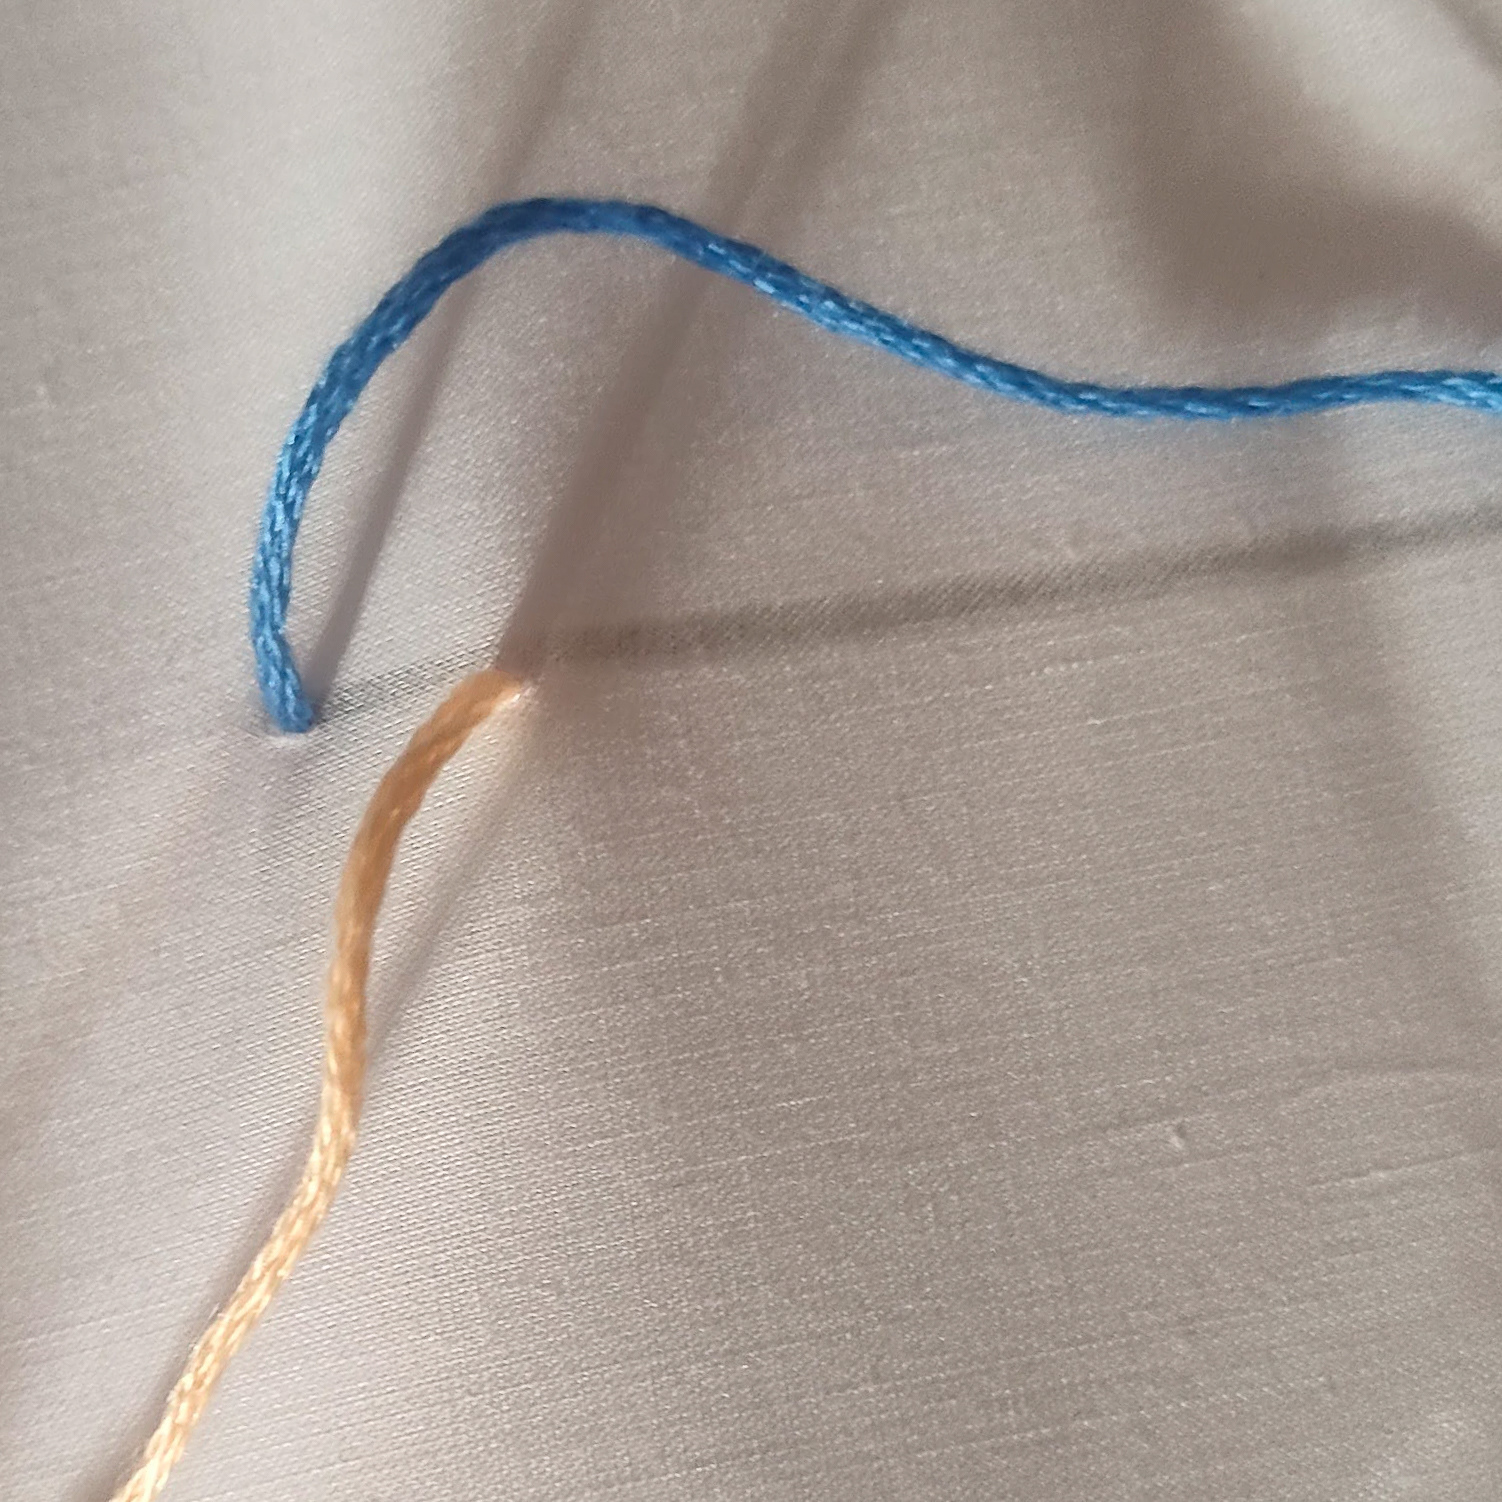
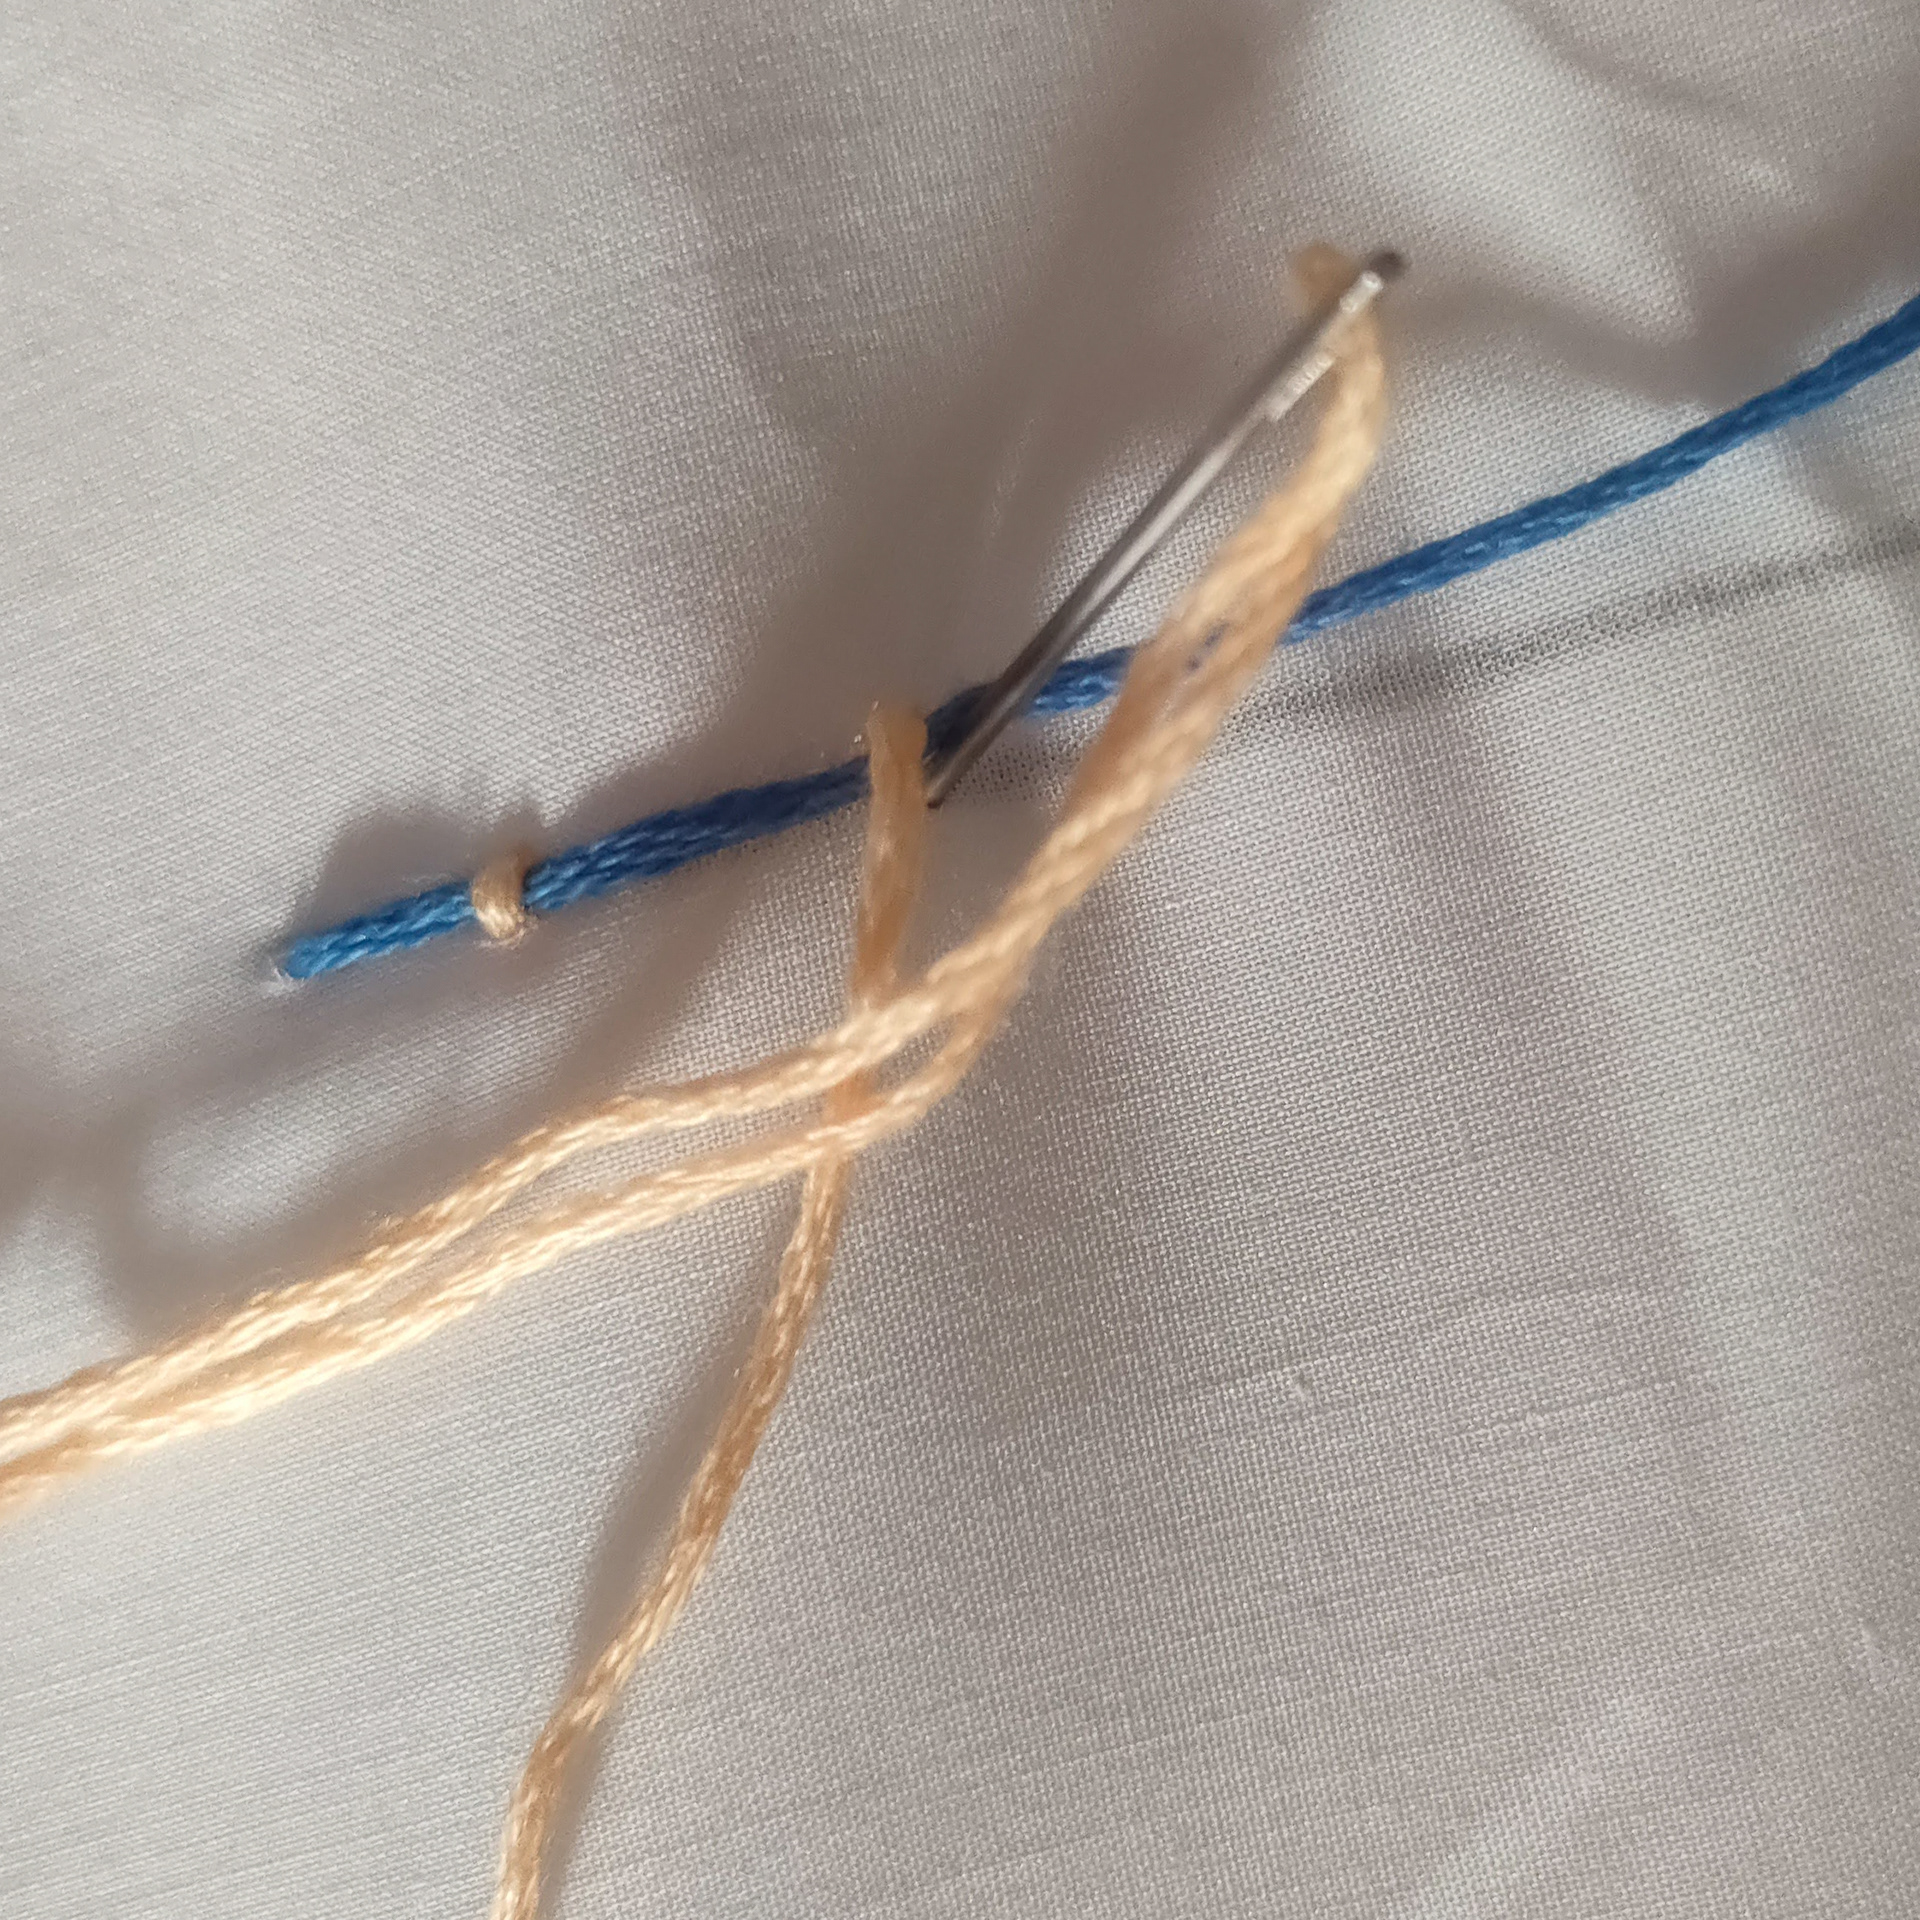
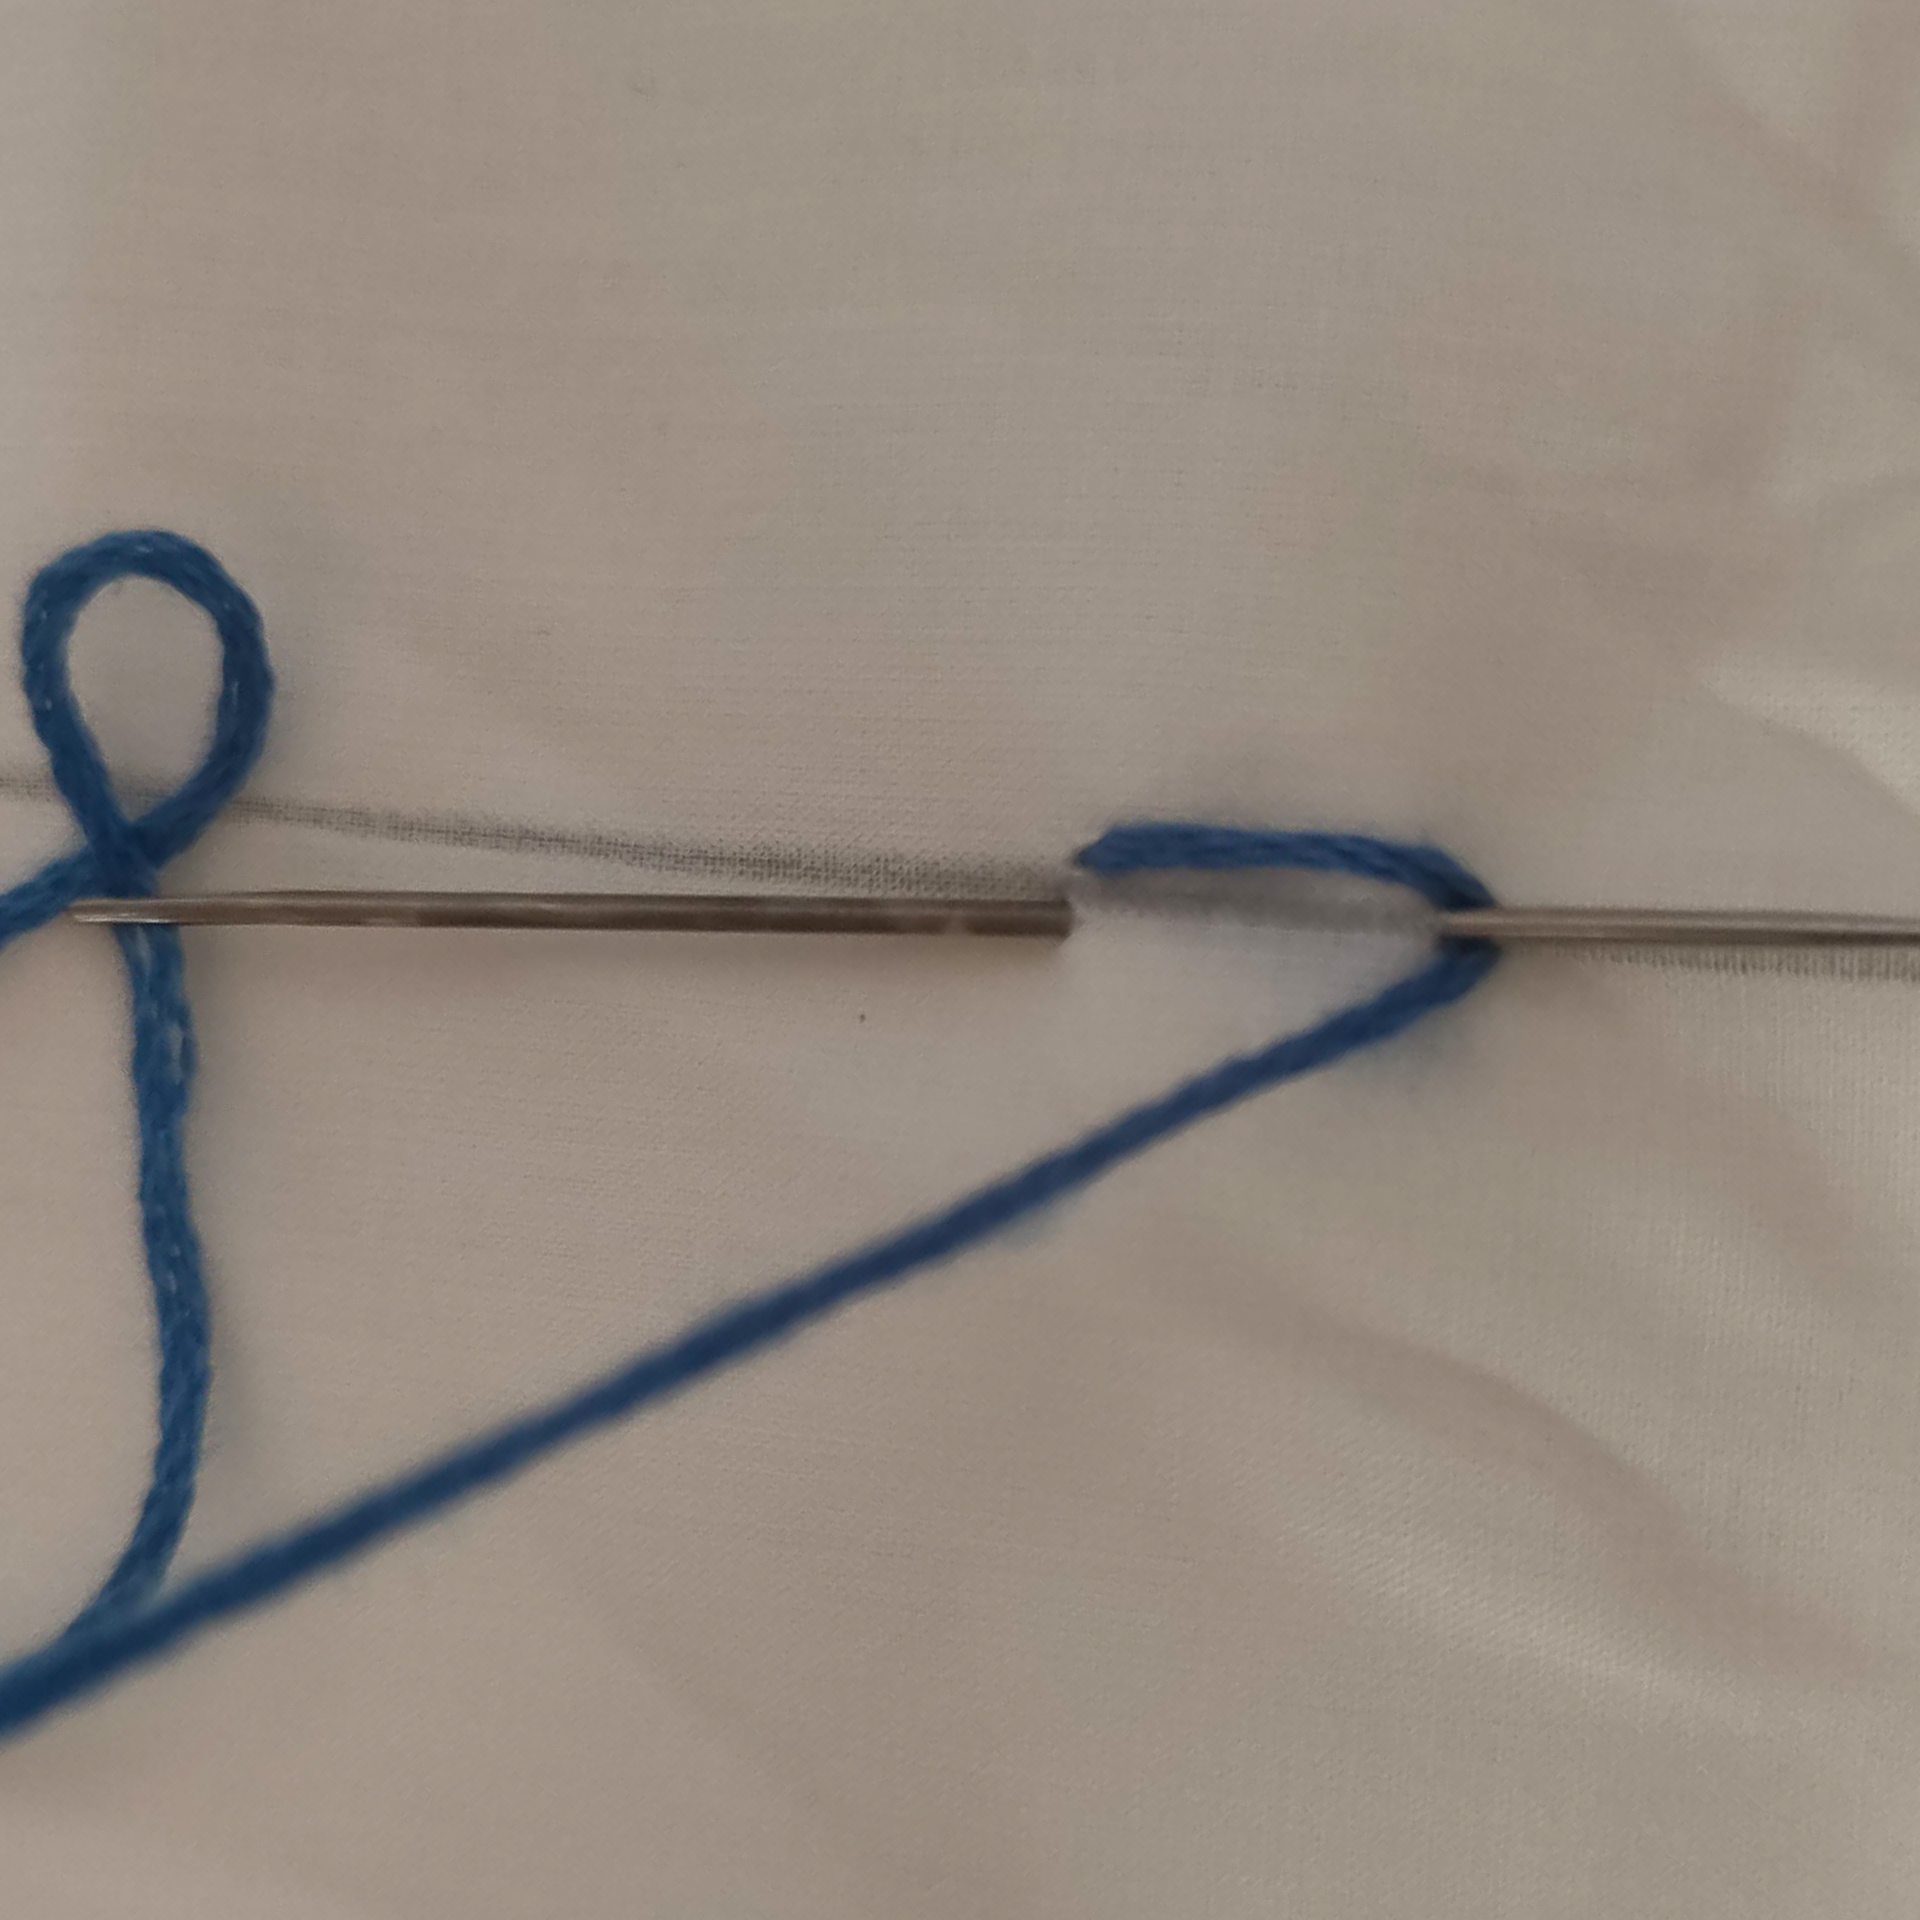
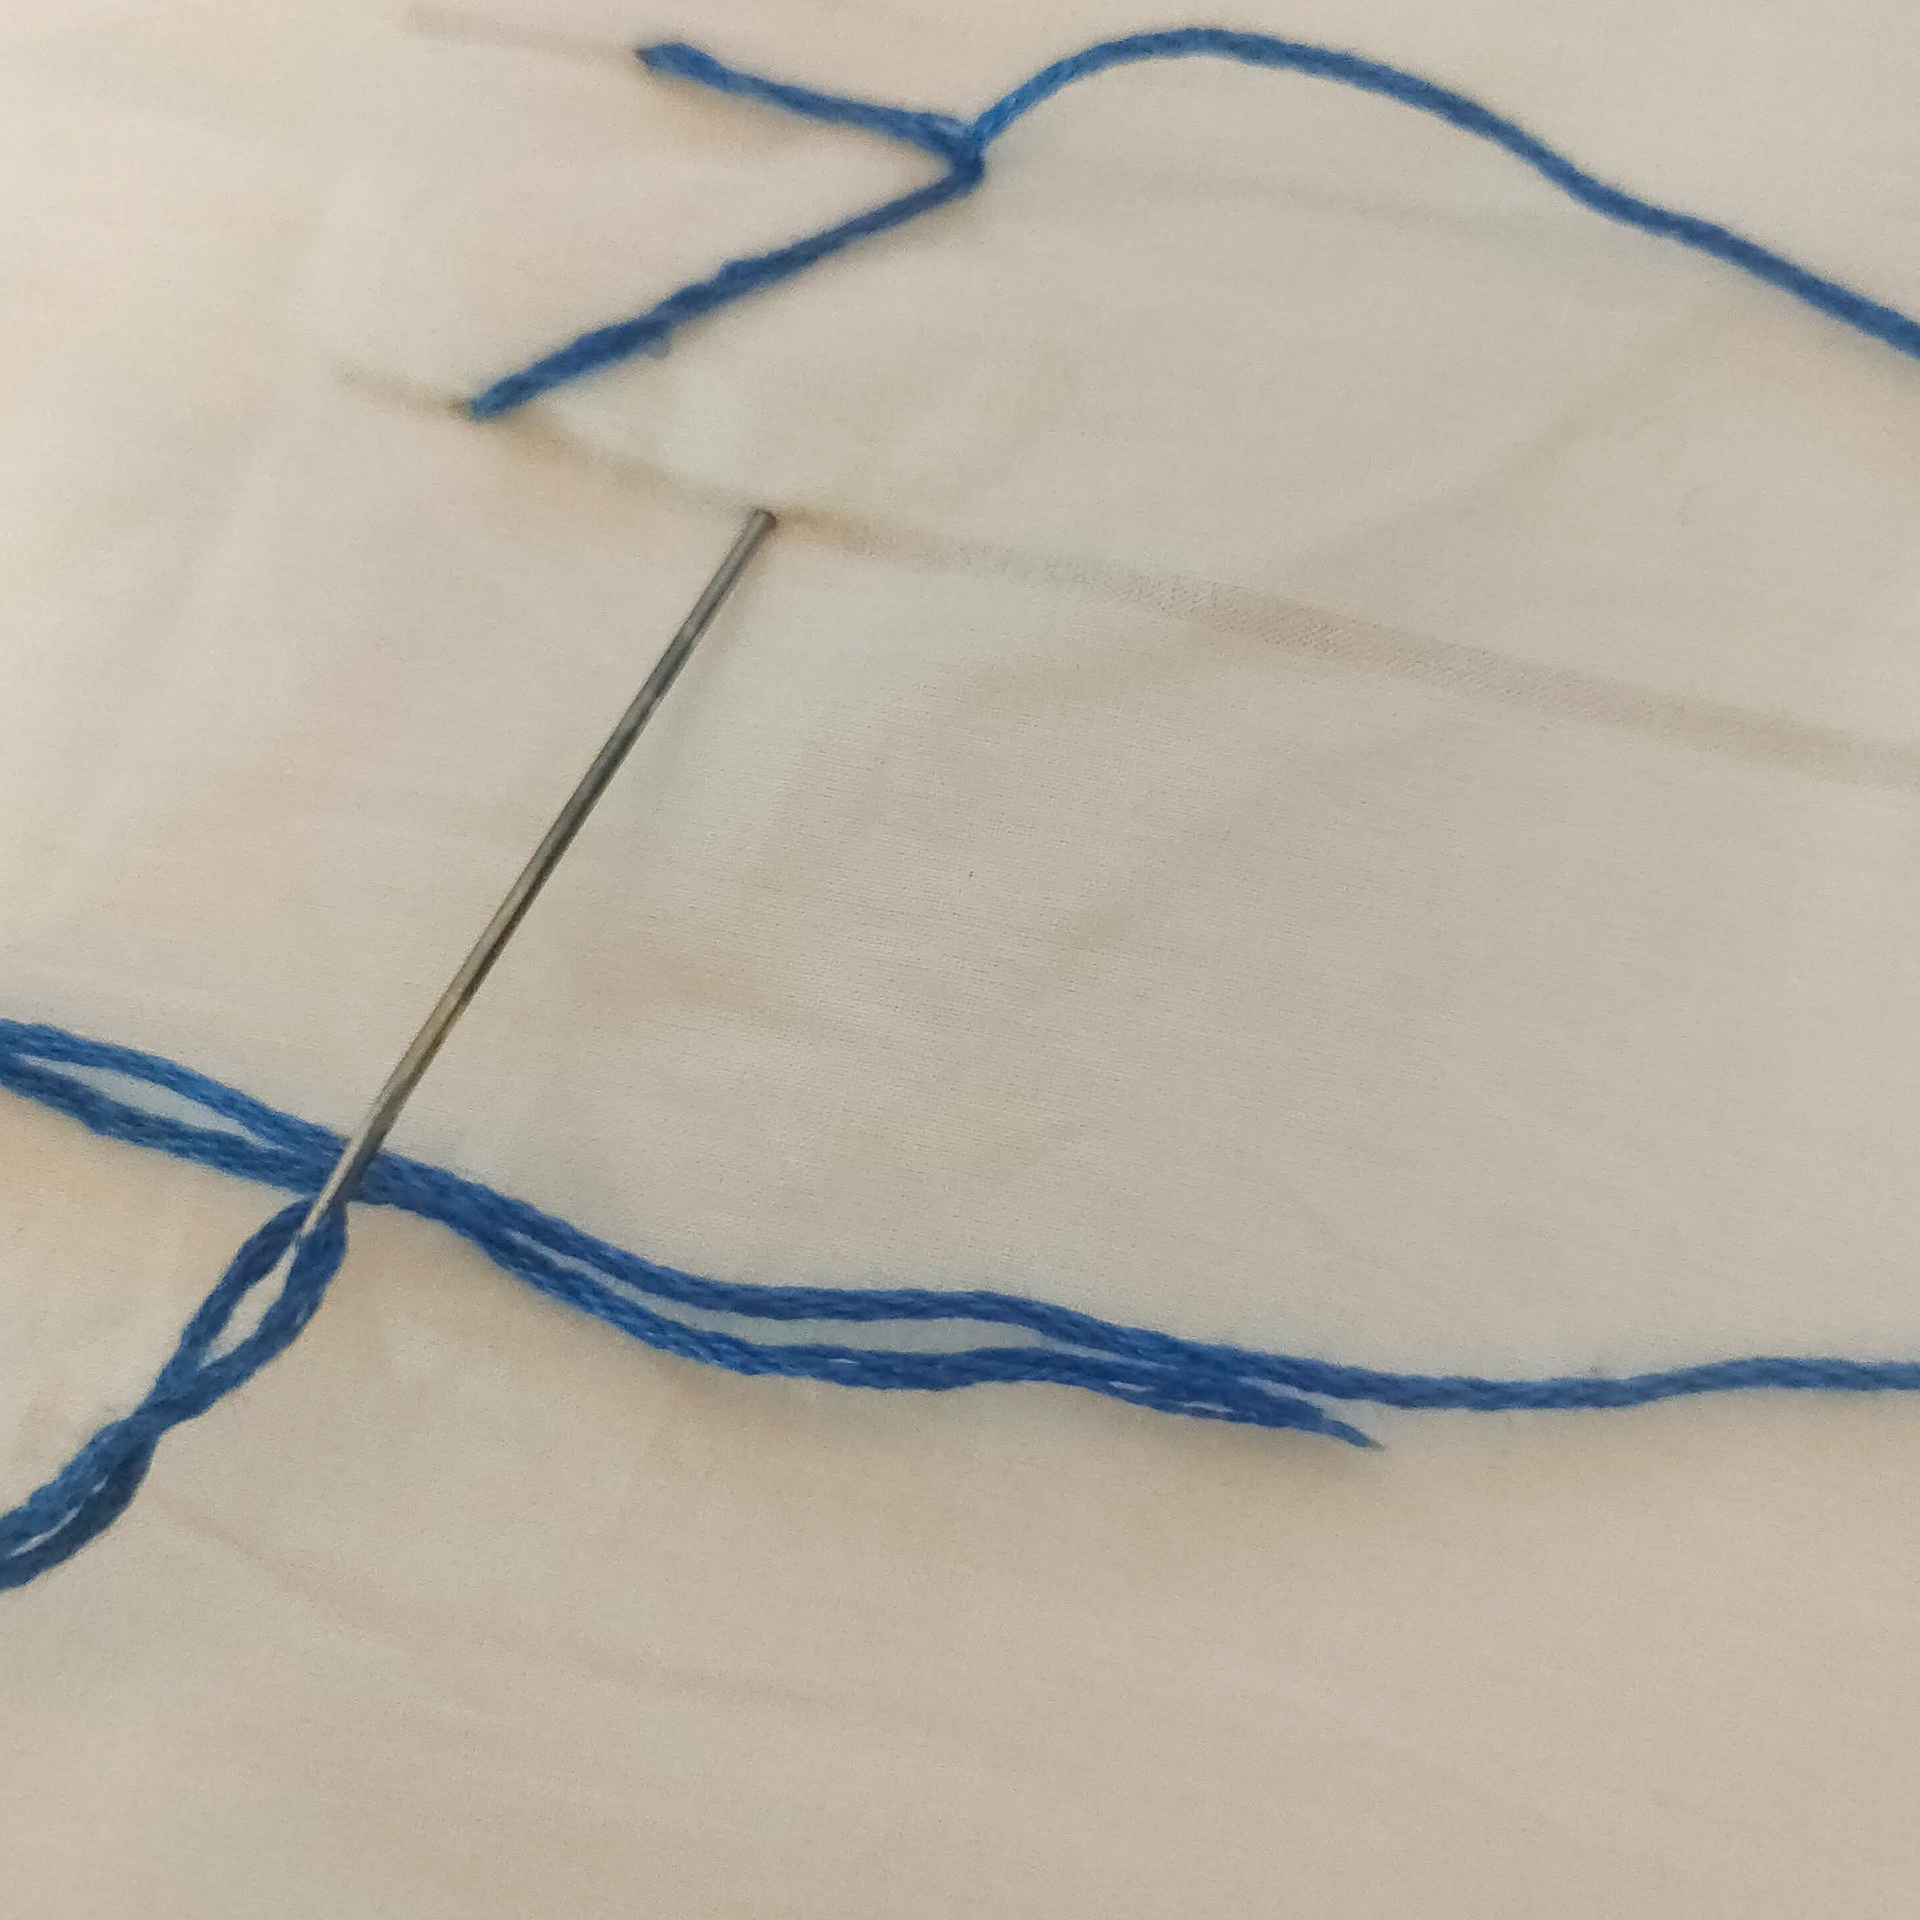
Couching
pull your thread through to the right side of your fabric.
Then pull the thread out of your needle.
Now thread a new needle up
pull through a little to the right of your original stitch and create a loop over that thread then insert your needle through to the WS.
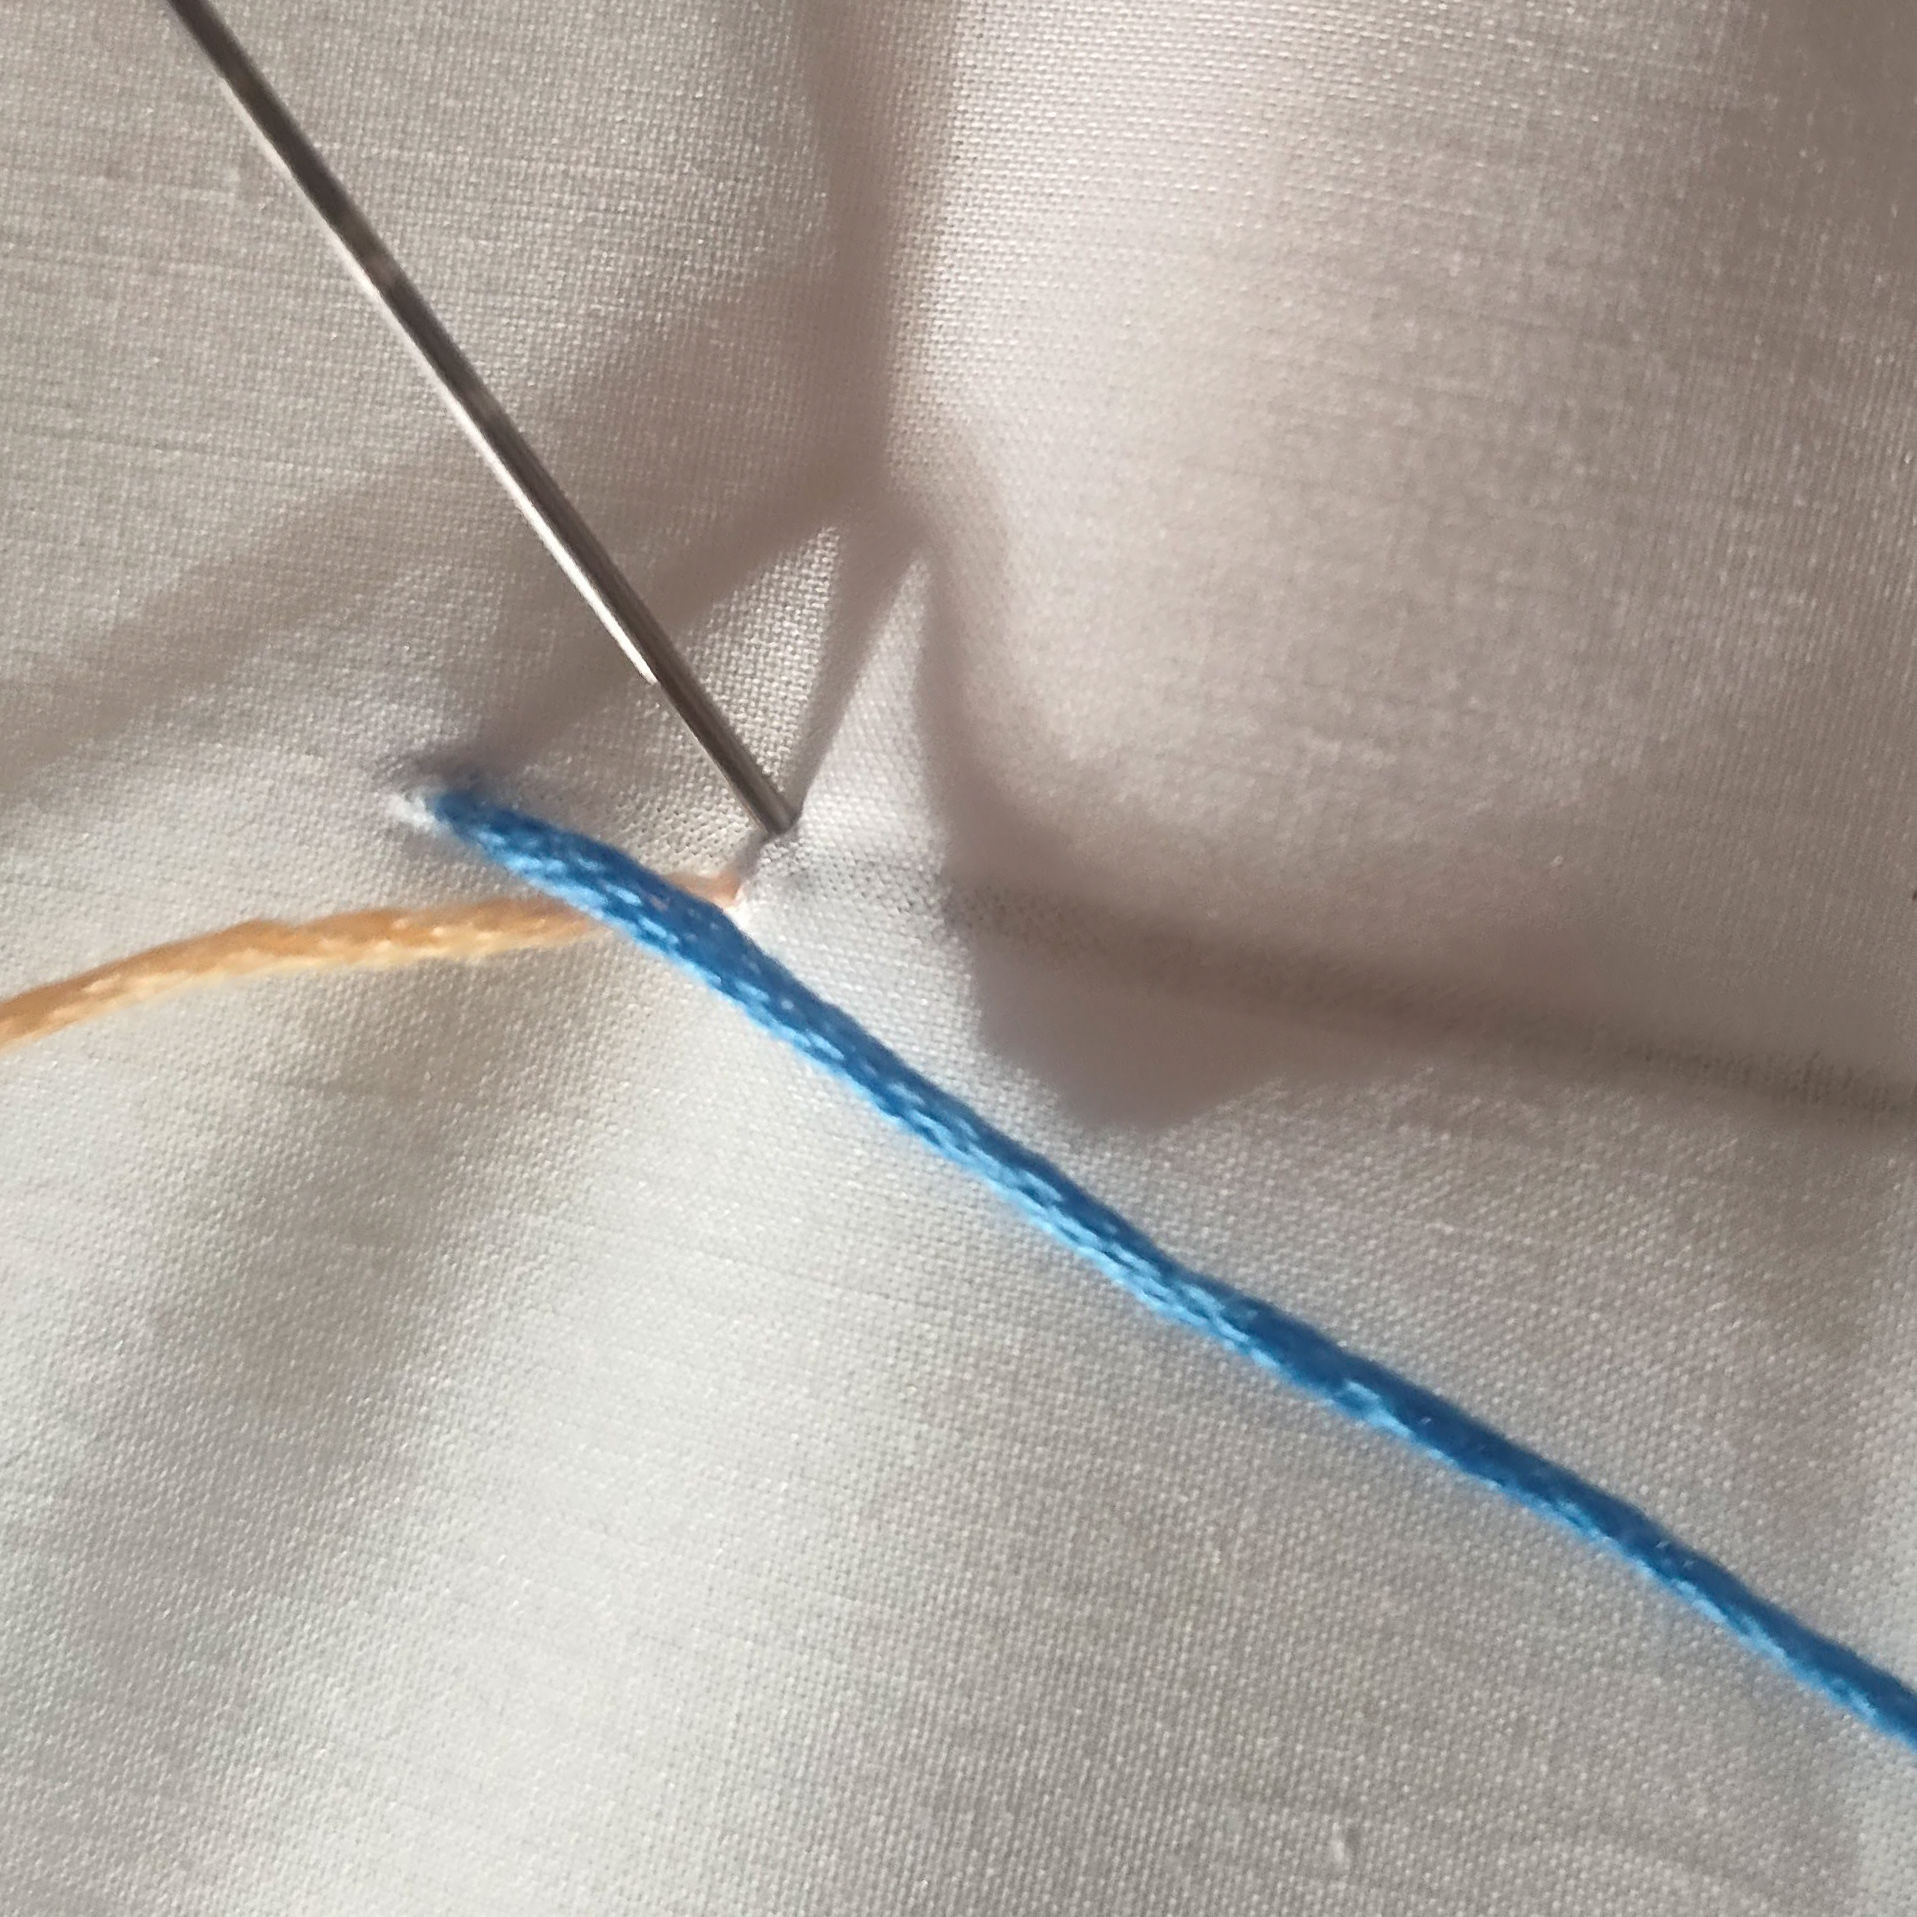
The original thread should now be trapped under your stitch.

From there keep going, manipulating your under thread into any shape as you would like.
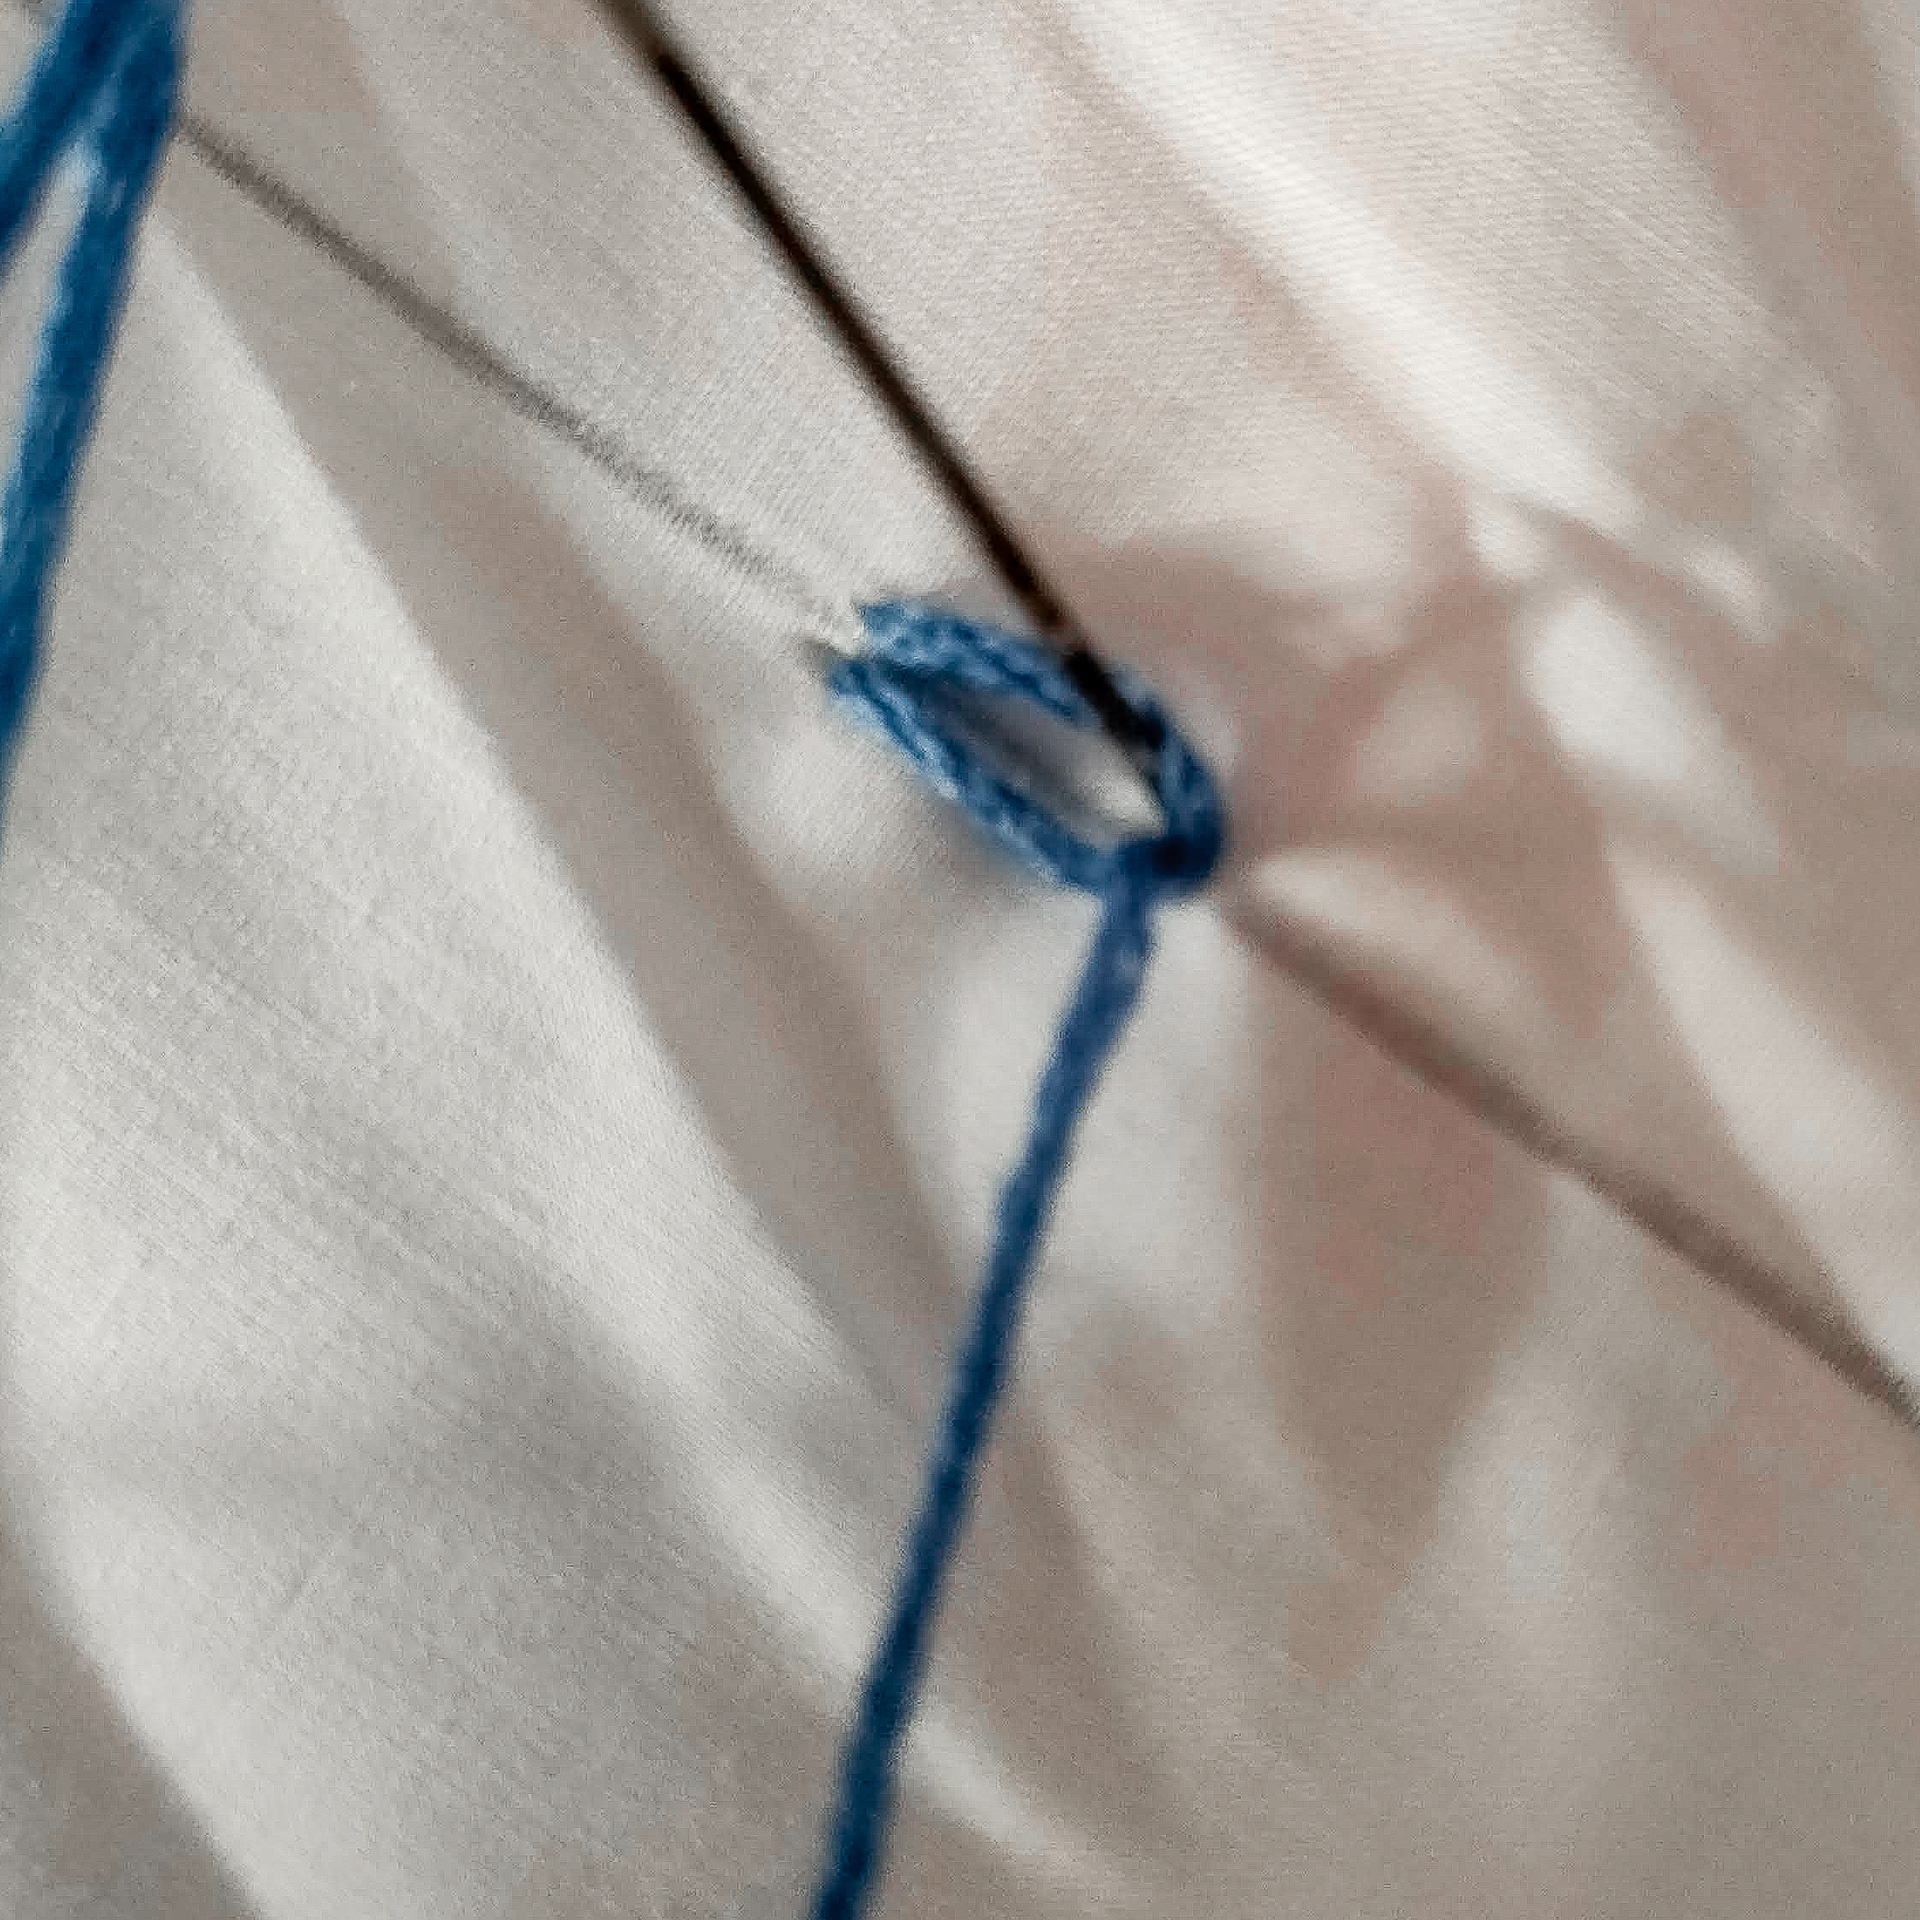
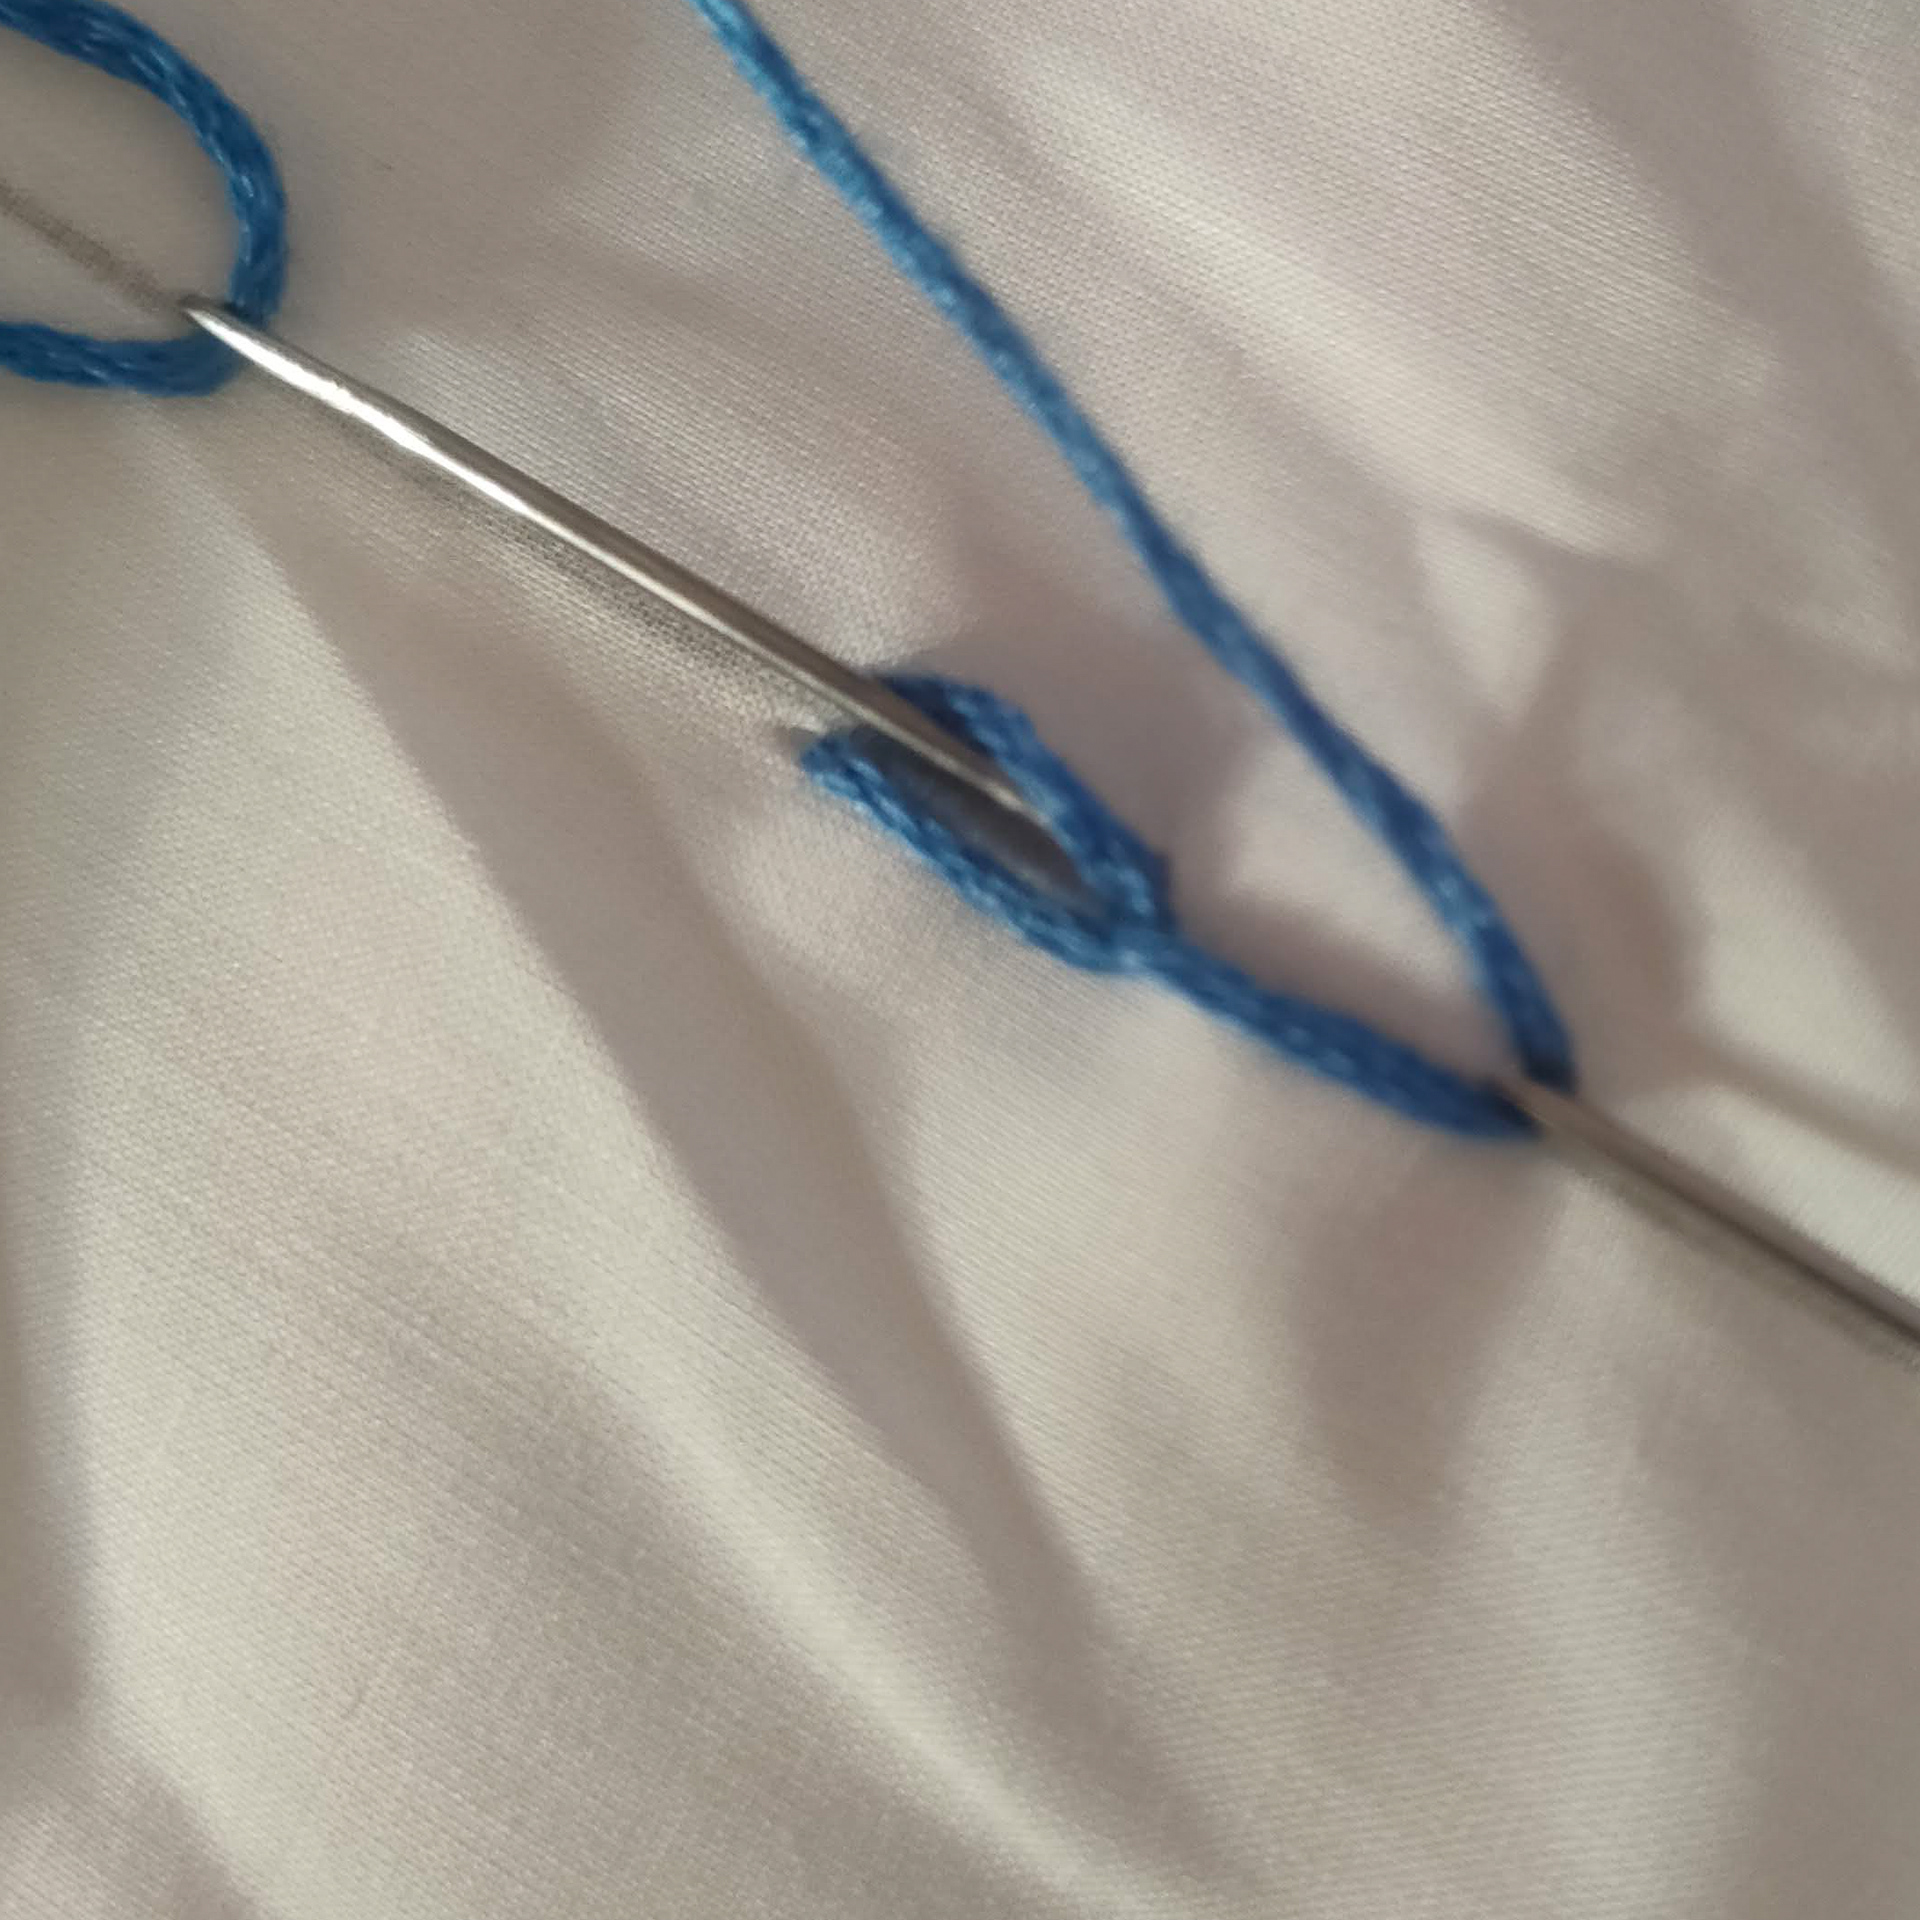
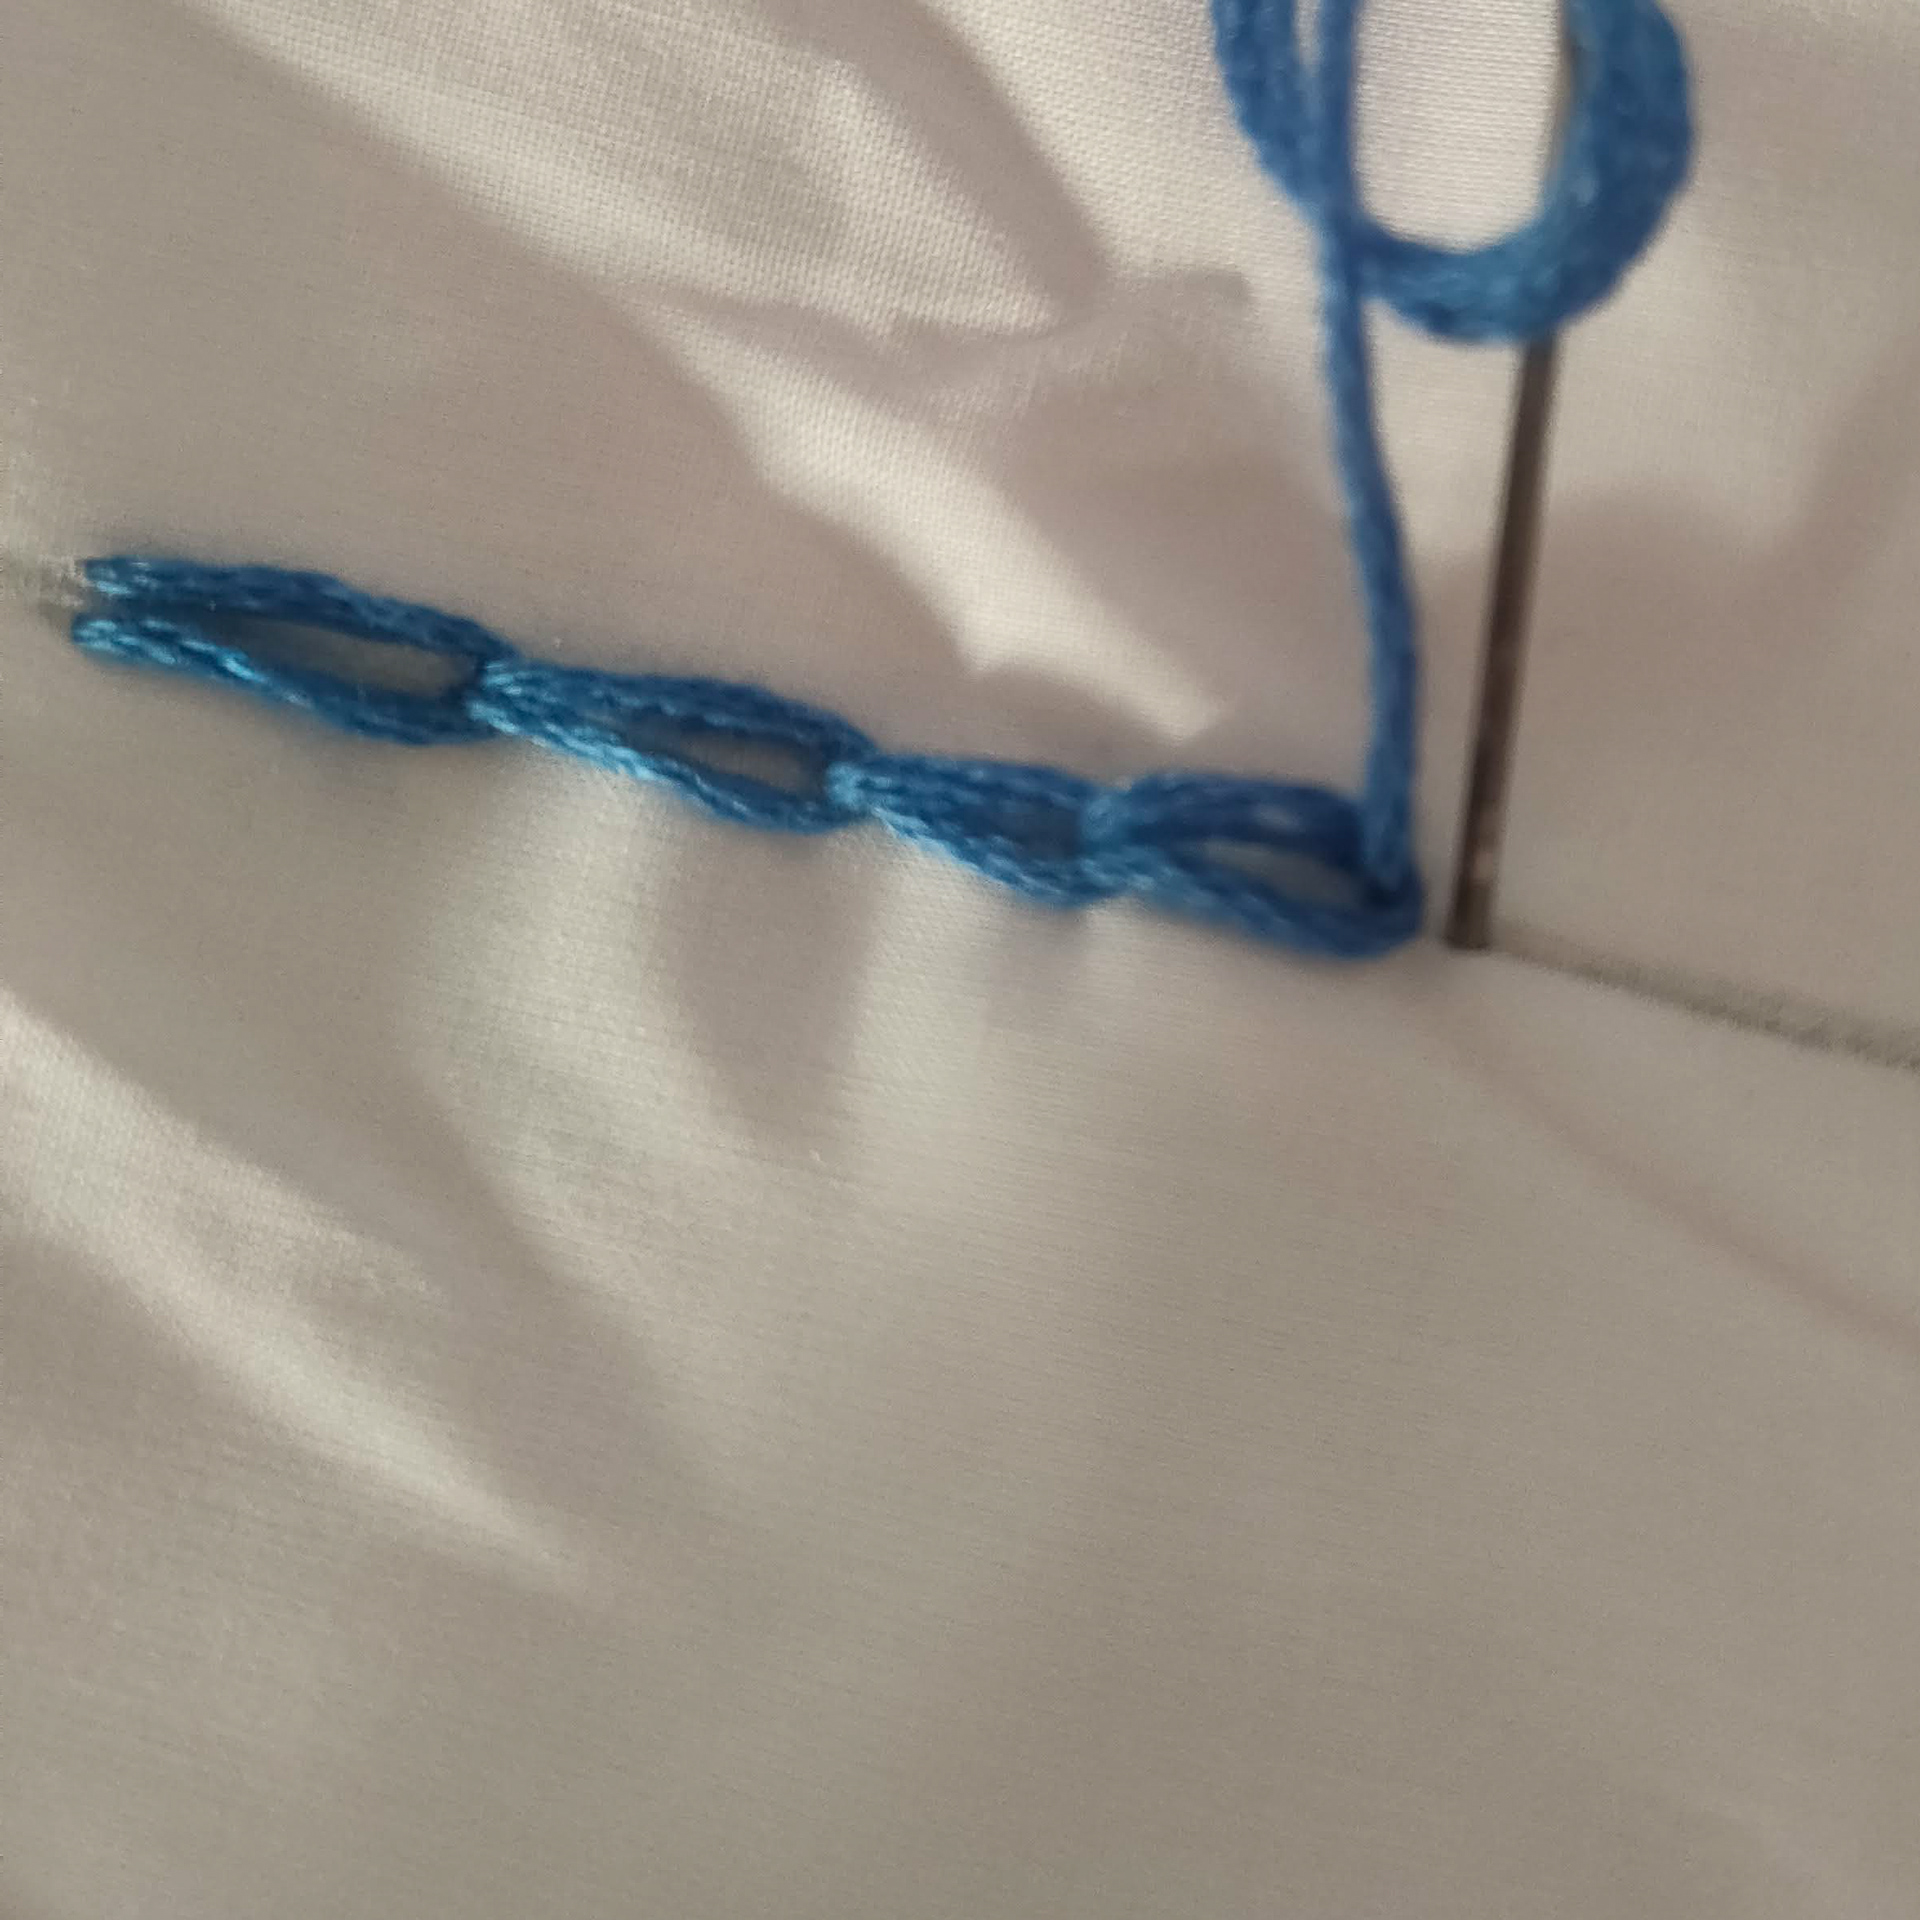
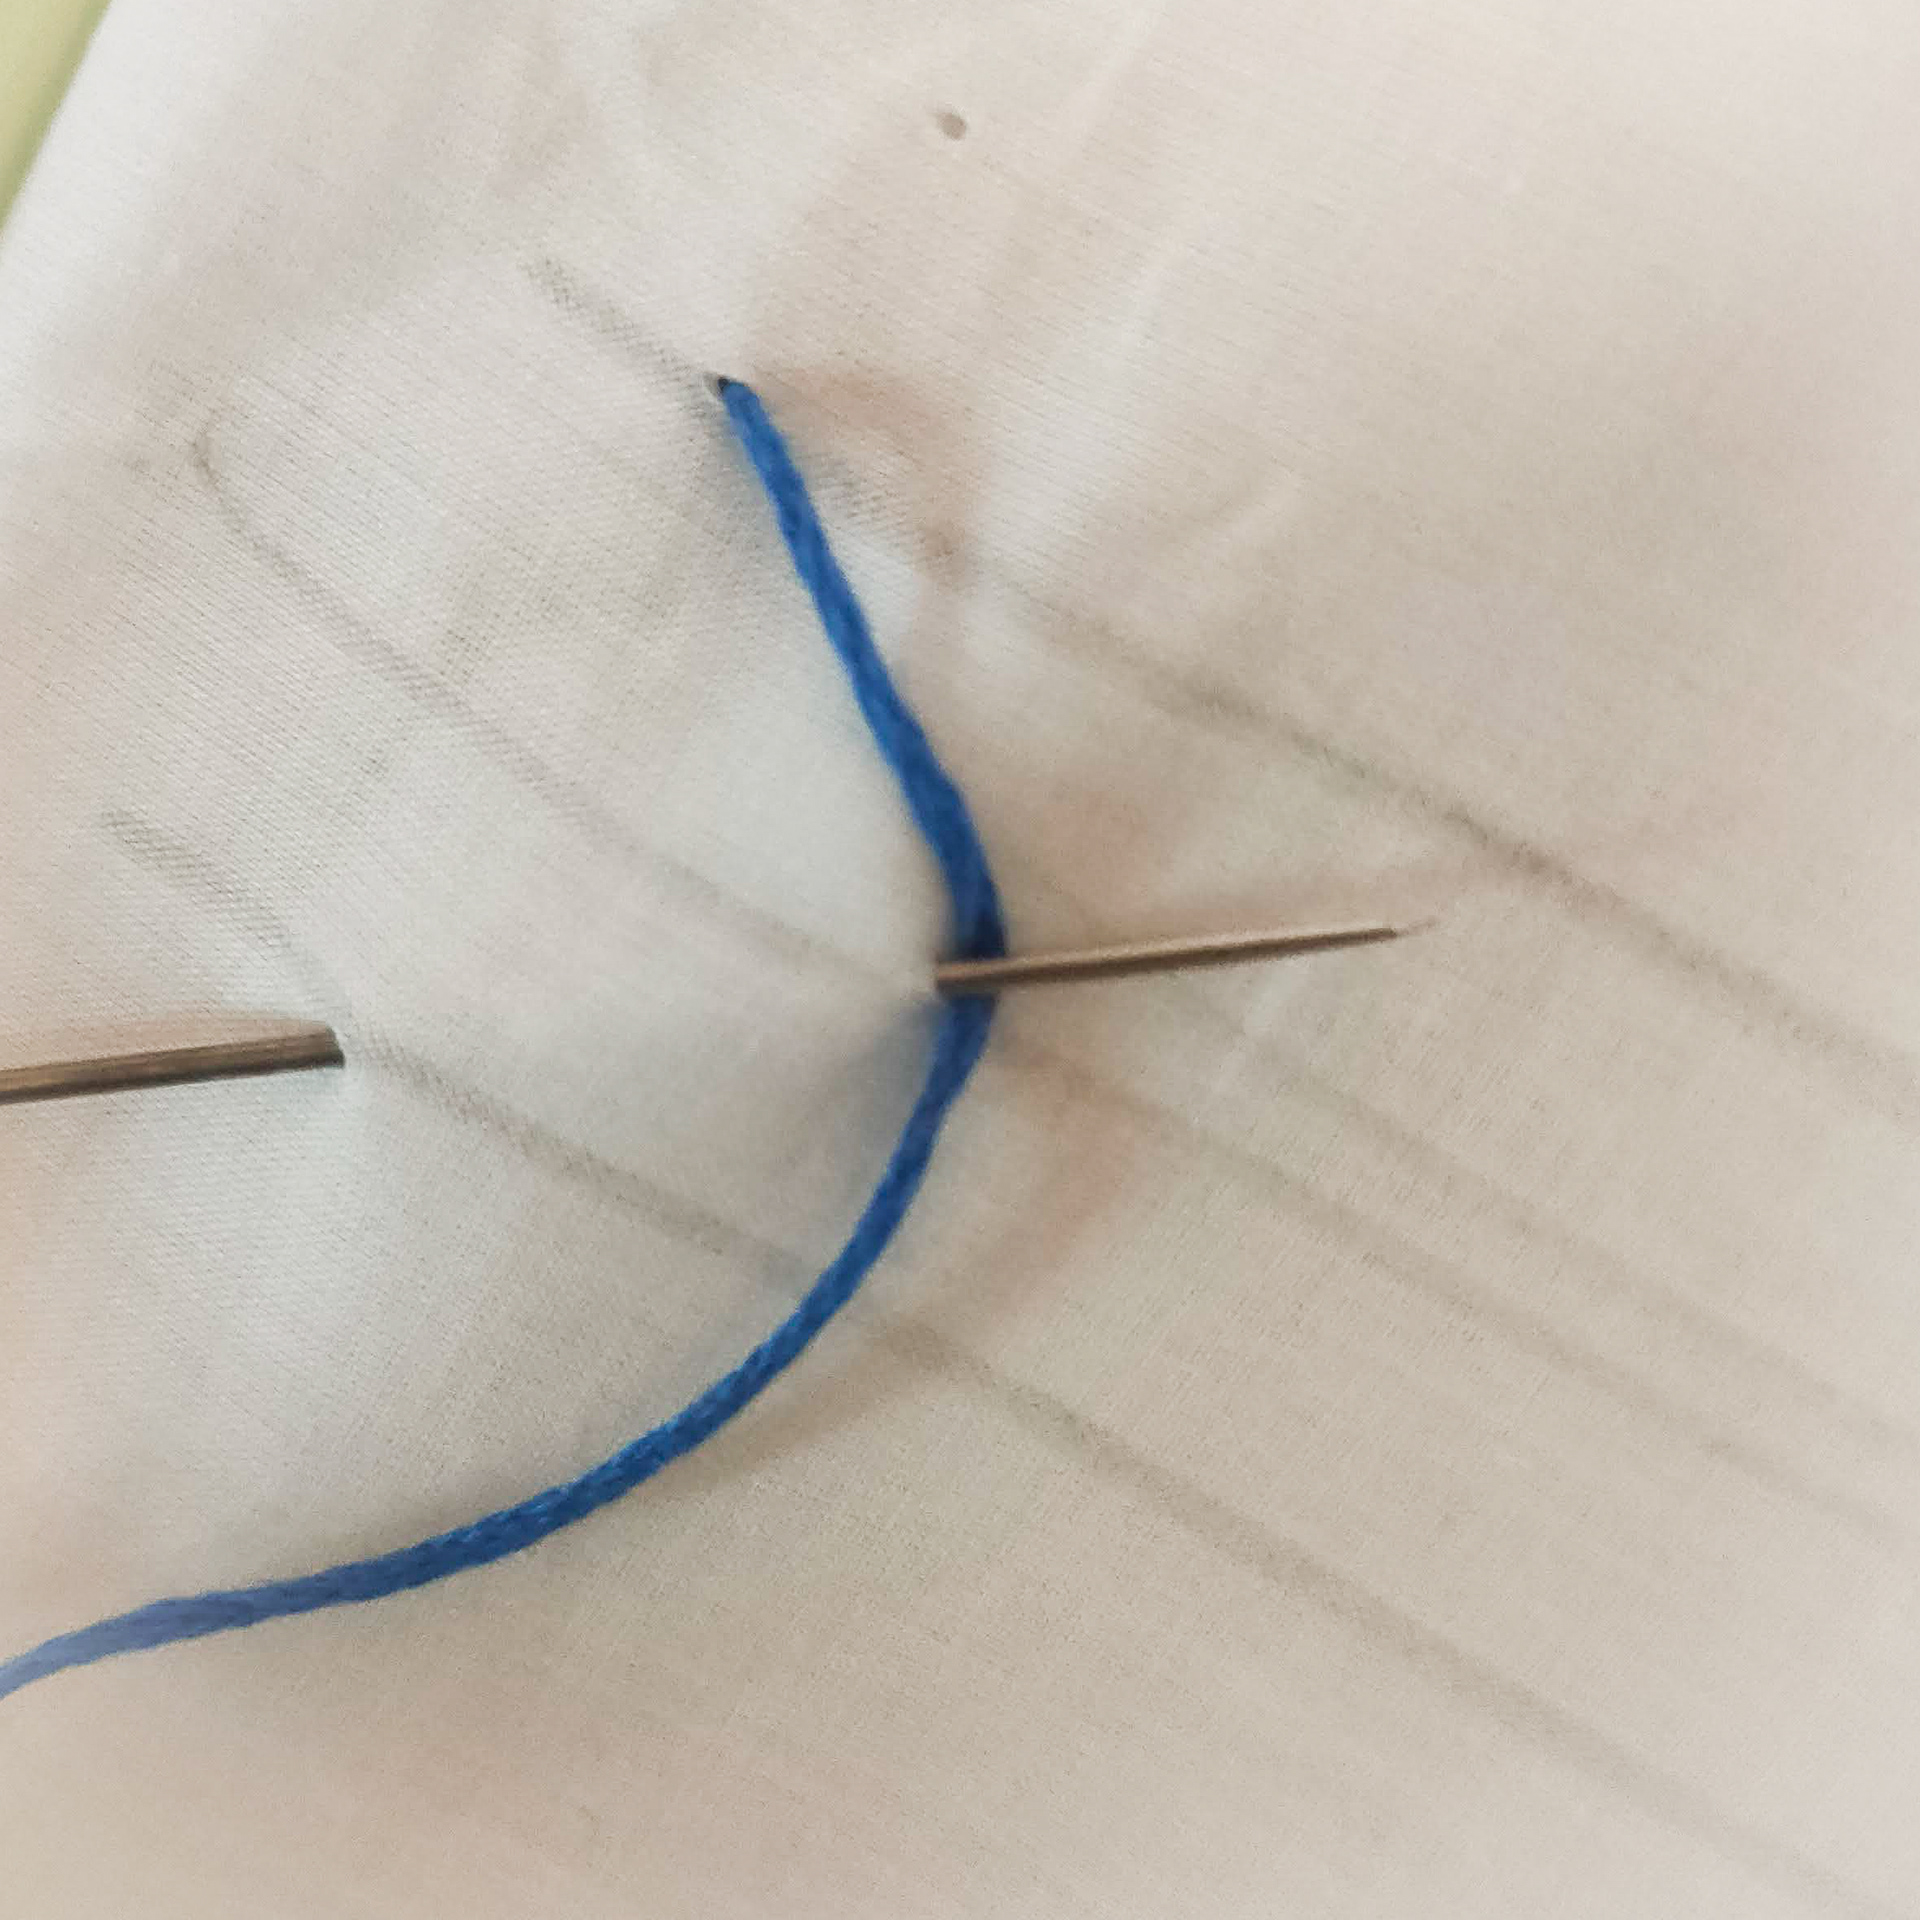
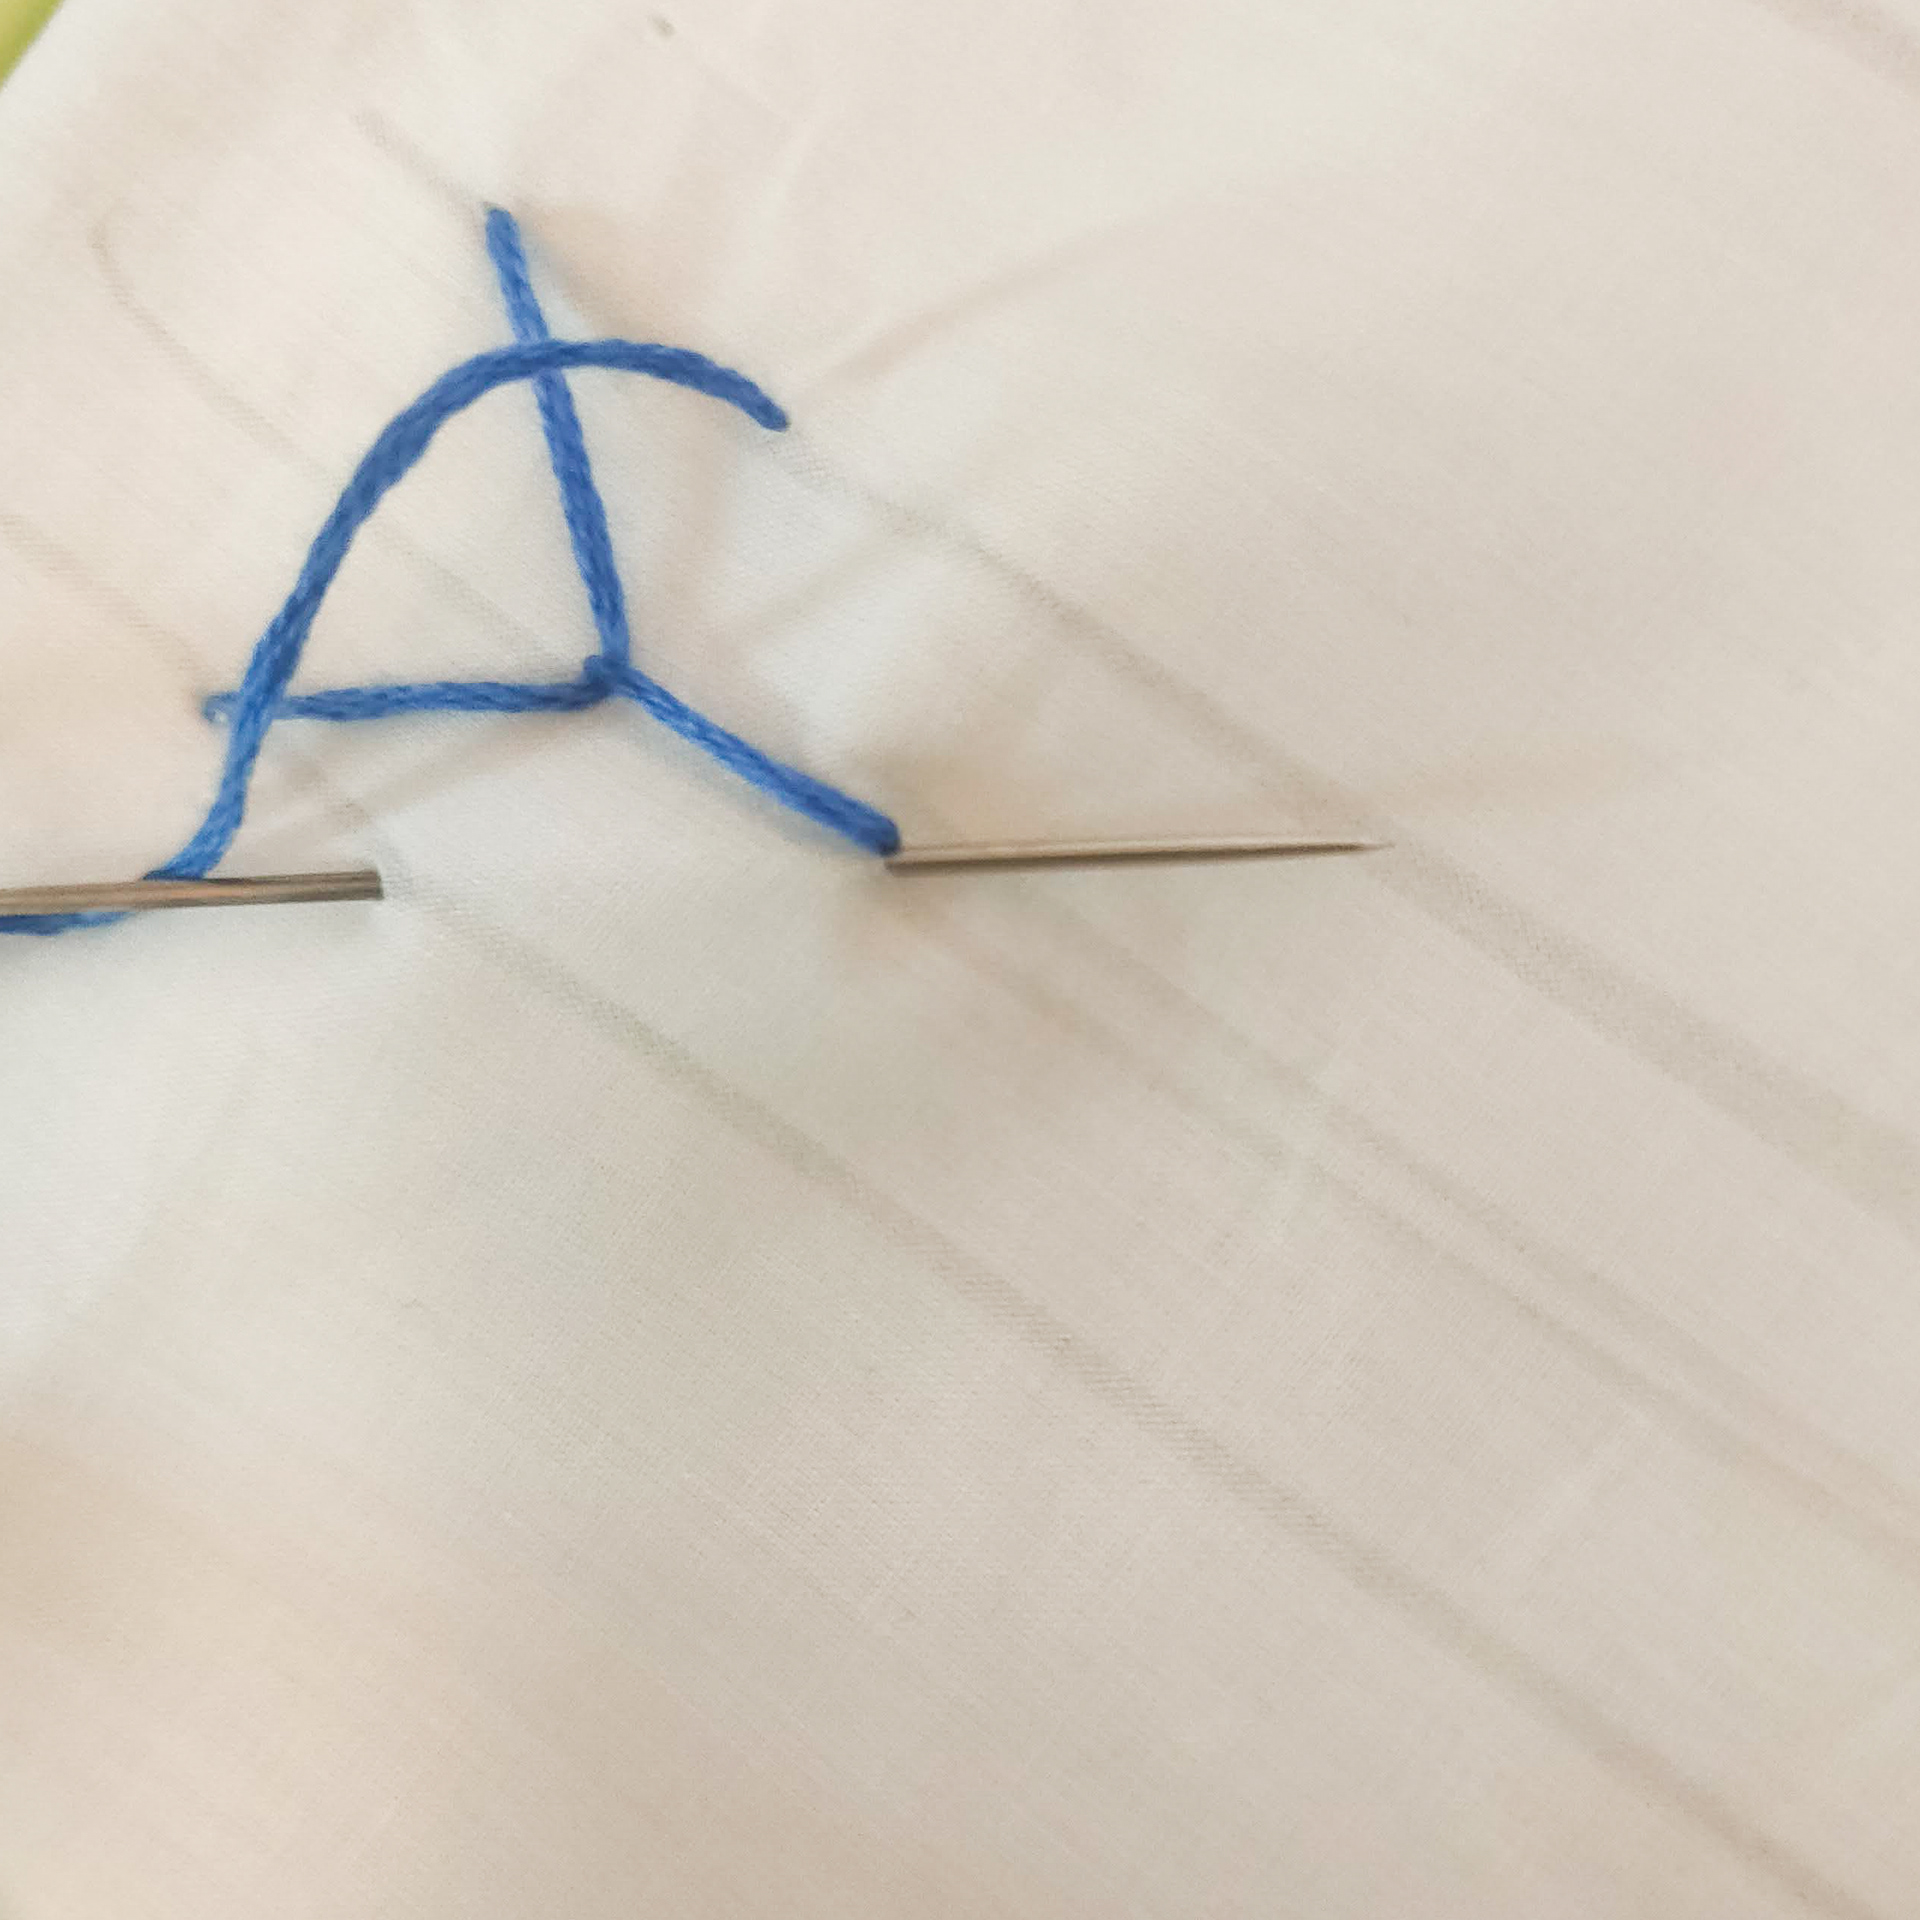
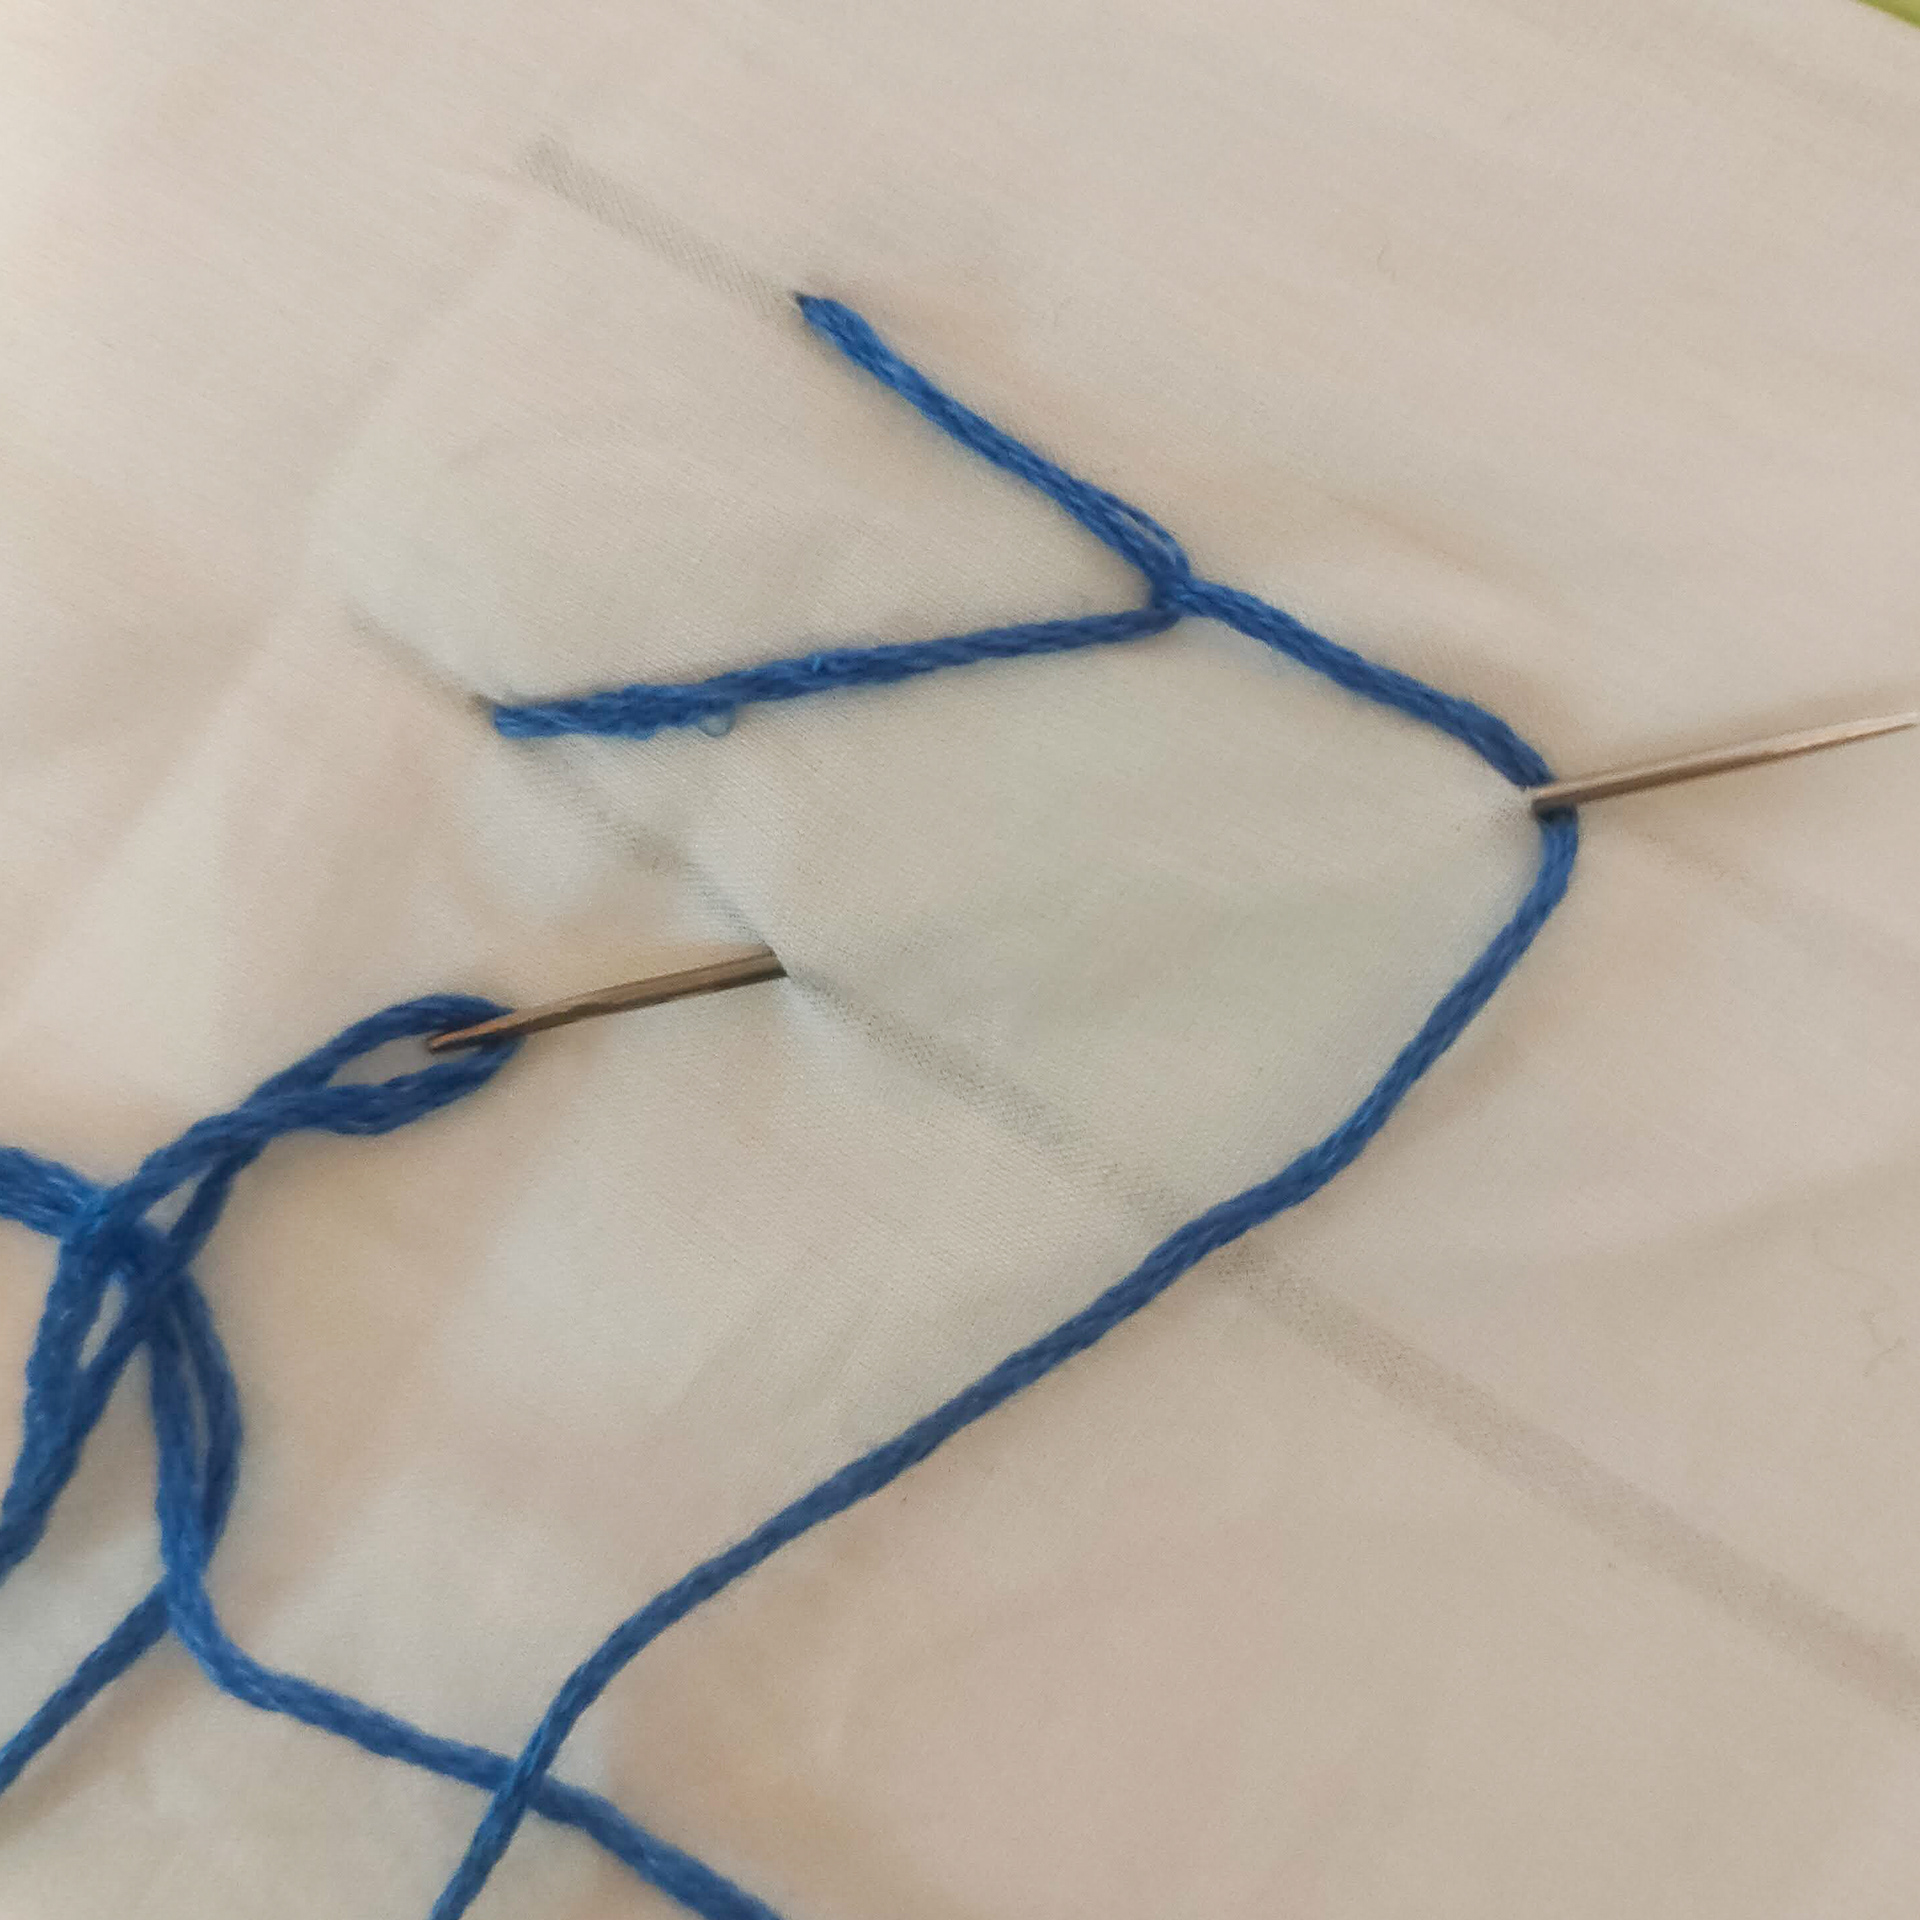
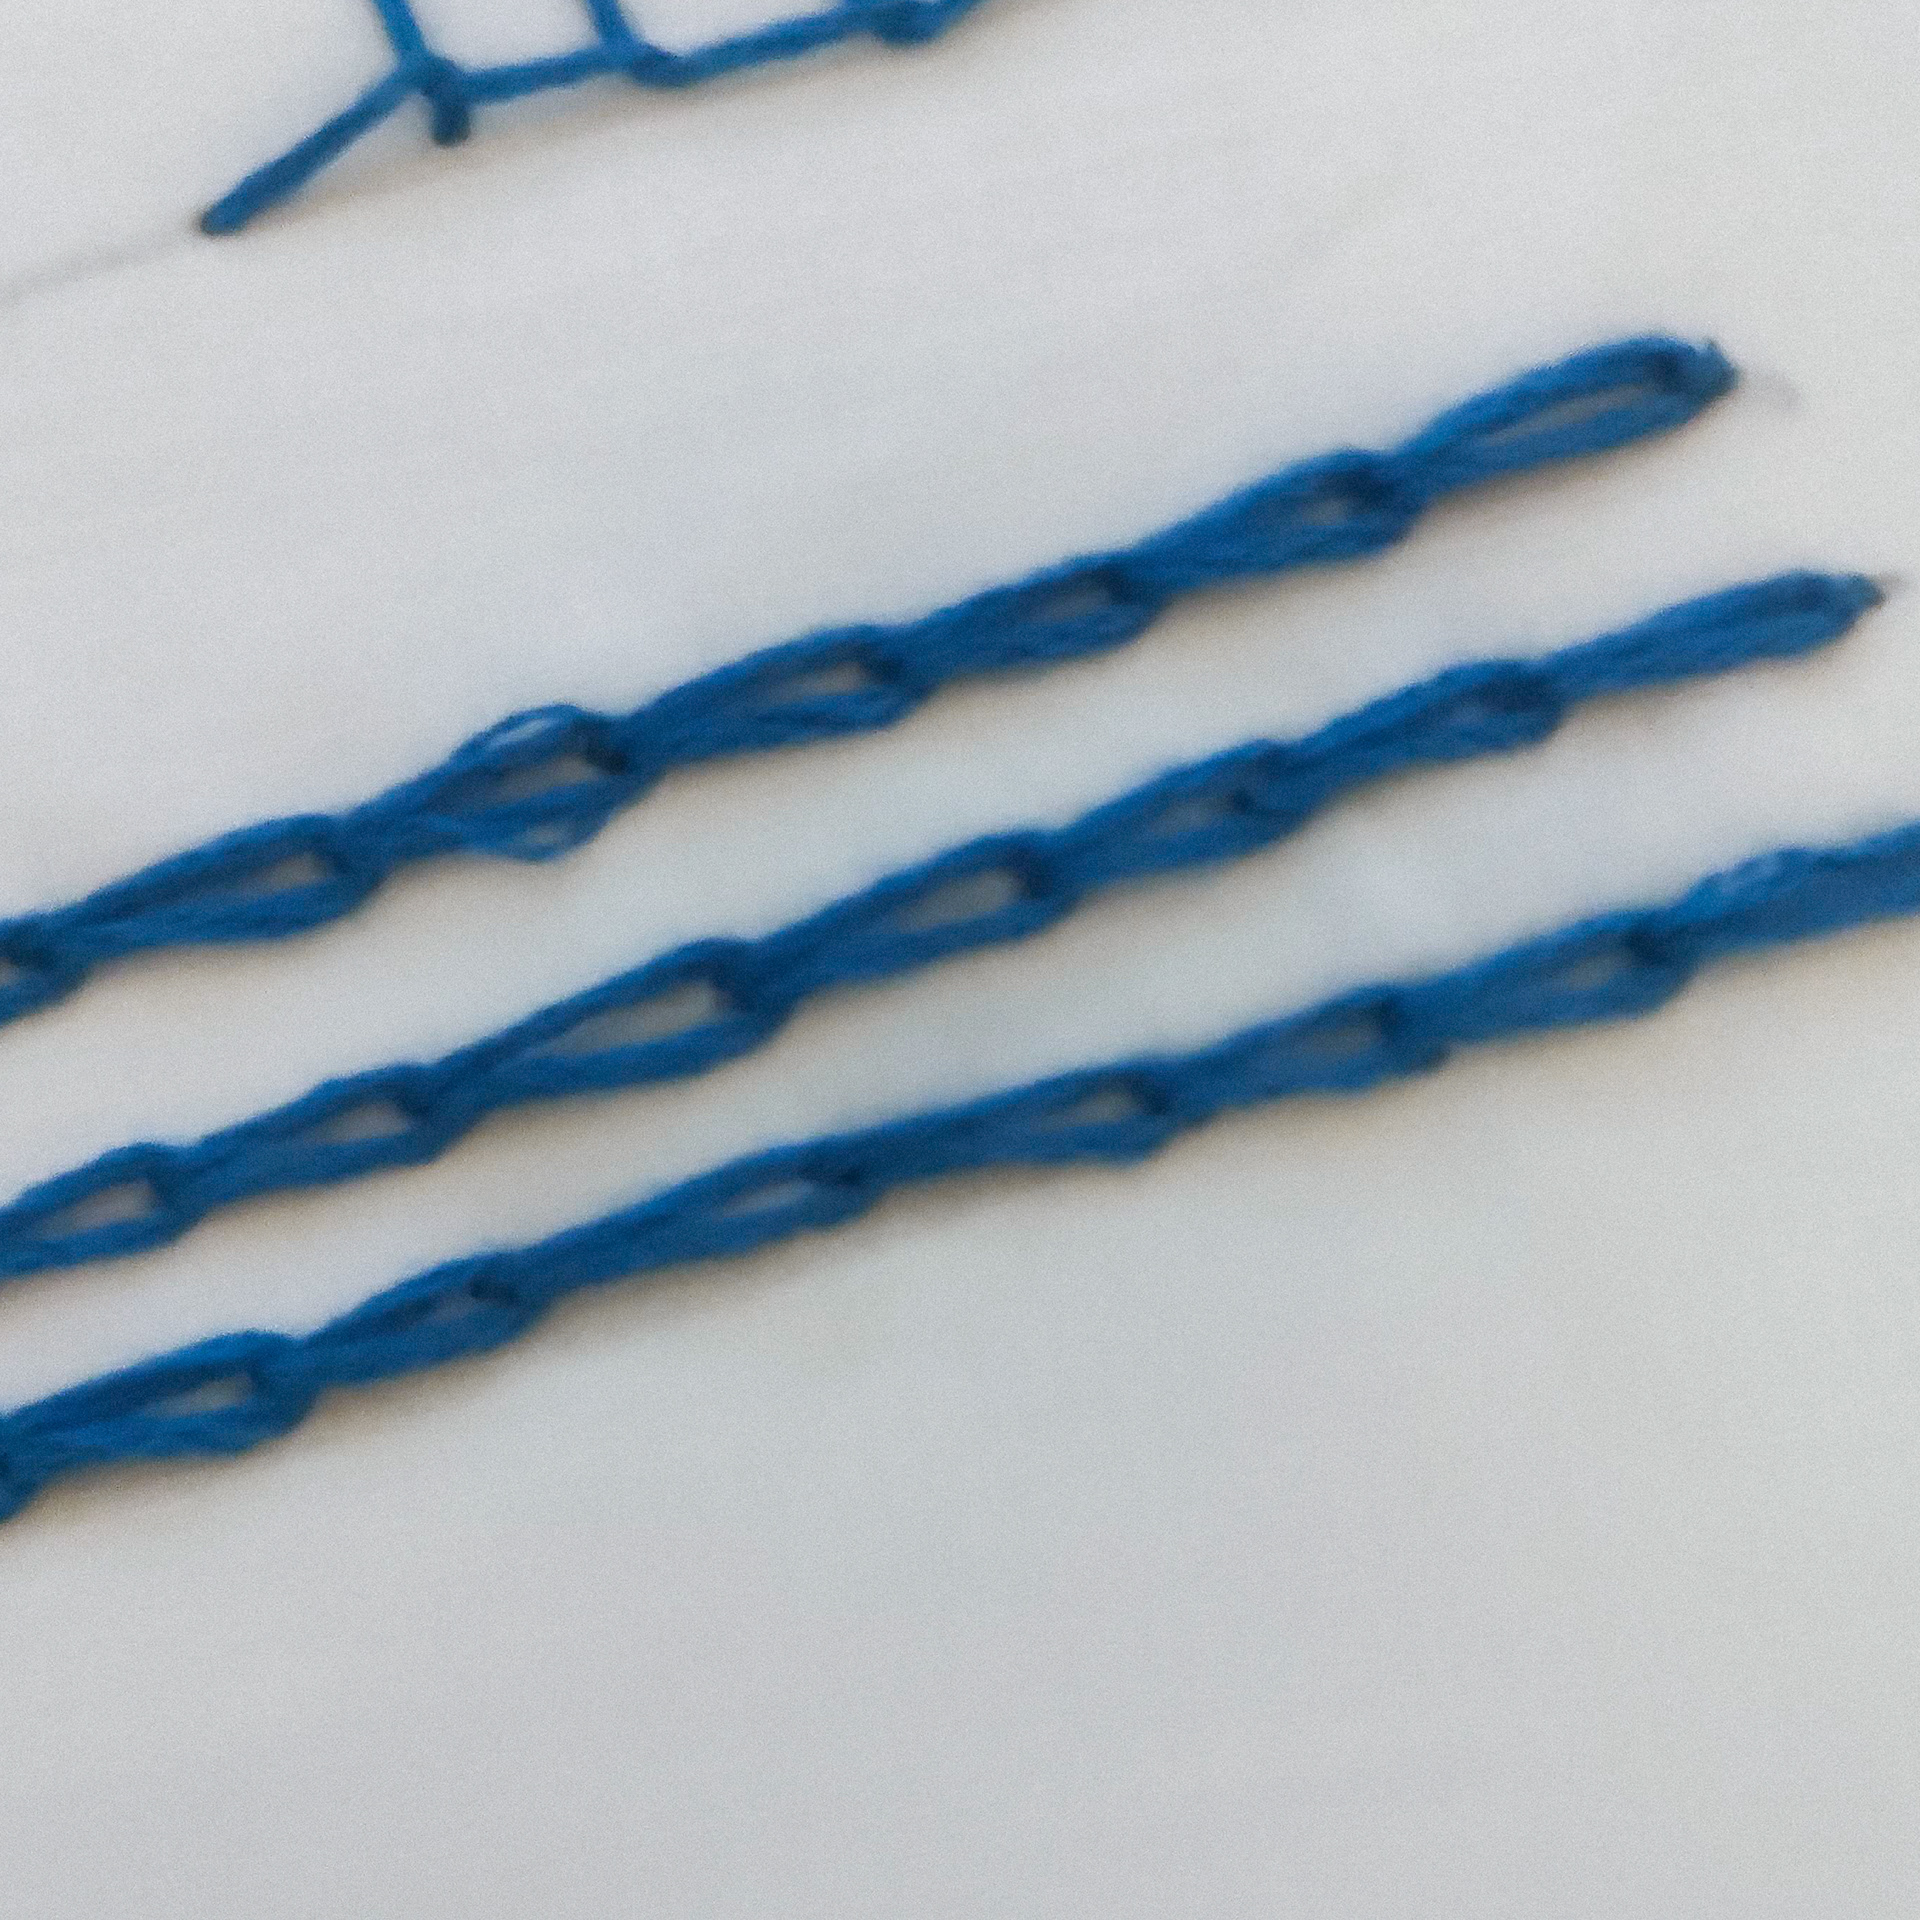
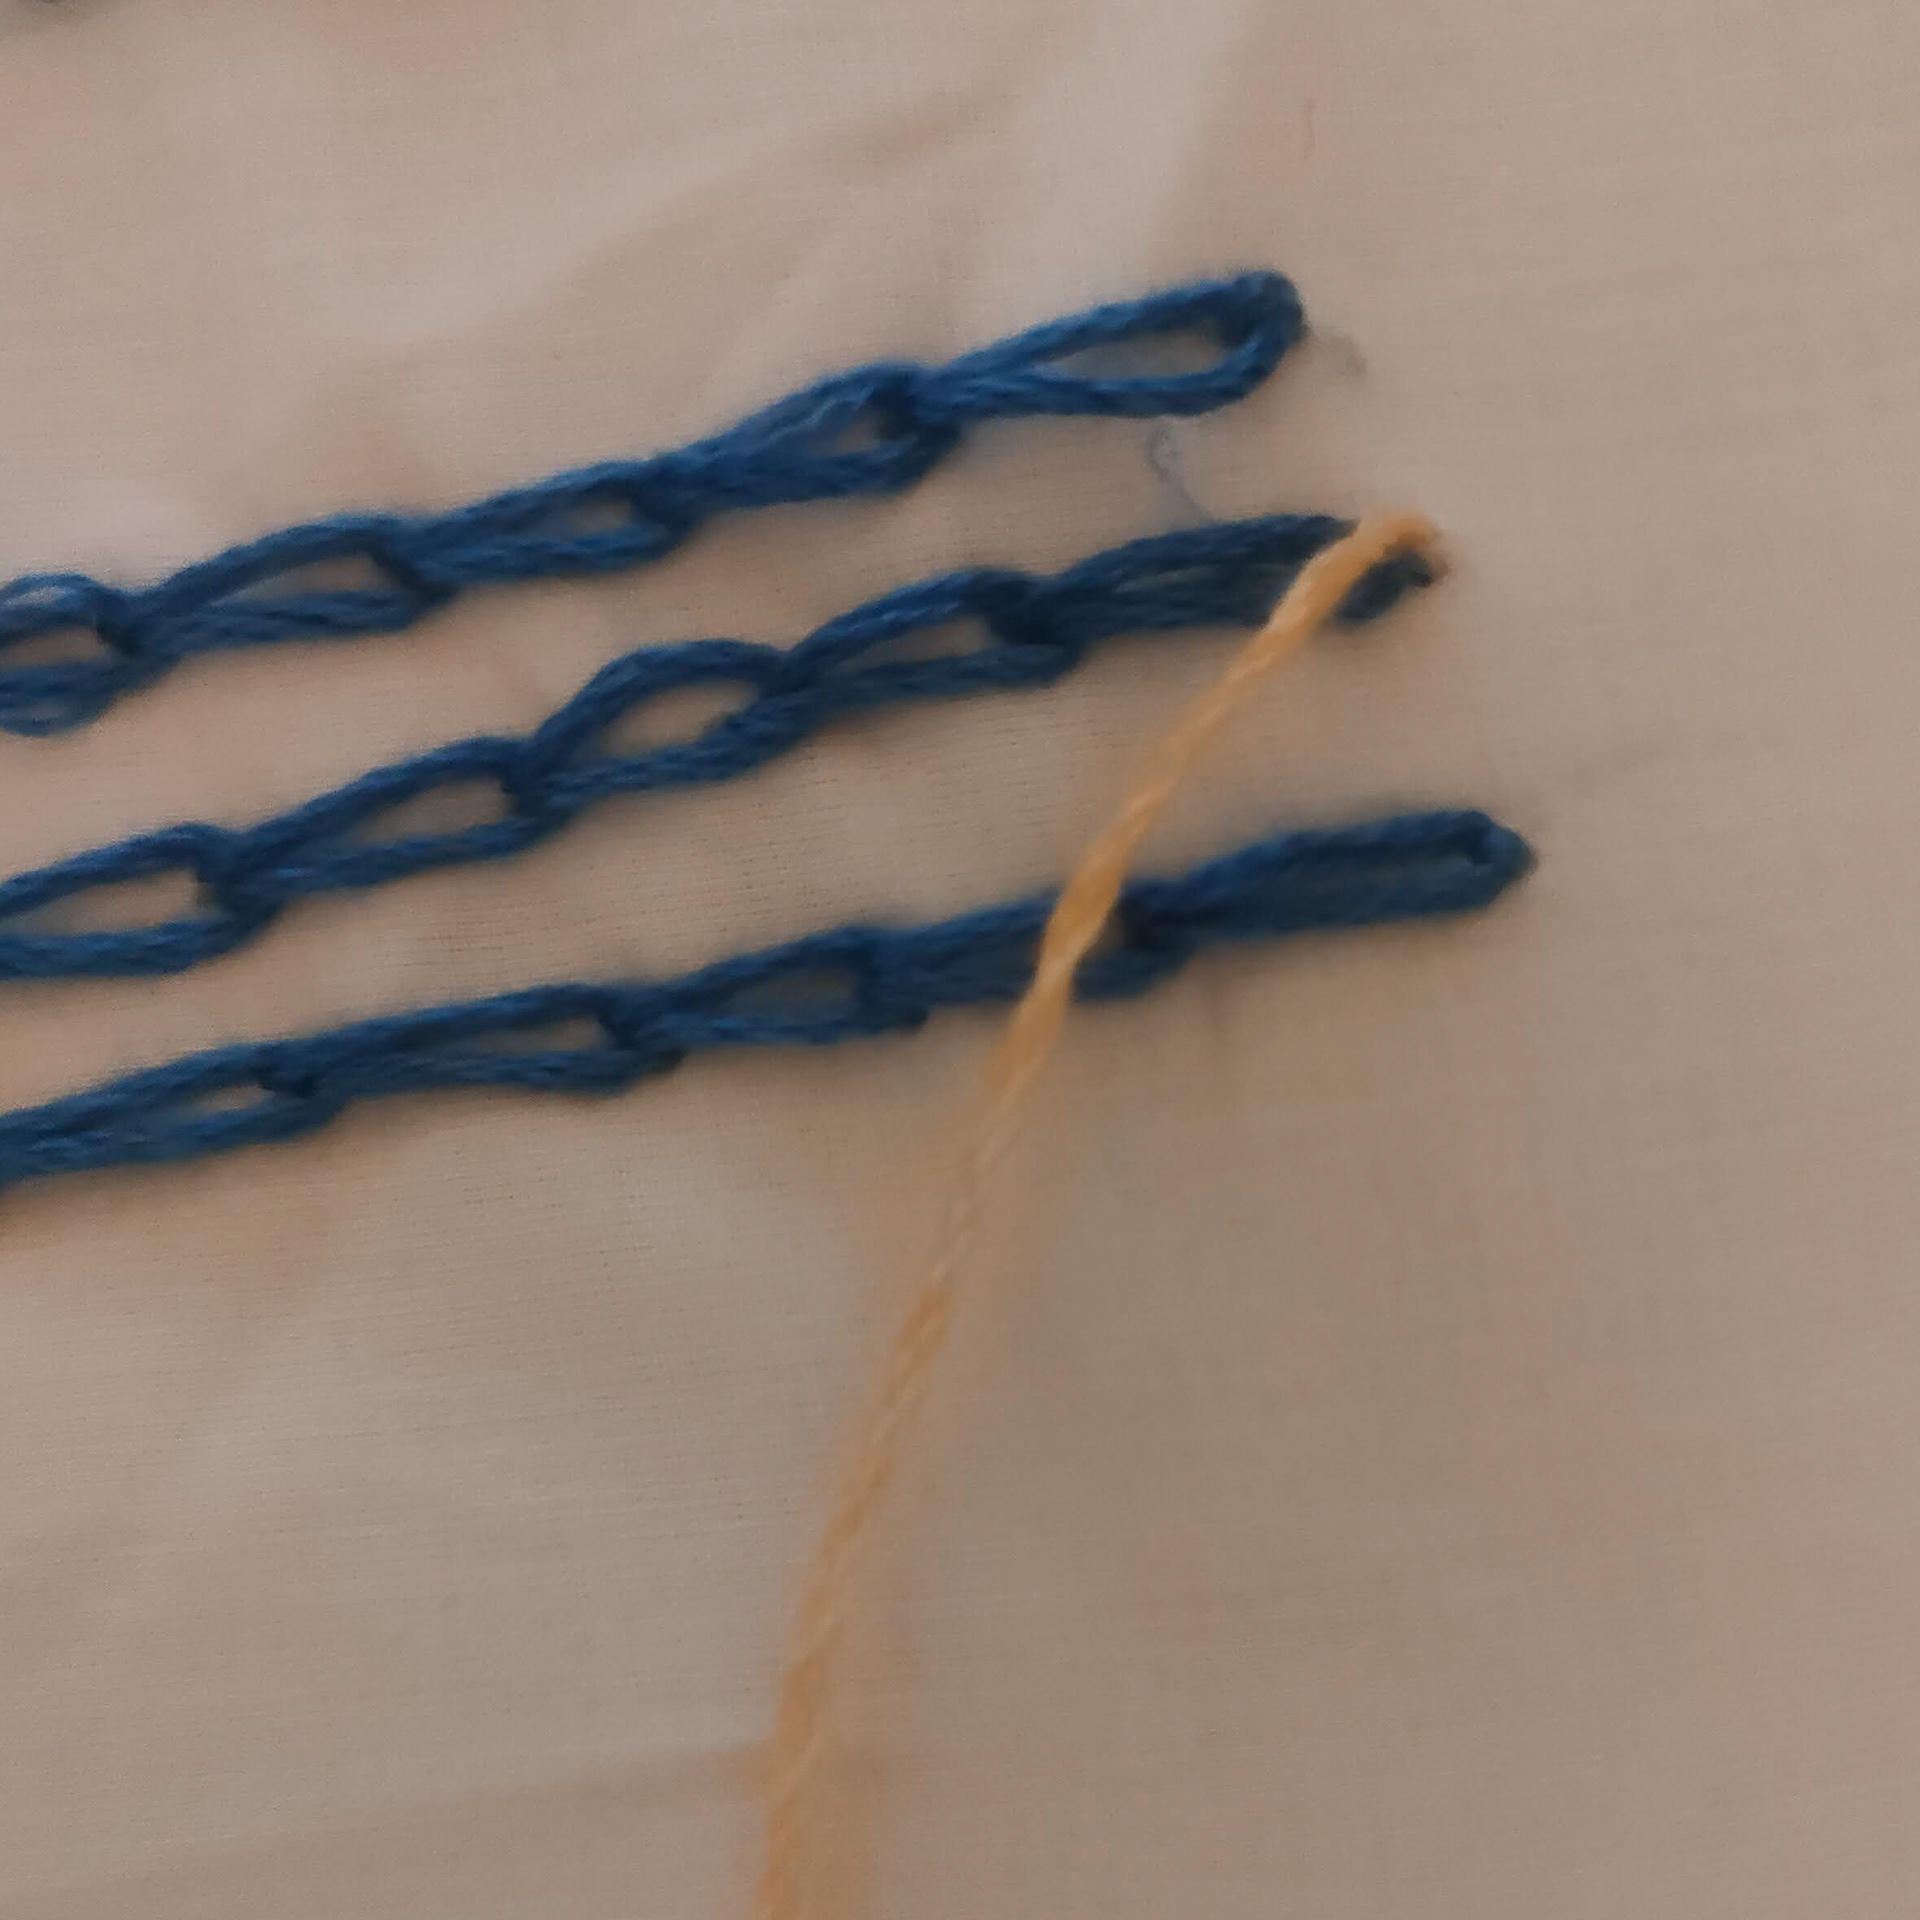
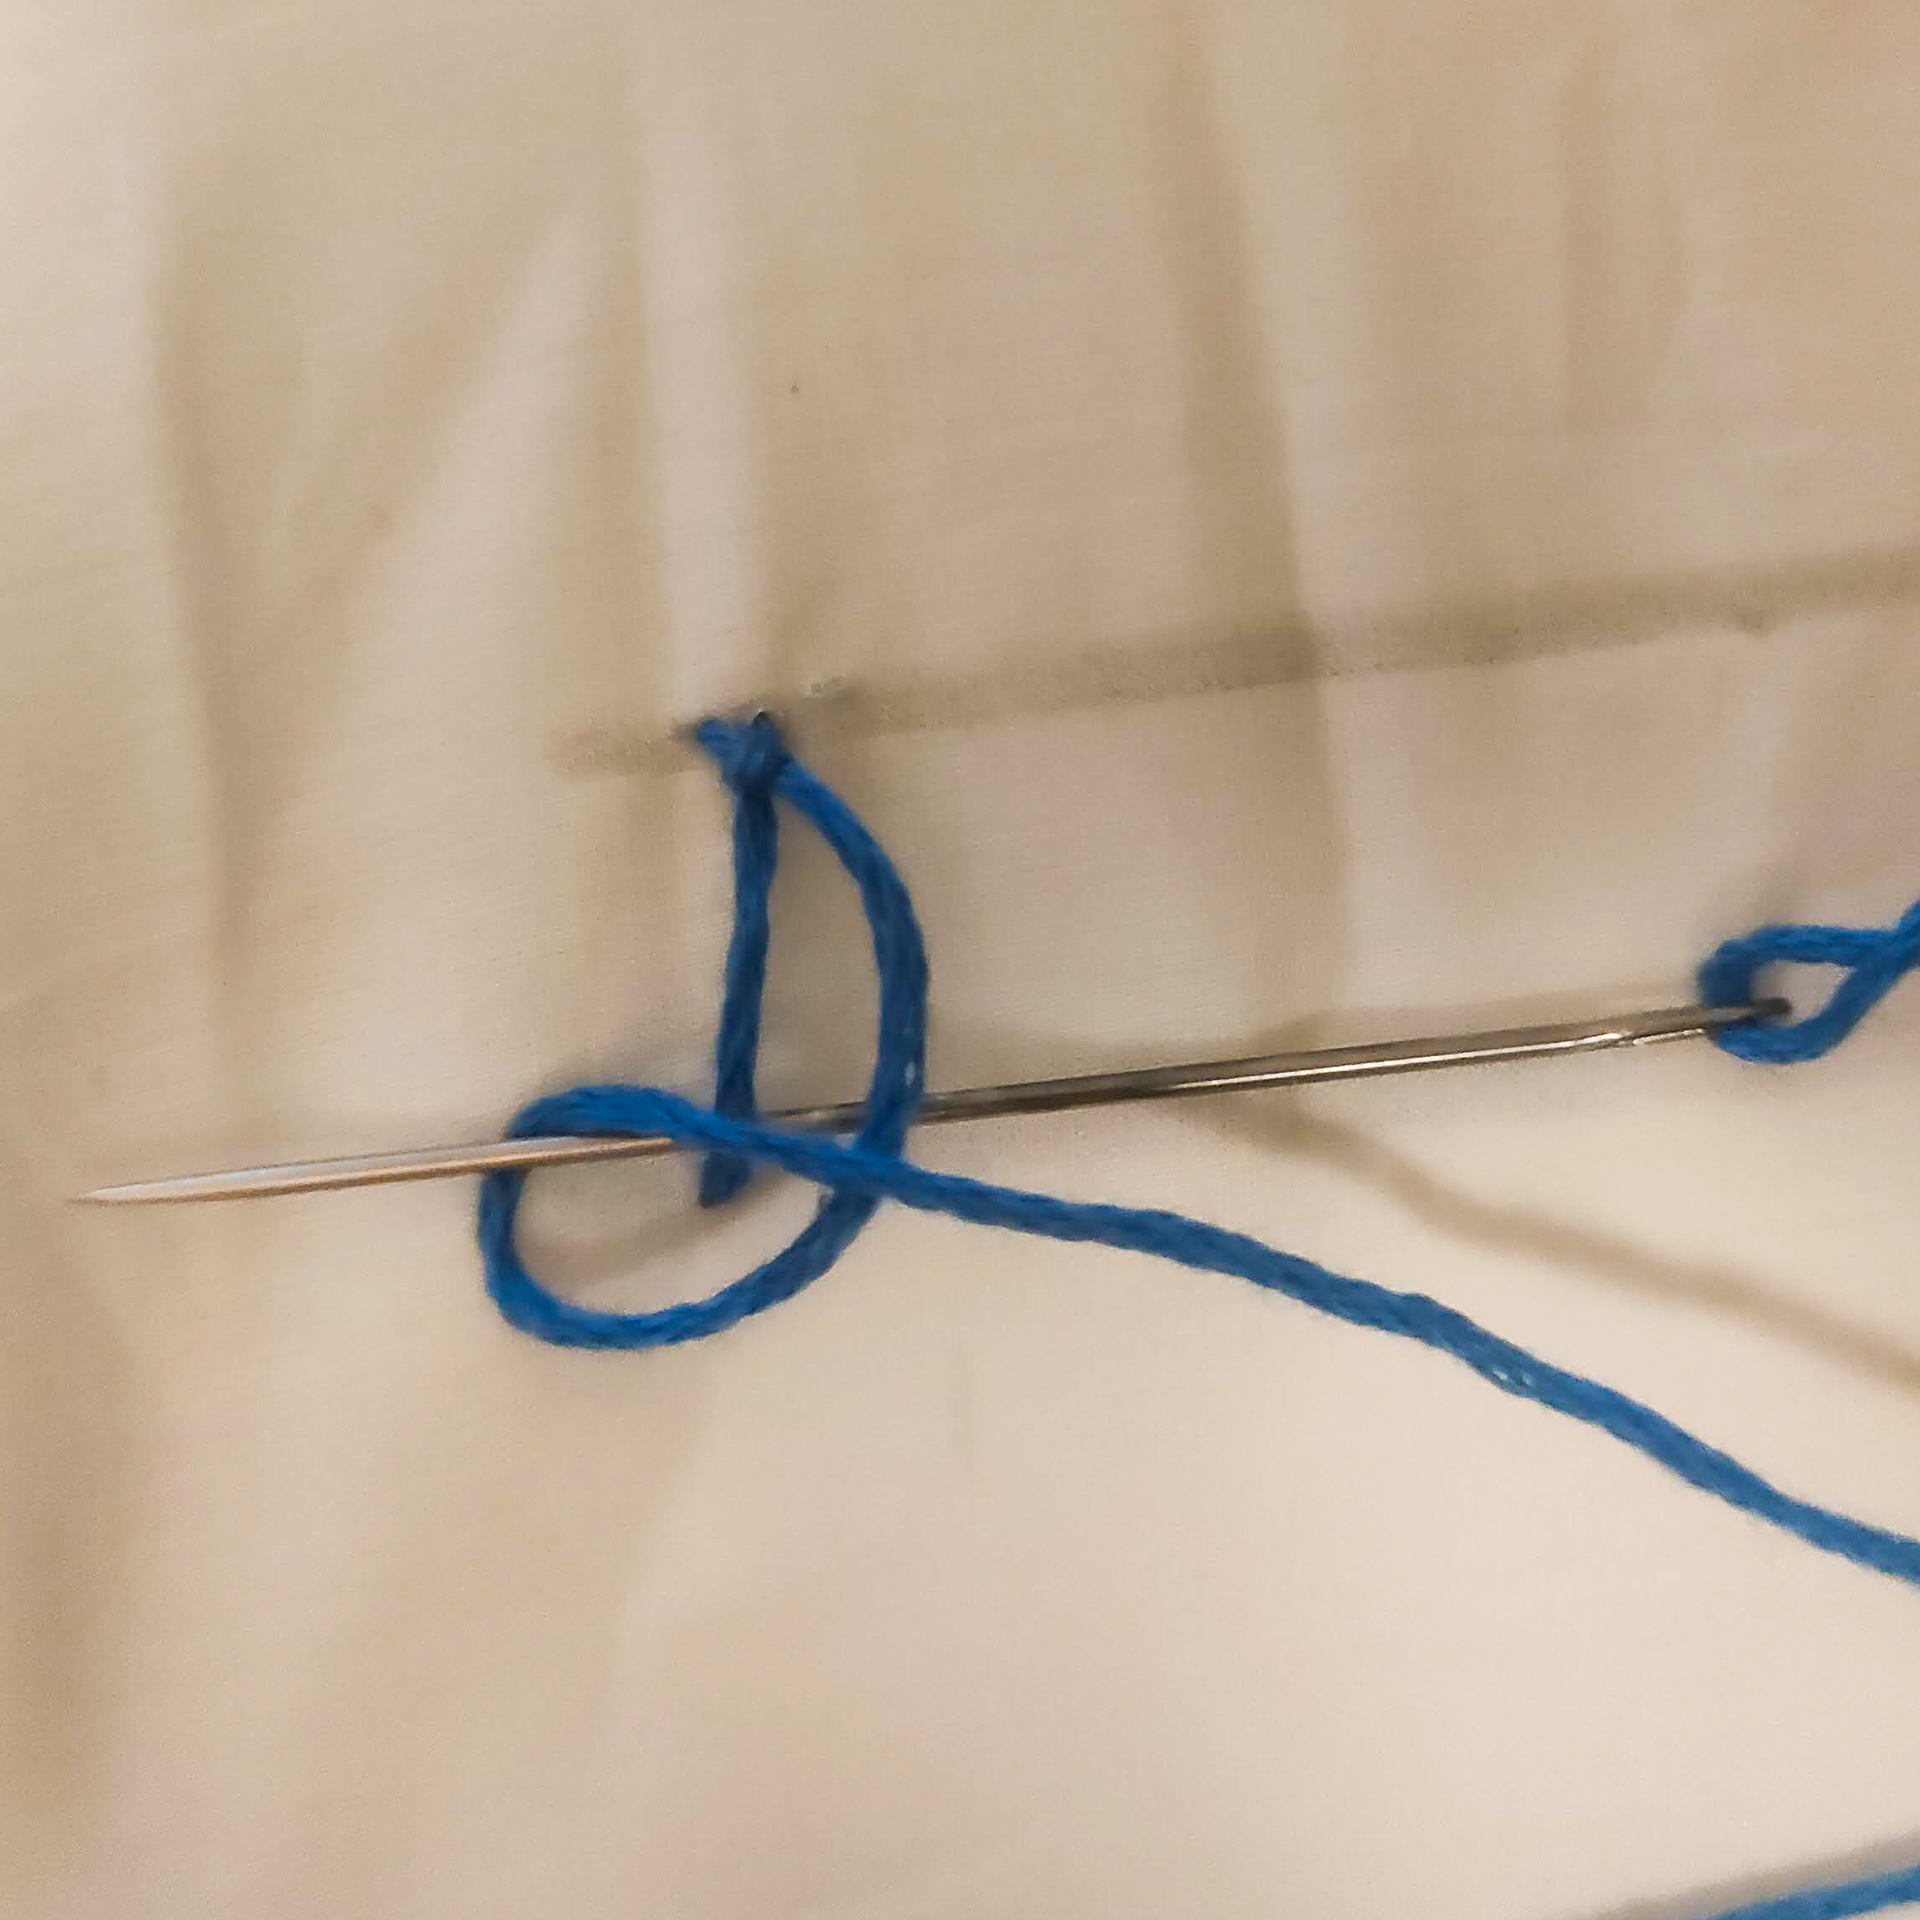
Chain stitch
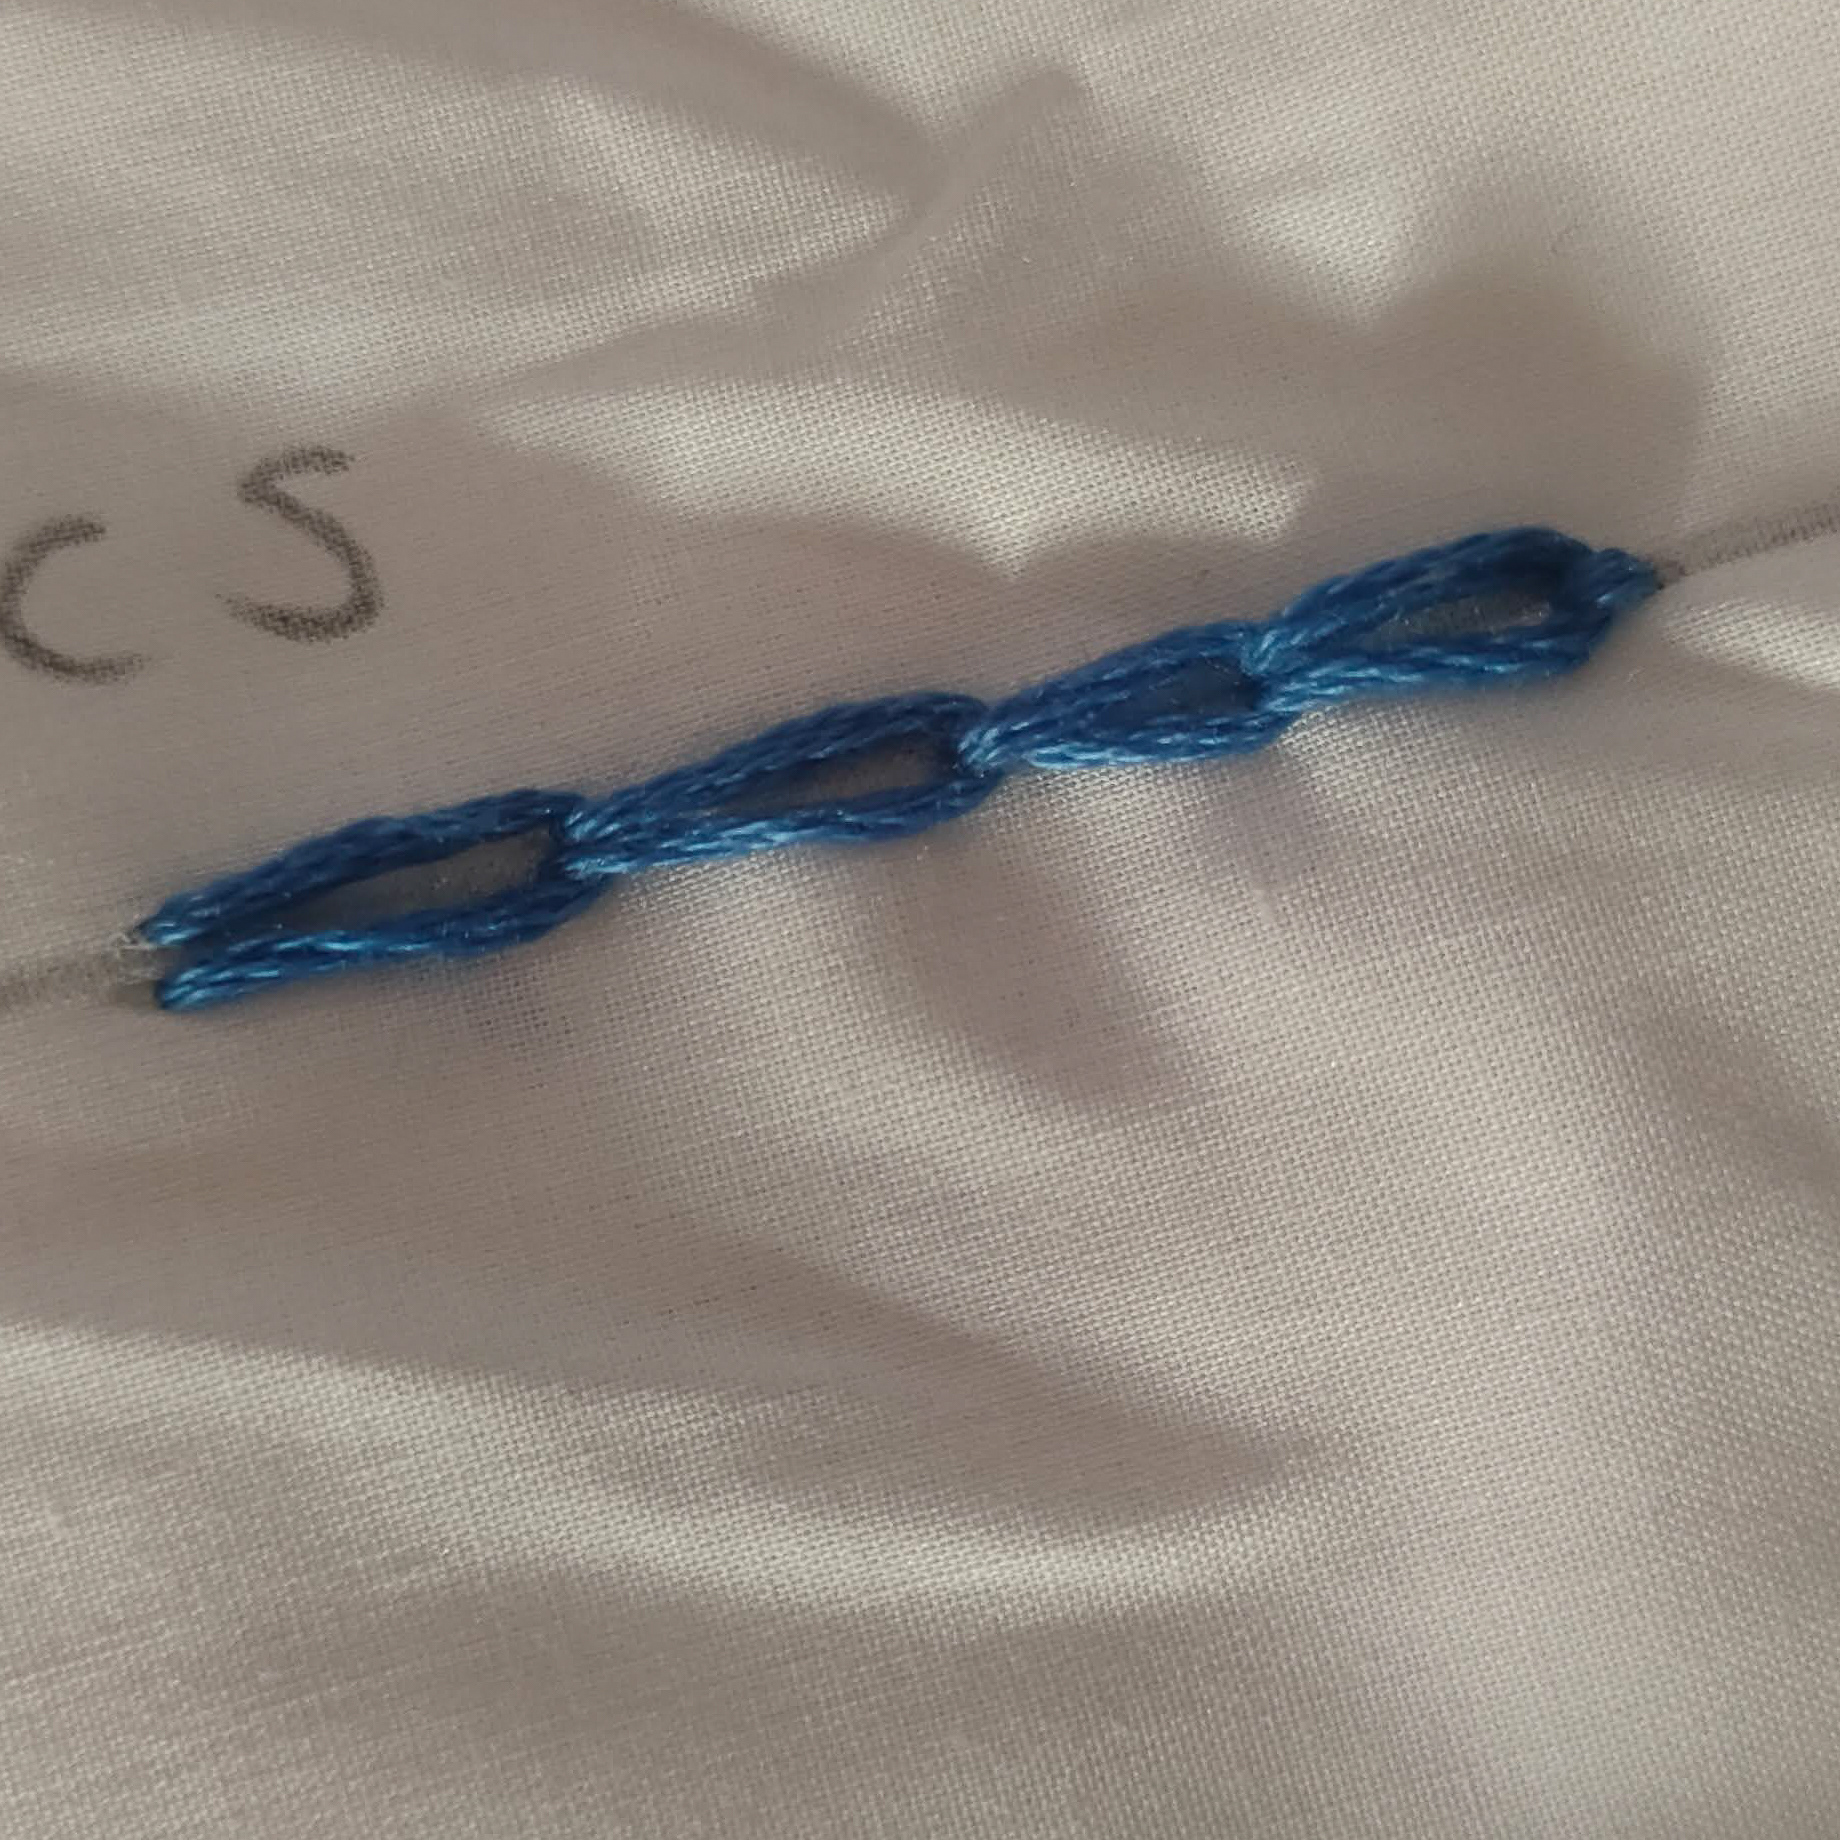
begin by pulling your needle through the fabric to the left of the guideline
From there place your needle point as close to your previous stitch as possible.
insert the needle through the fabric but do not pull fully through.
Pull the needle out a little to the right
Wrap the thread around the needle
Once done pull the needle through to the RS of the fabric then repeat placing your needle next to the previous stitch and wrapping your thread around the needle.
Once finished pull the needle through one more time but instead of creating another loop simply make a stitch that holds the loop in place.
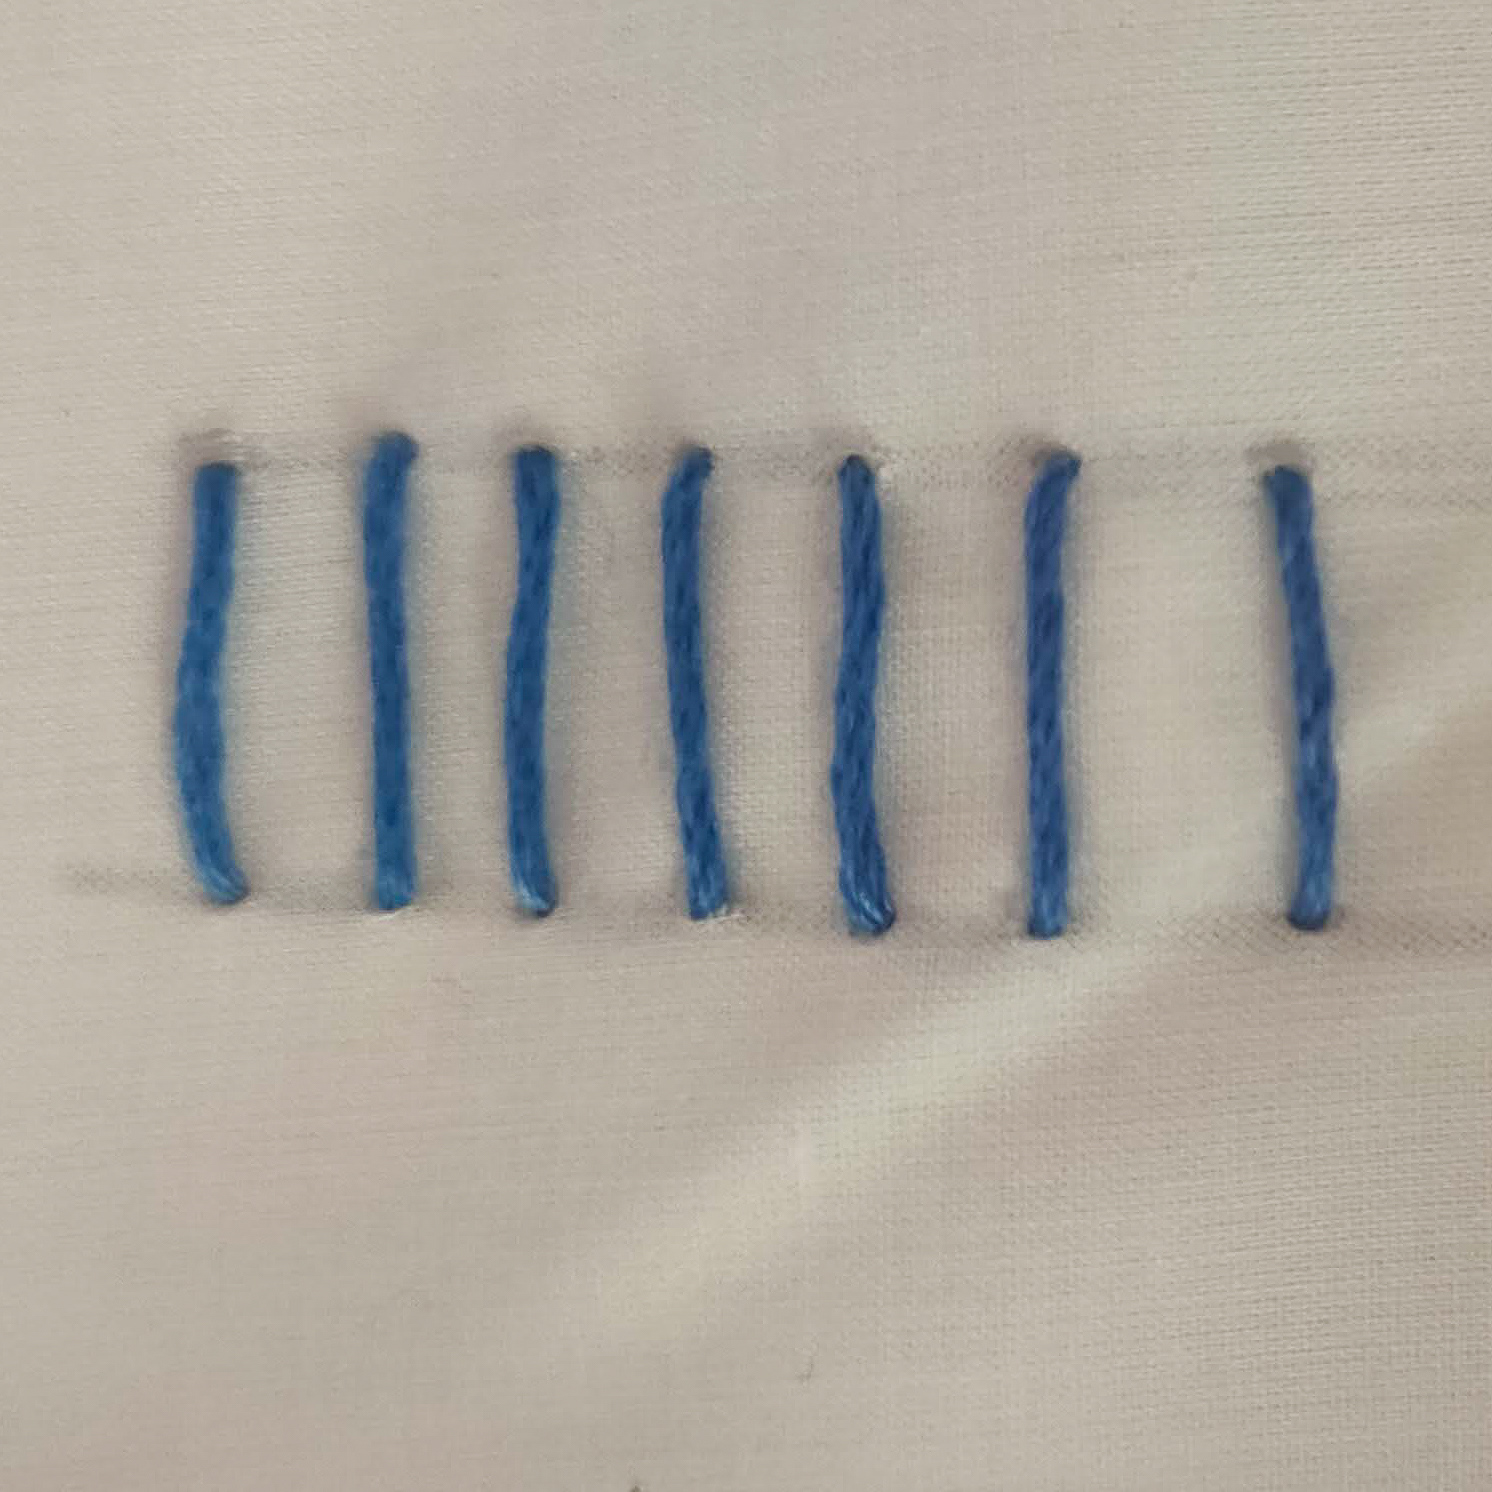
Raised chain stitch
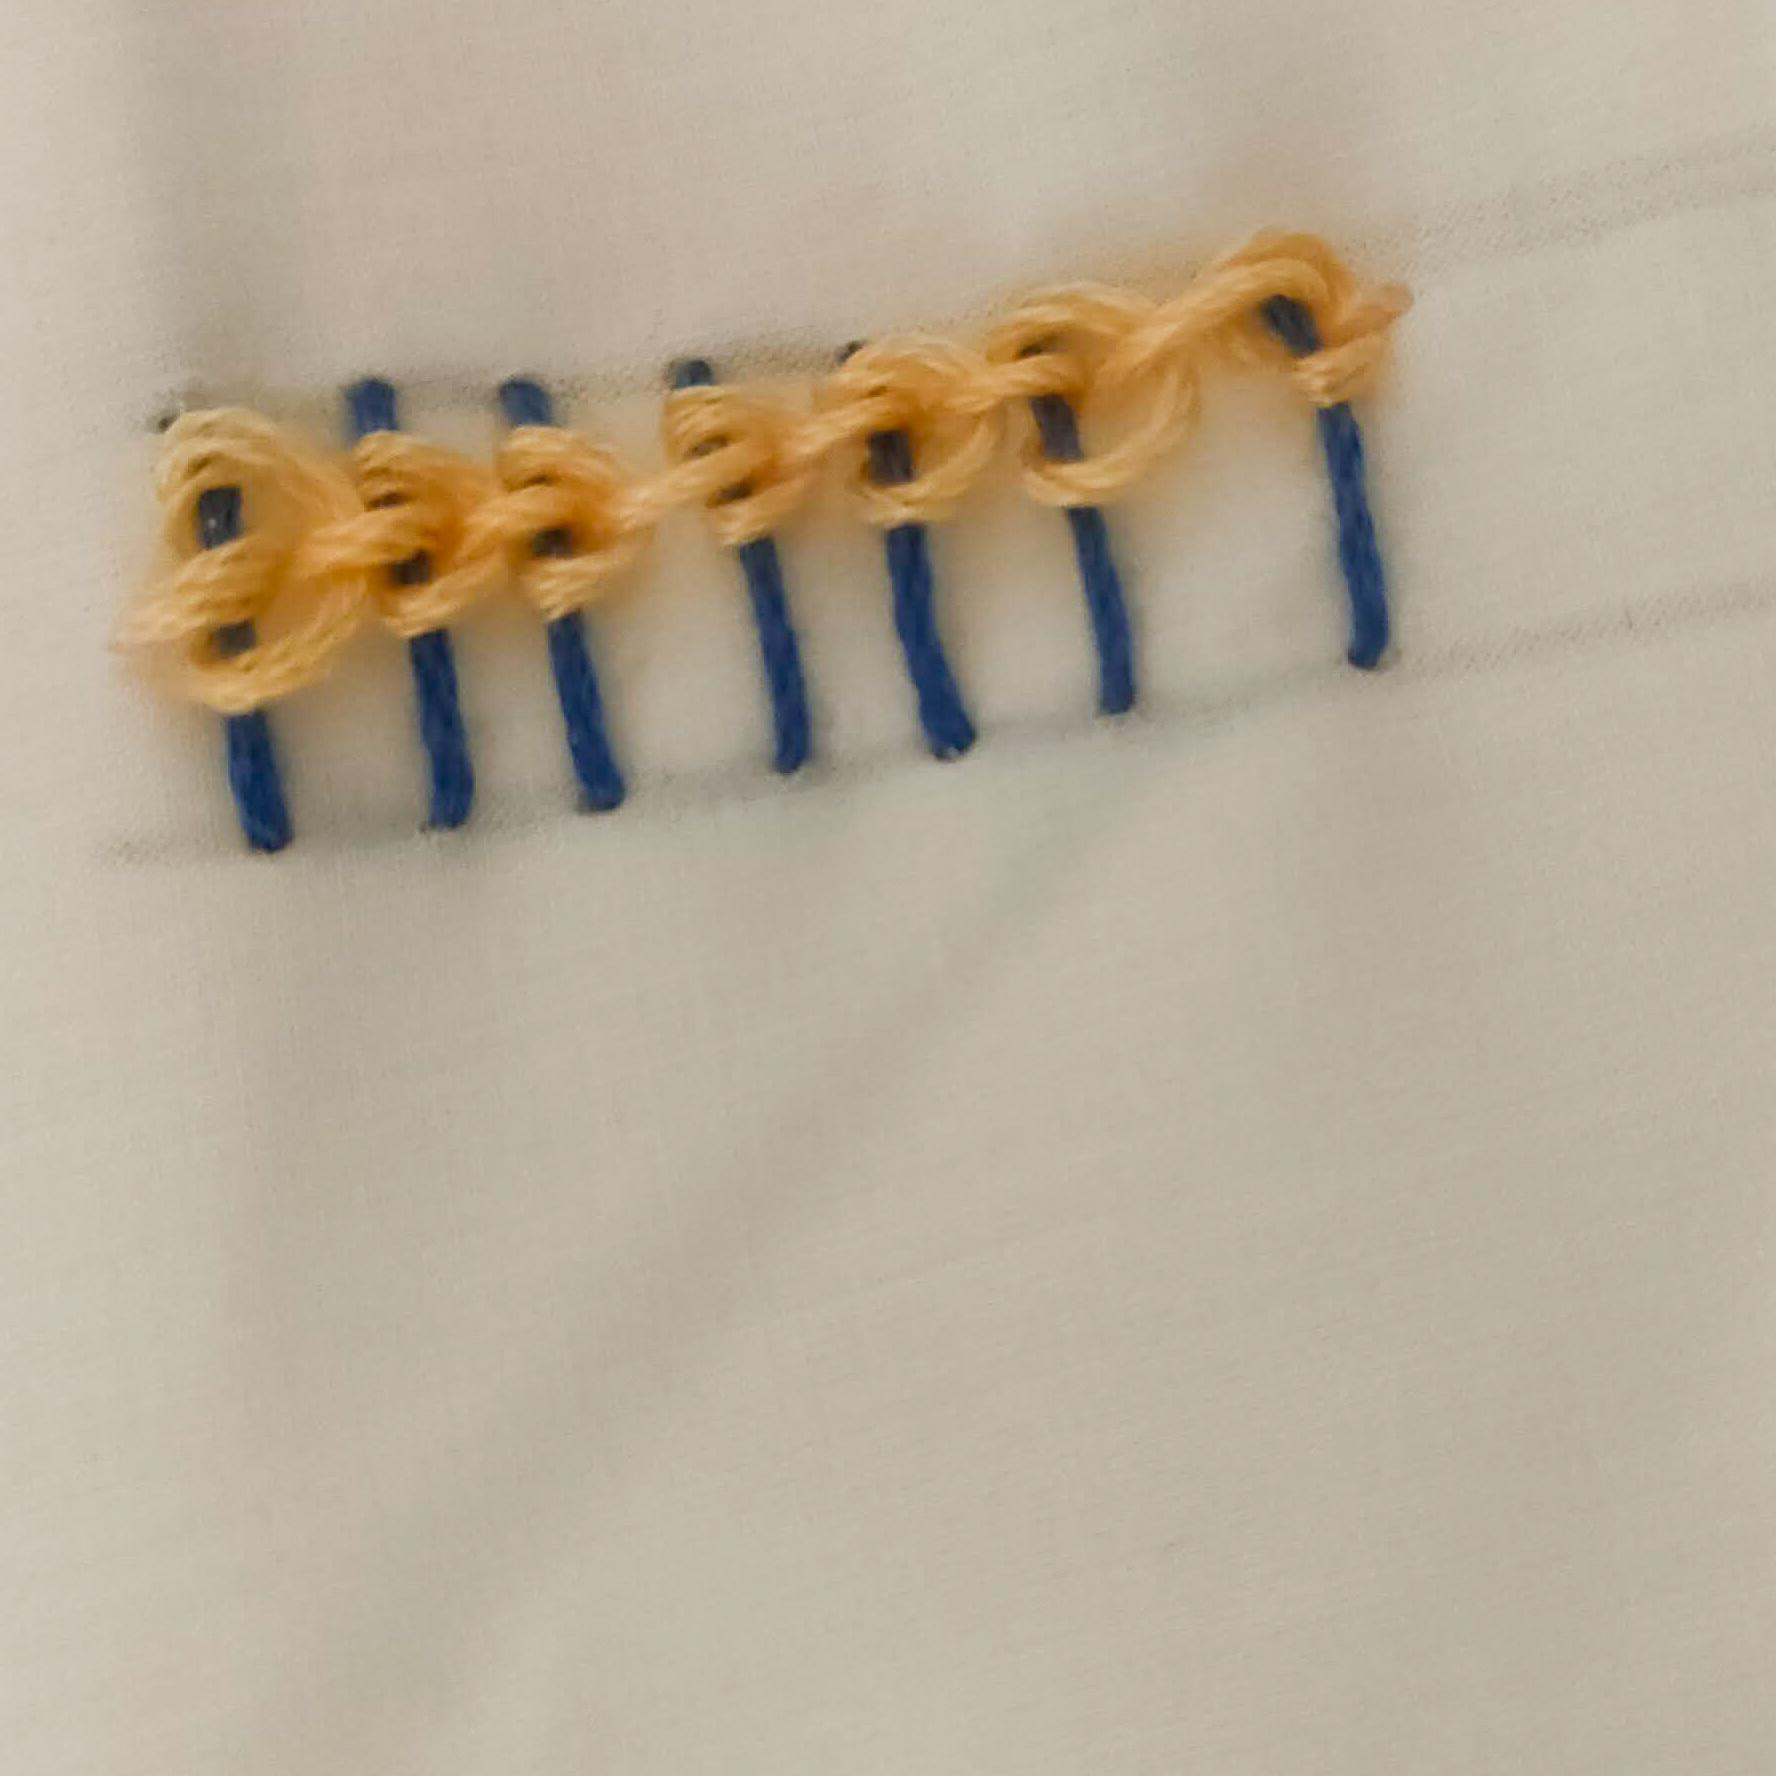
create a length of horizontal stitches.
Once created pull your thread to the middle left of your stitches.
NOT ENTERING THE FABRIC place your needle below your first stitch entering from the right and leaving the loop created loose.

Next place your needle under your original stitch from the left and below your previous working and then loop your working thread under before pulling through and keeping the loose loop that is formed.
Now repeat on your next stitch to the right.
Herringbone stitch
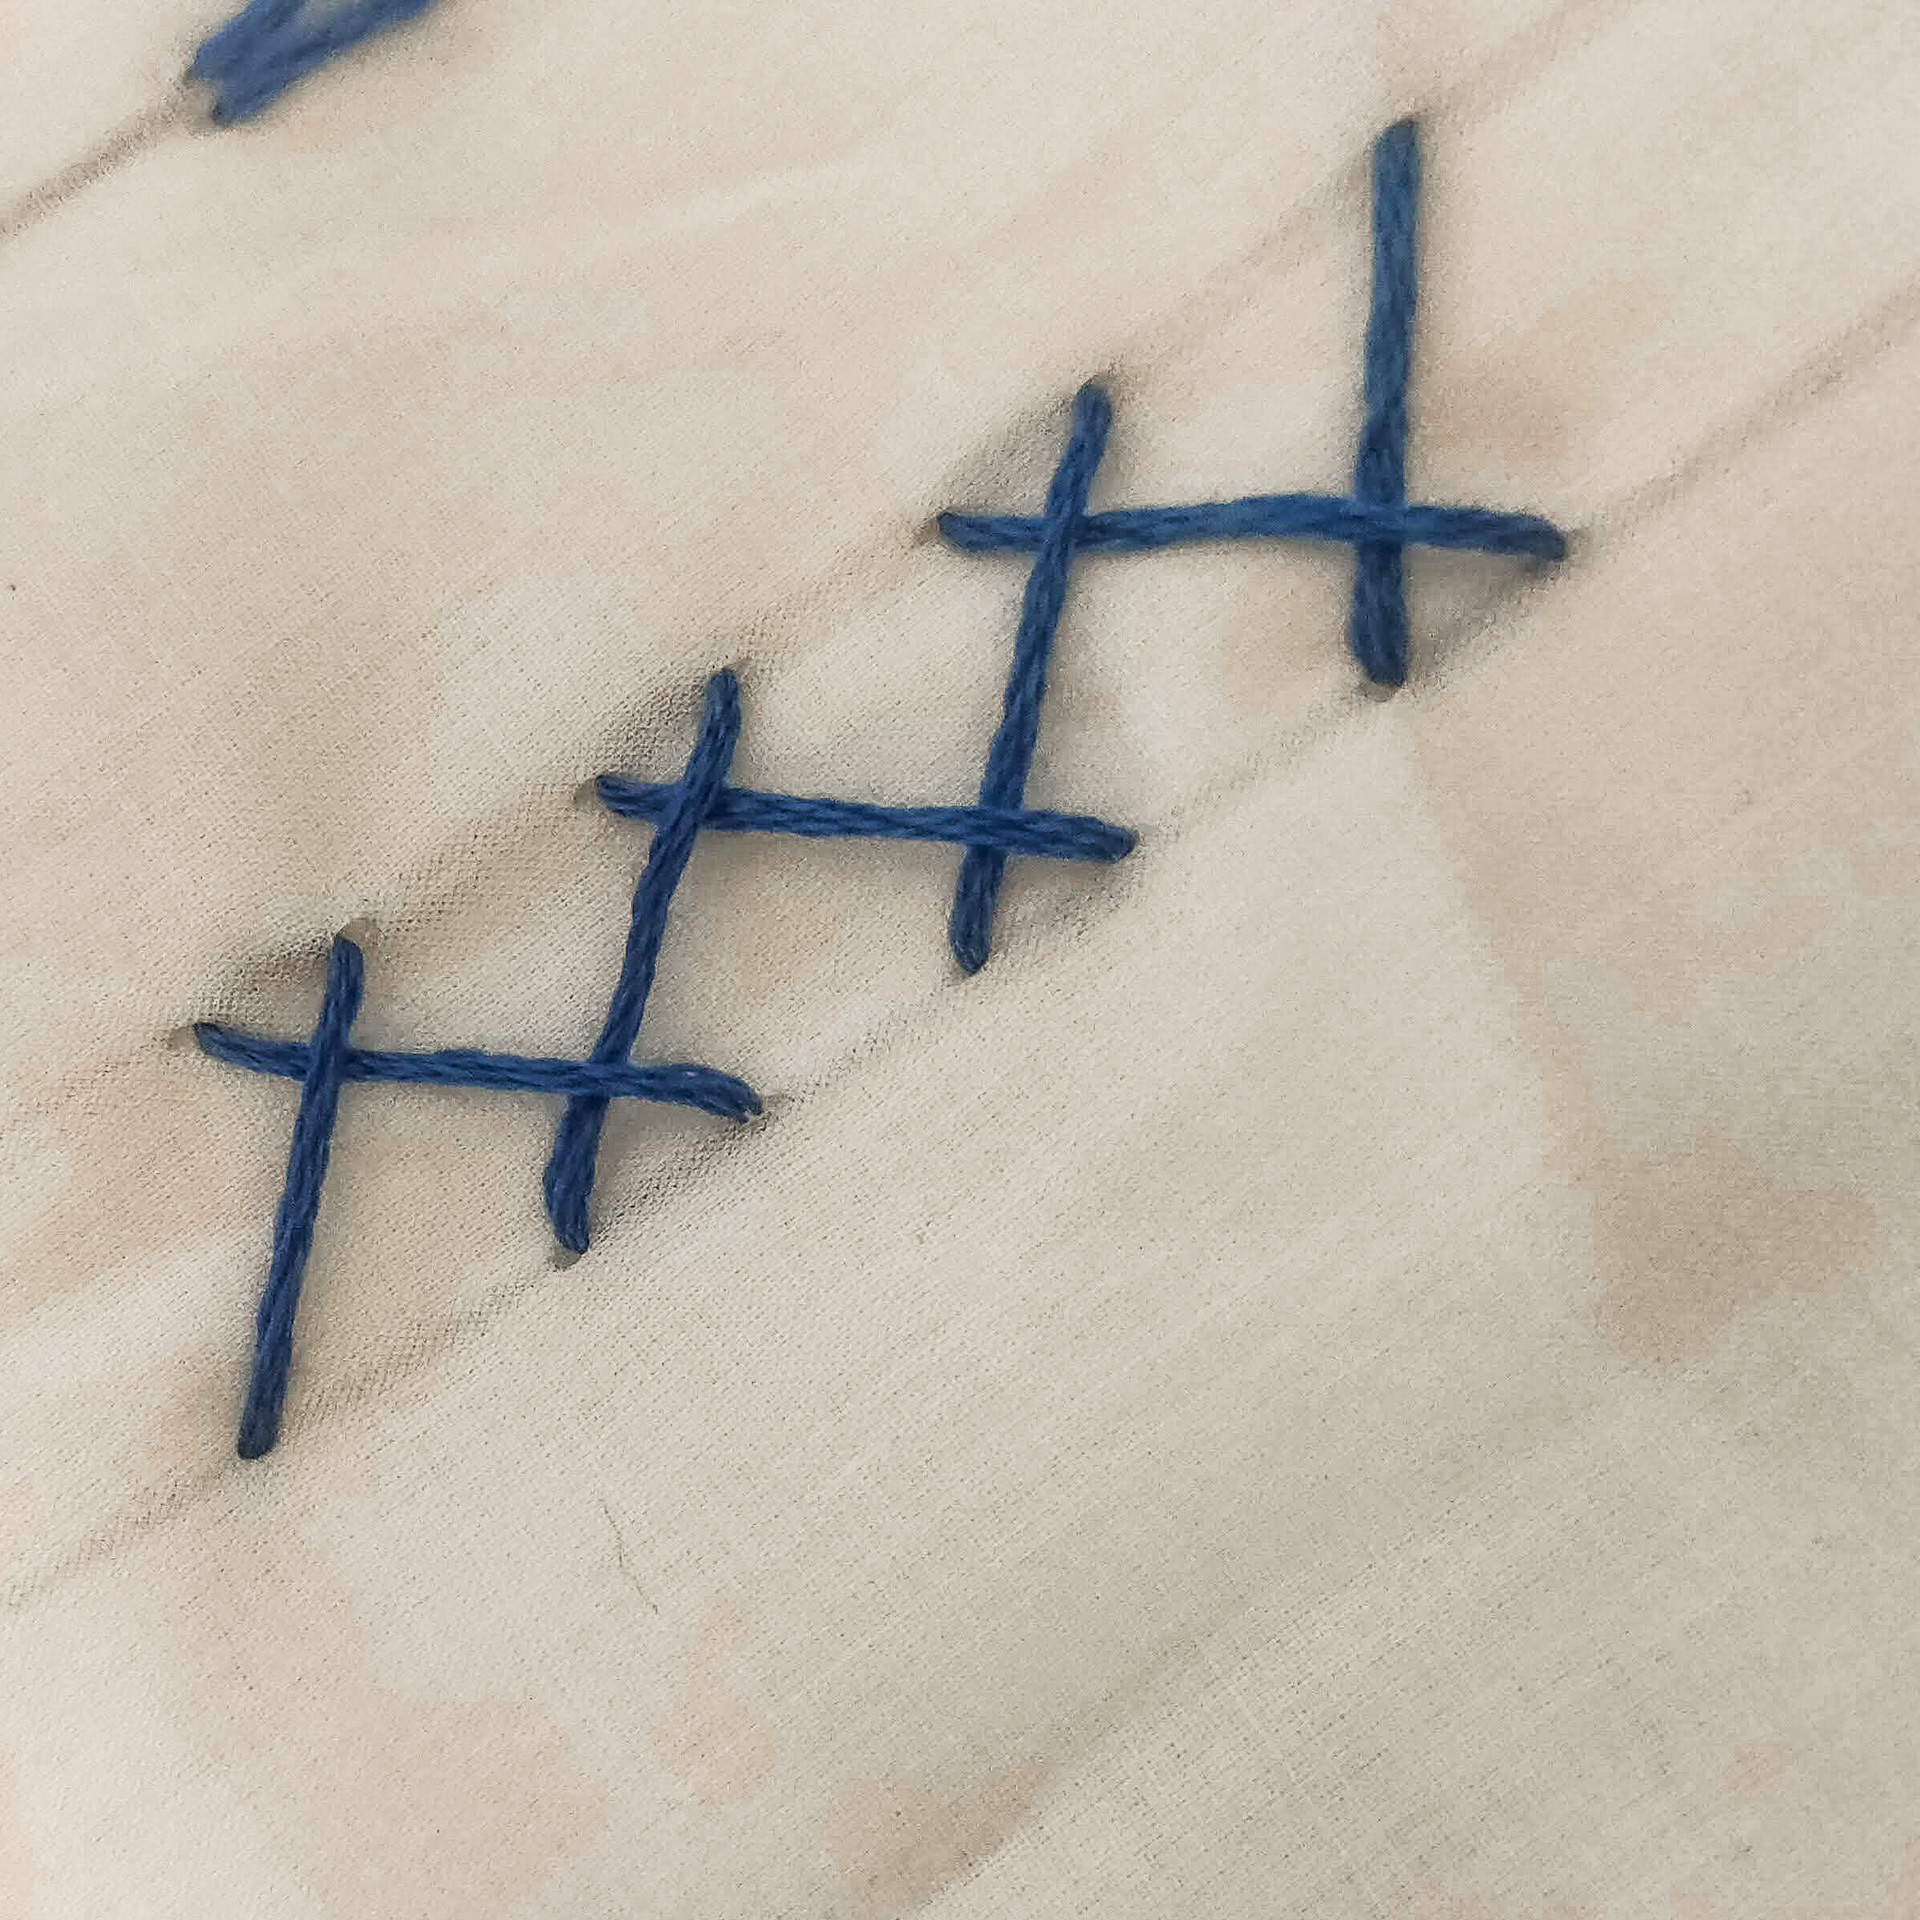
bring the thread up at the top guideline. Pulling the thread through place your needle slightly to the left
with the needle still in your fabric pull the needle up a little to the right of the stitch.
Once done pull the thread through.
Then do the same through the top guideline.

Once done cross your stitch over to the left on the bottom guideline and continue the steps until at desired length
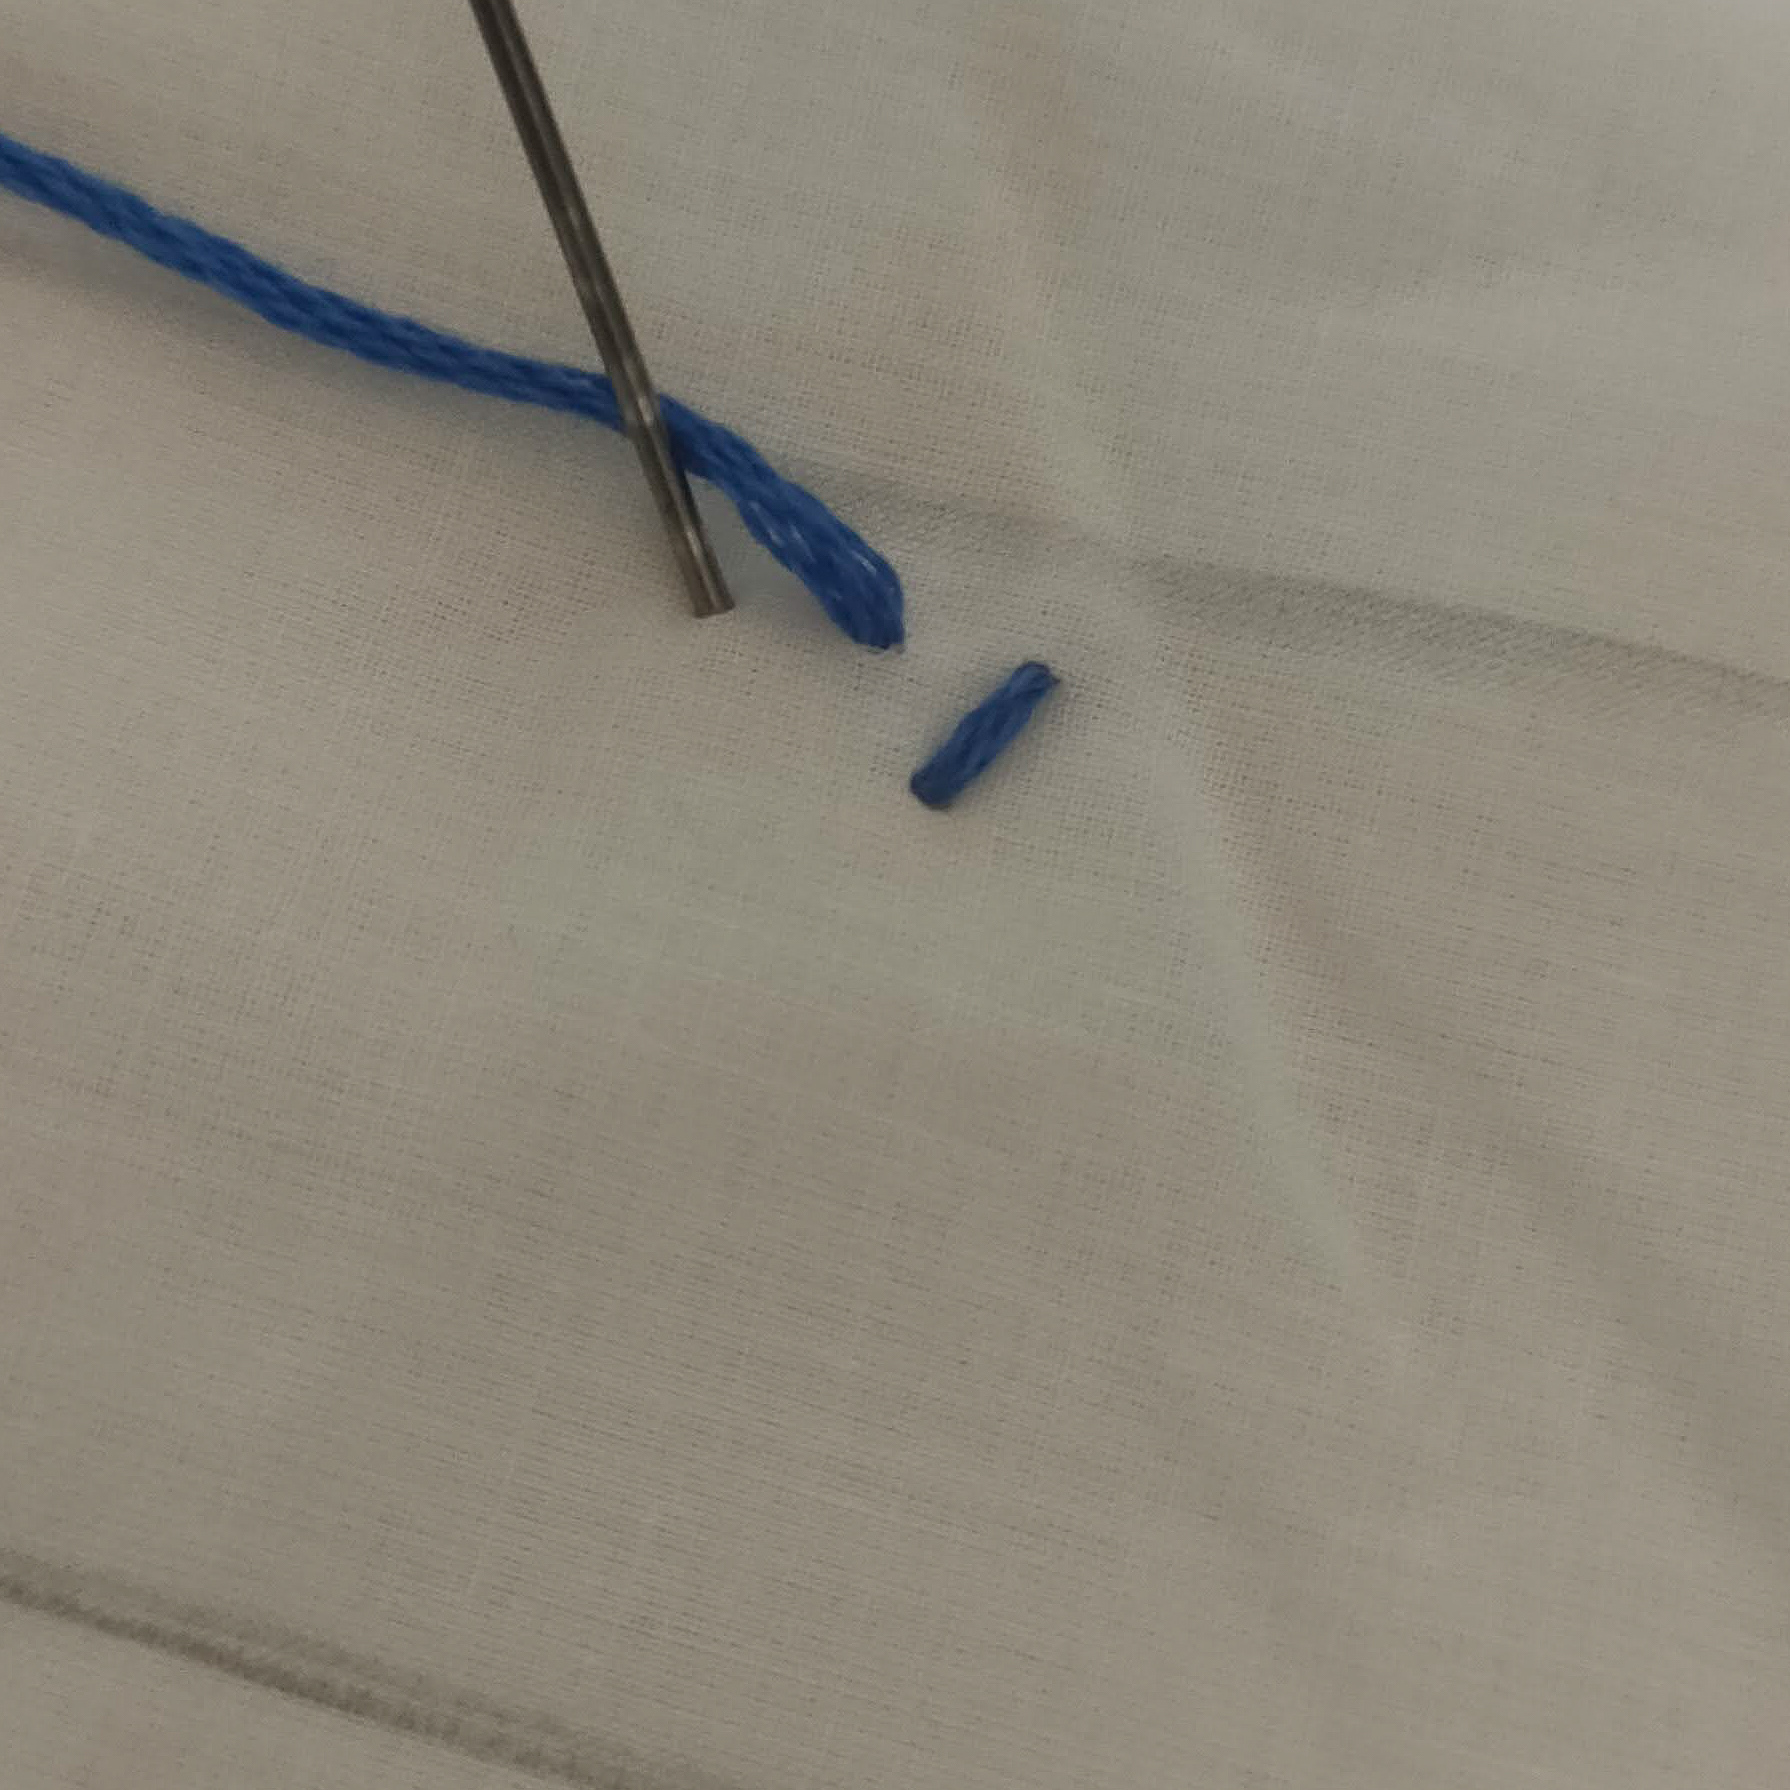
Seed stitch
the seed stitch can be seen as a single running stitch,
pull your thread up to the right side and then back down your desired distance away. Continue this filling the square and changing directions of the stitch.
Satin stitch
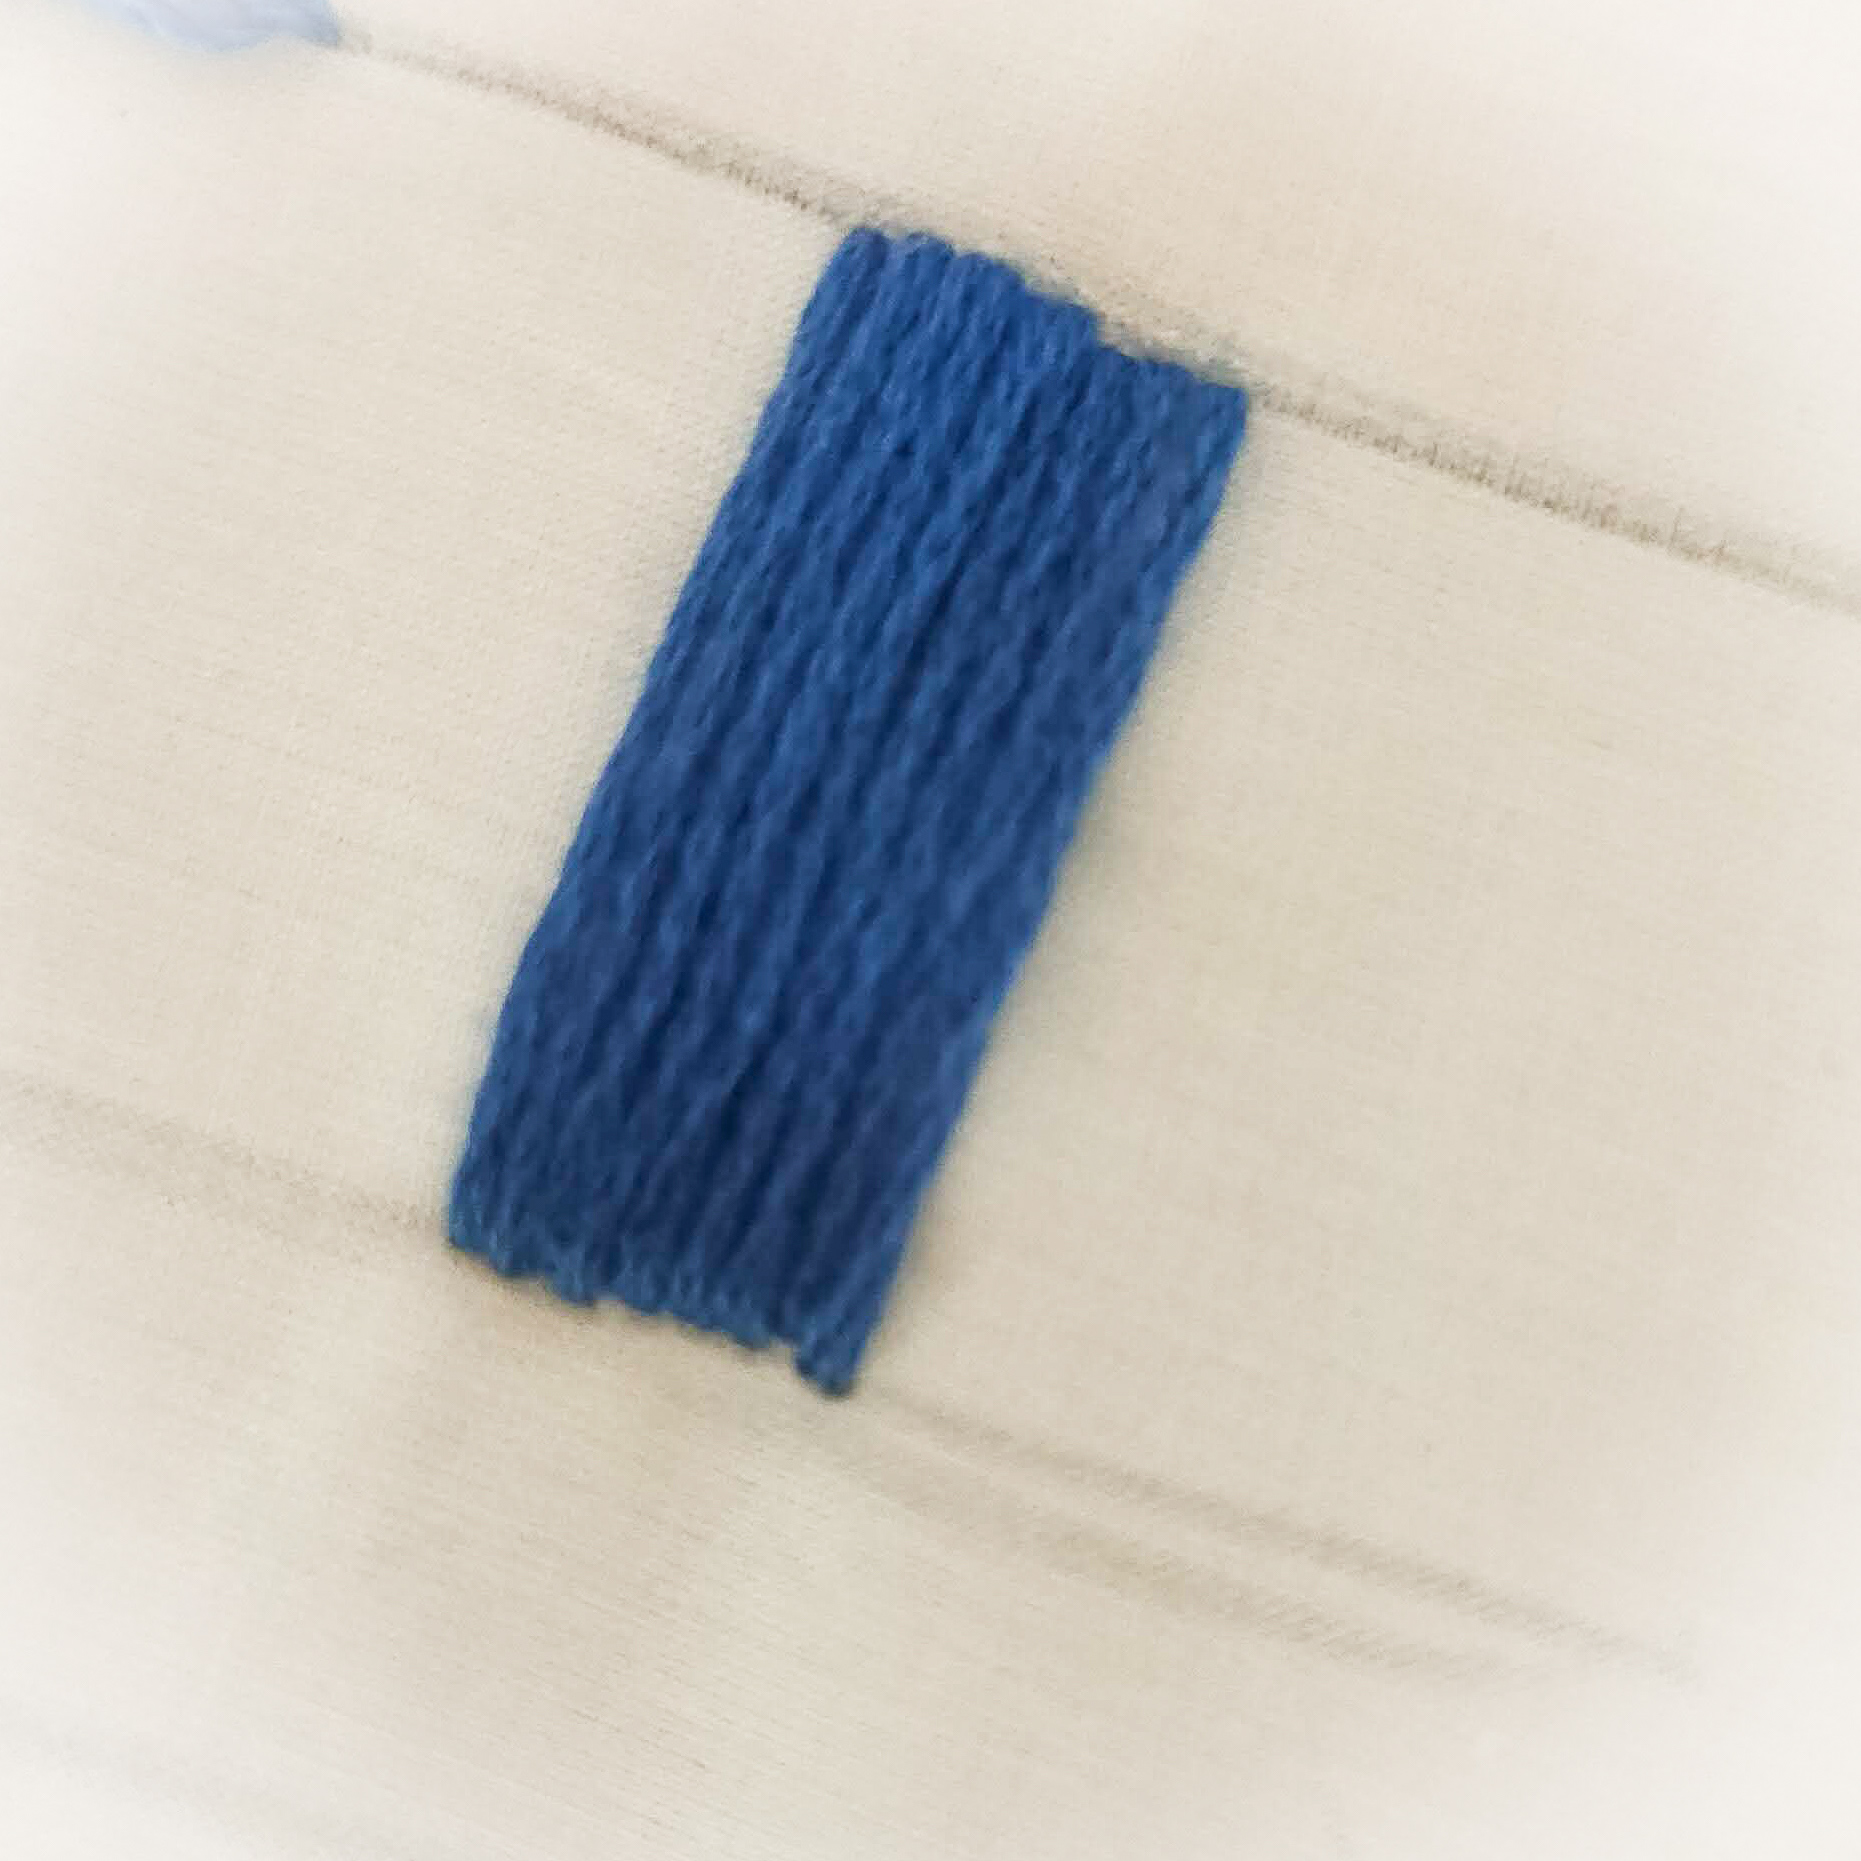
pull your needle to the RS then insert your needle at the bottom of the box.
From the WS place your needle to the top of the box right next to your previous stitch and pull your needle through.
Continue this getting your stitches as close together as possible
Satin stitch is one of the easiest filler stitches and is highly effective however can use a lot of thread up to do so.
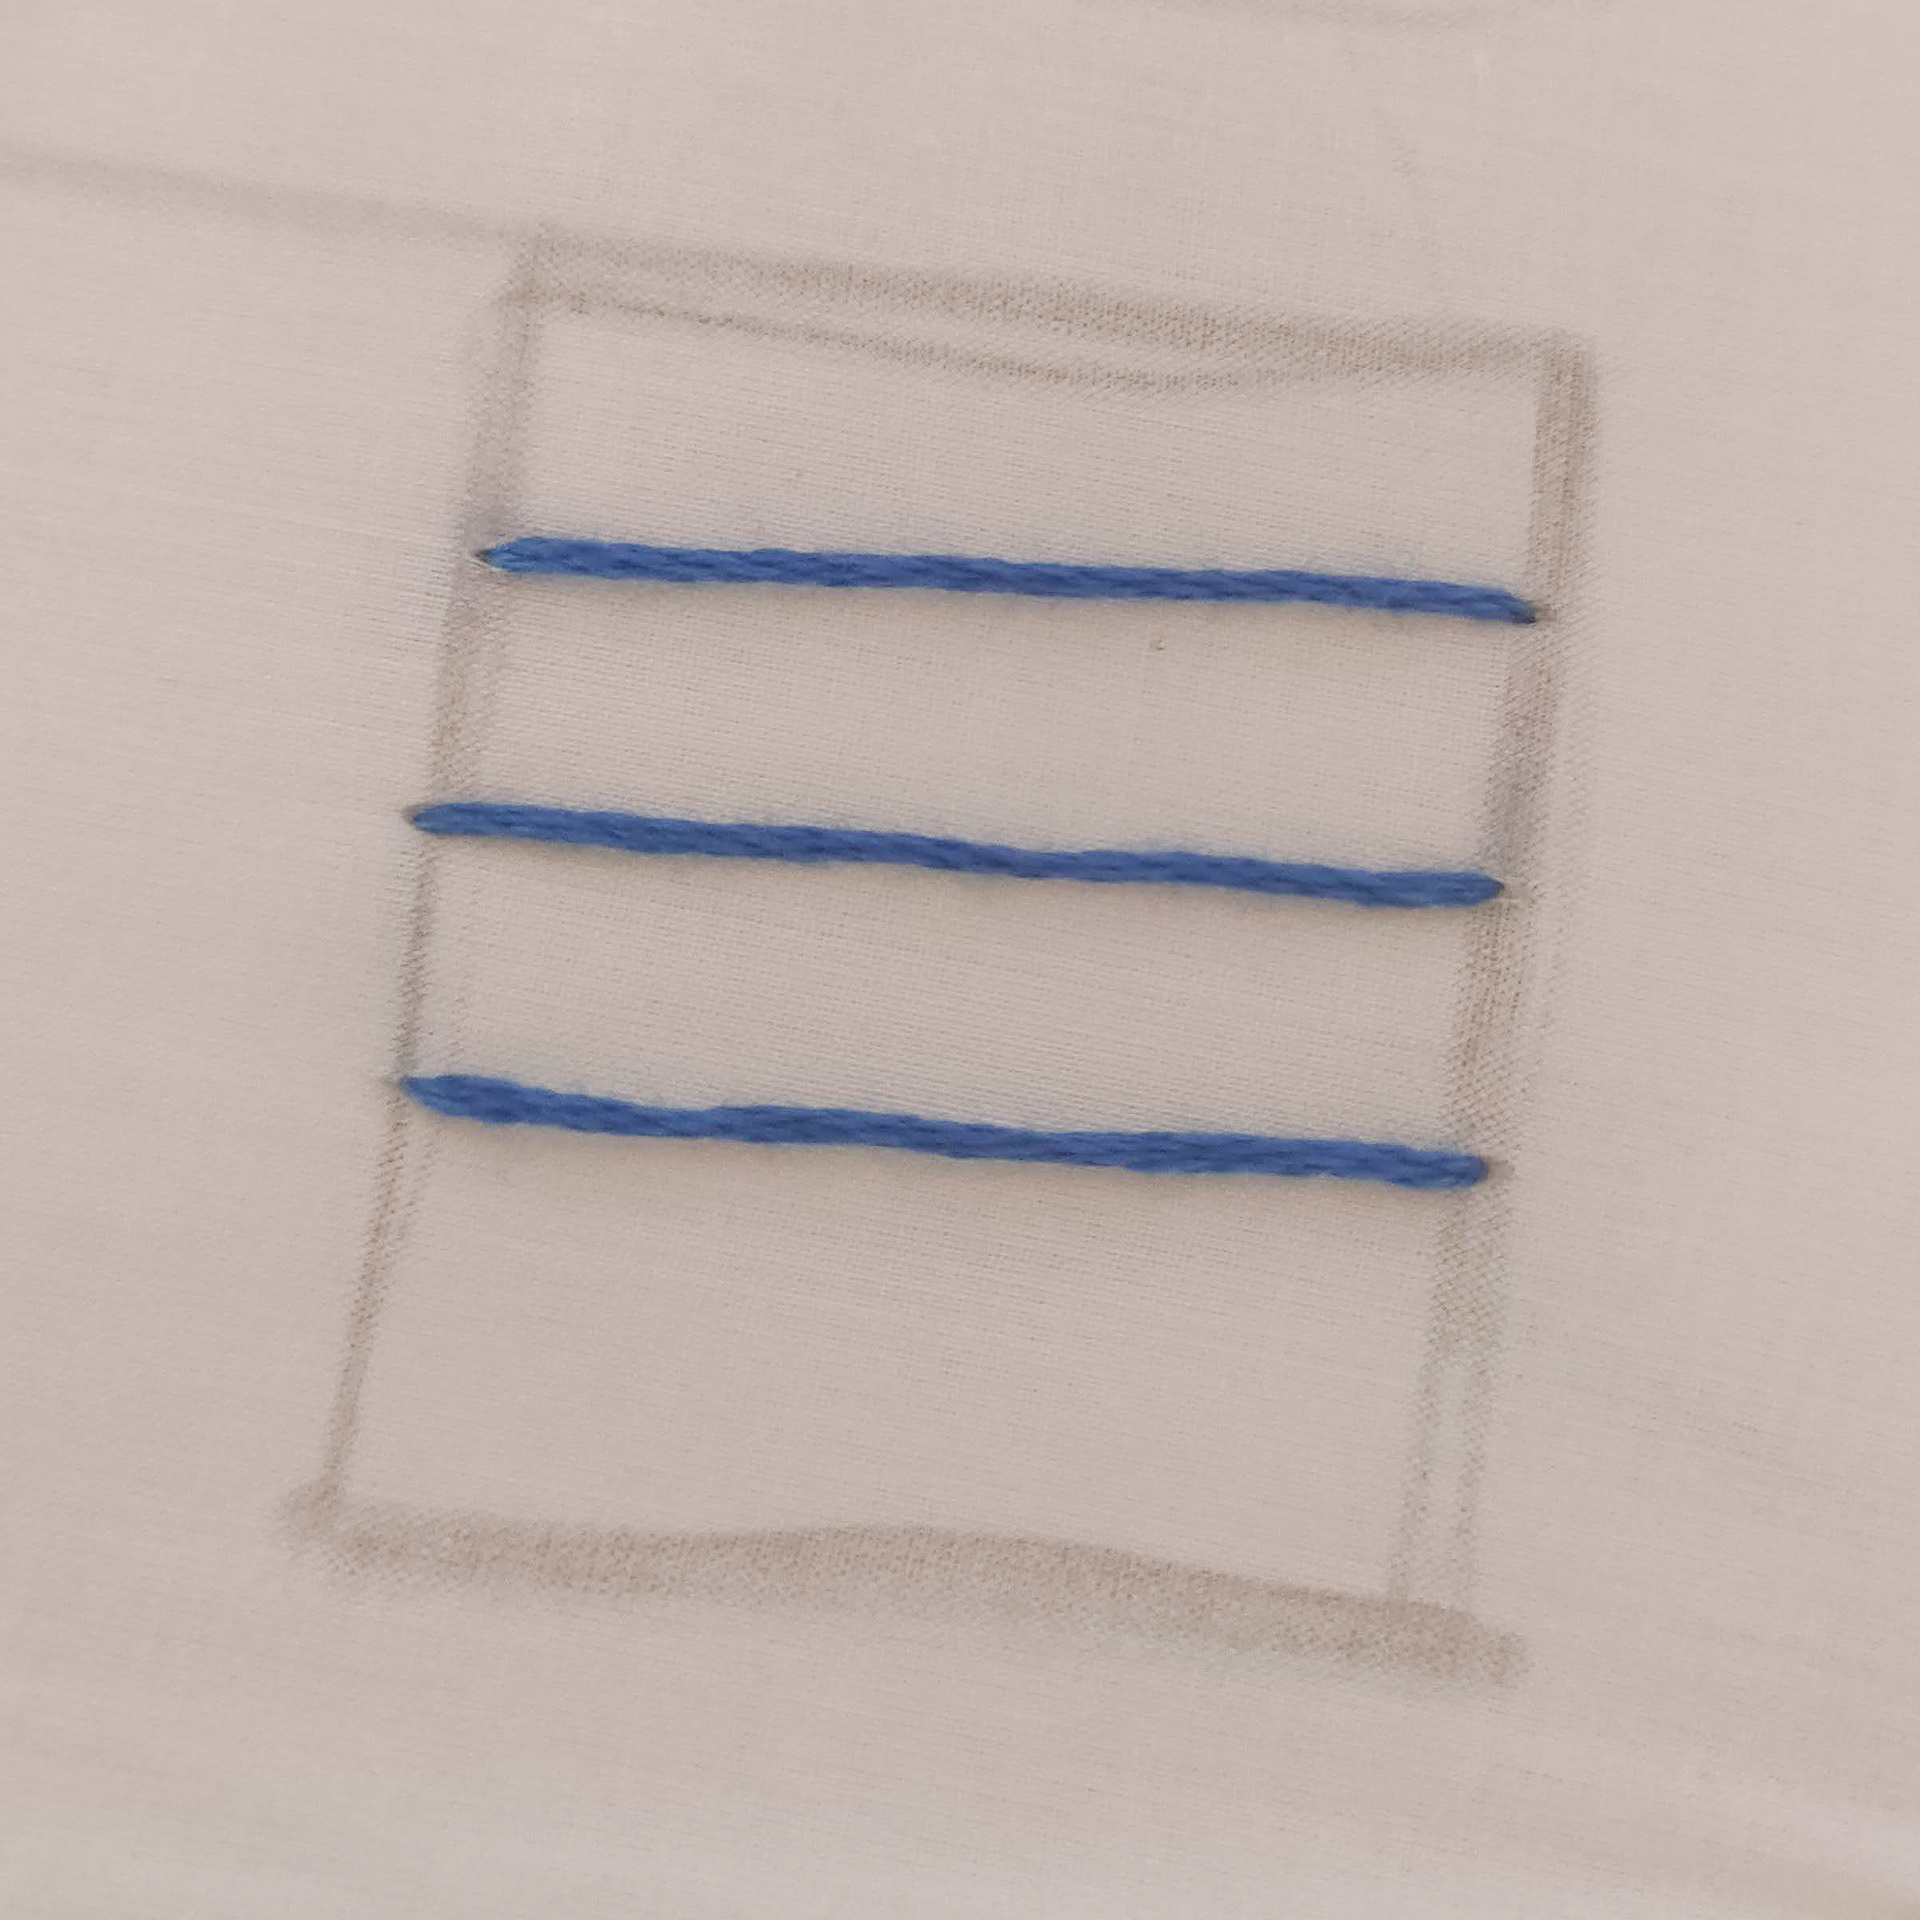
Burden stitch
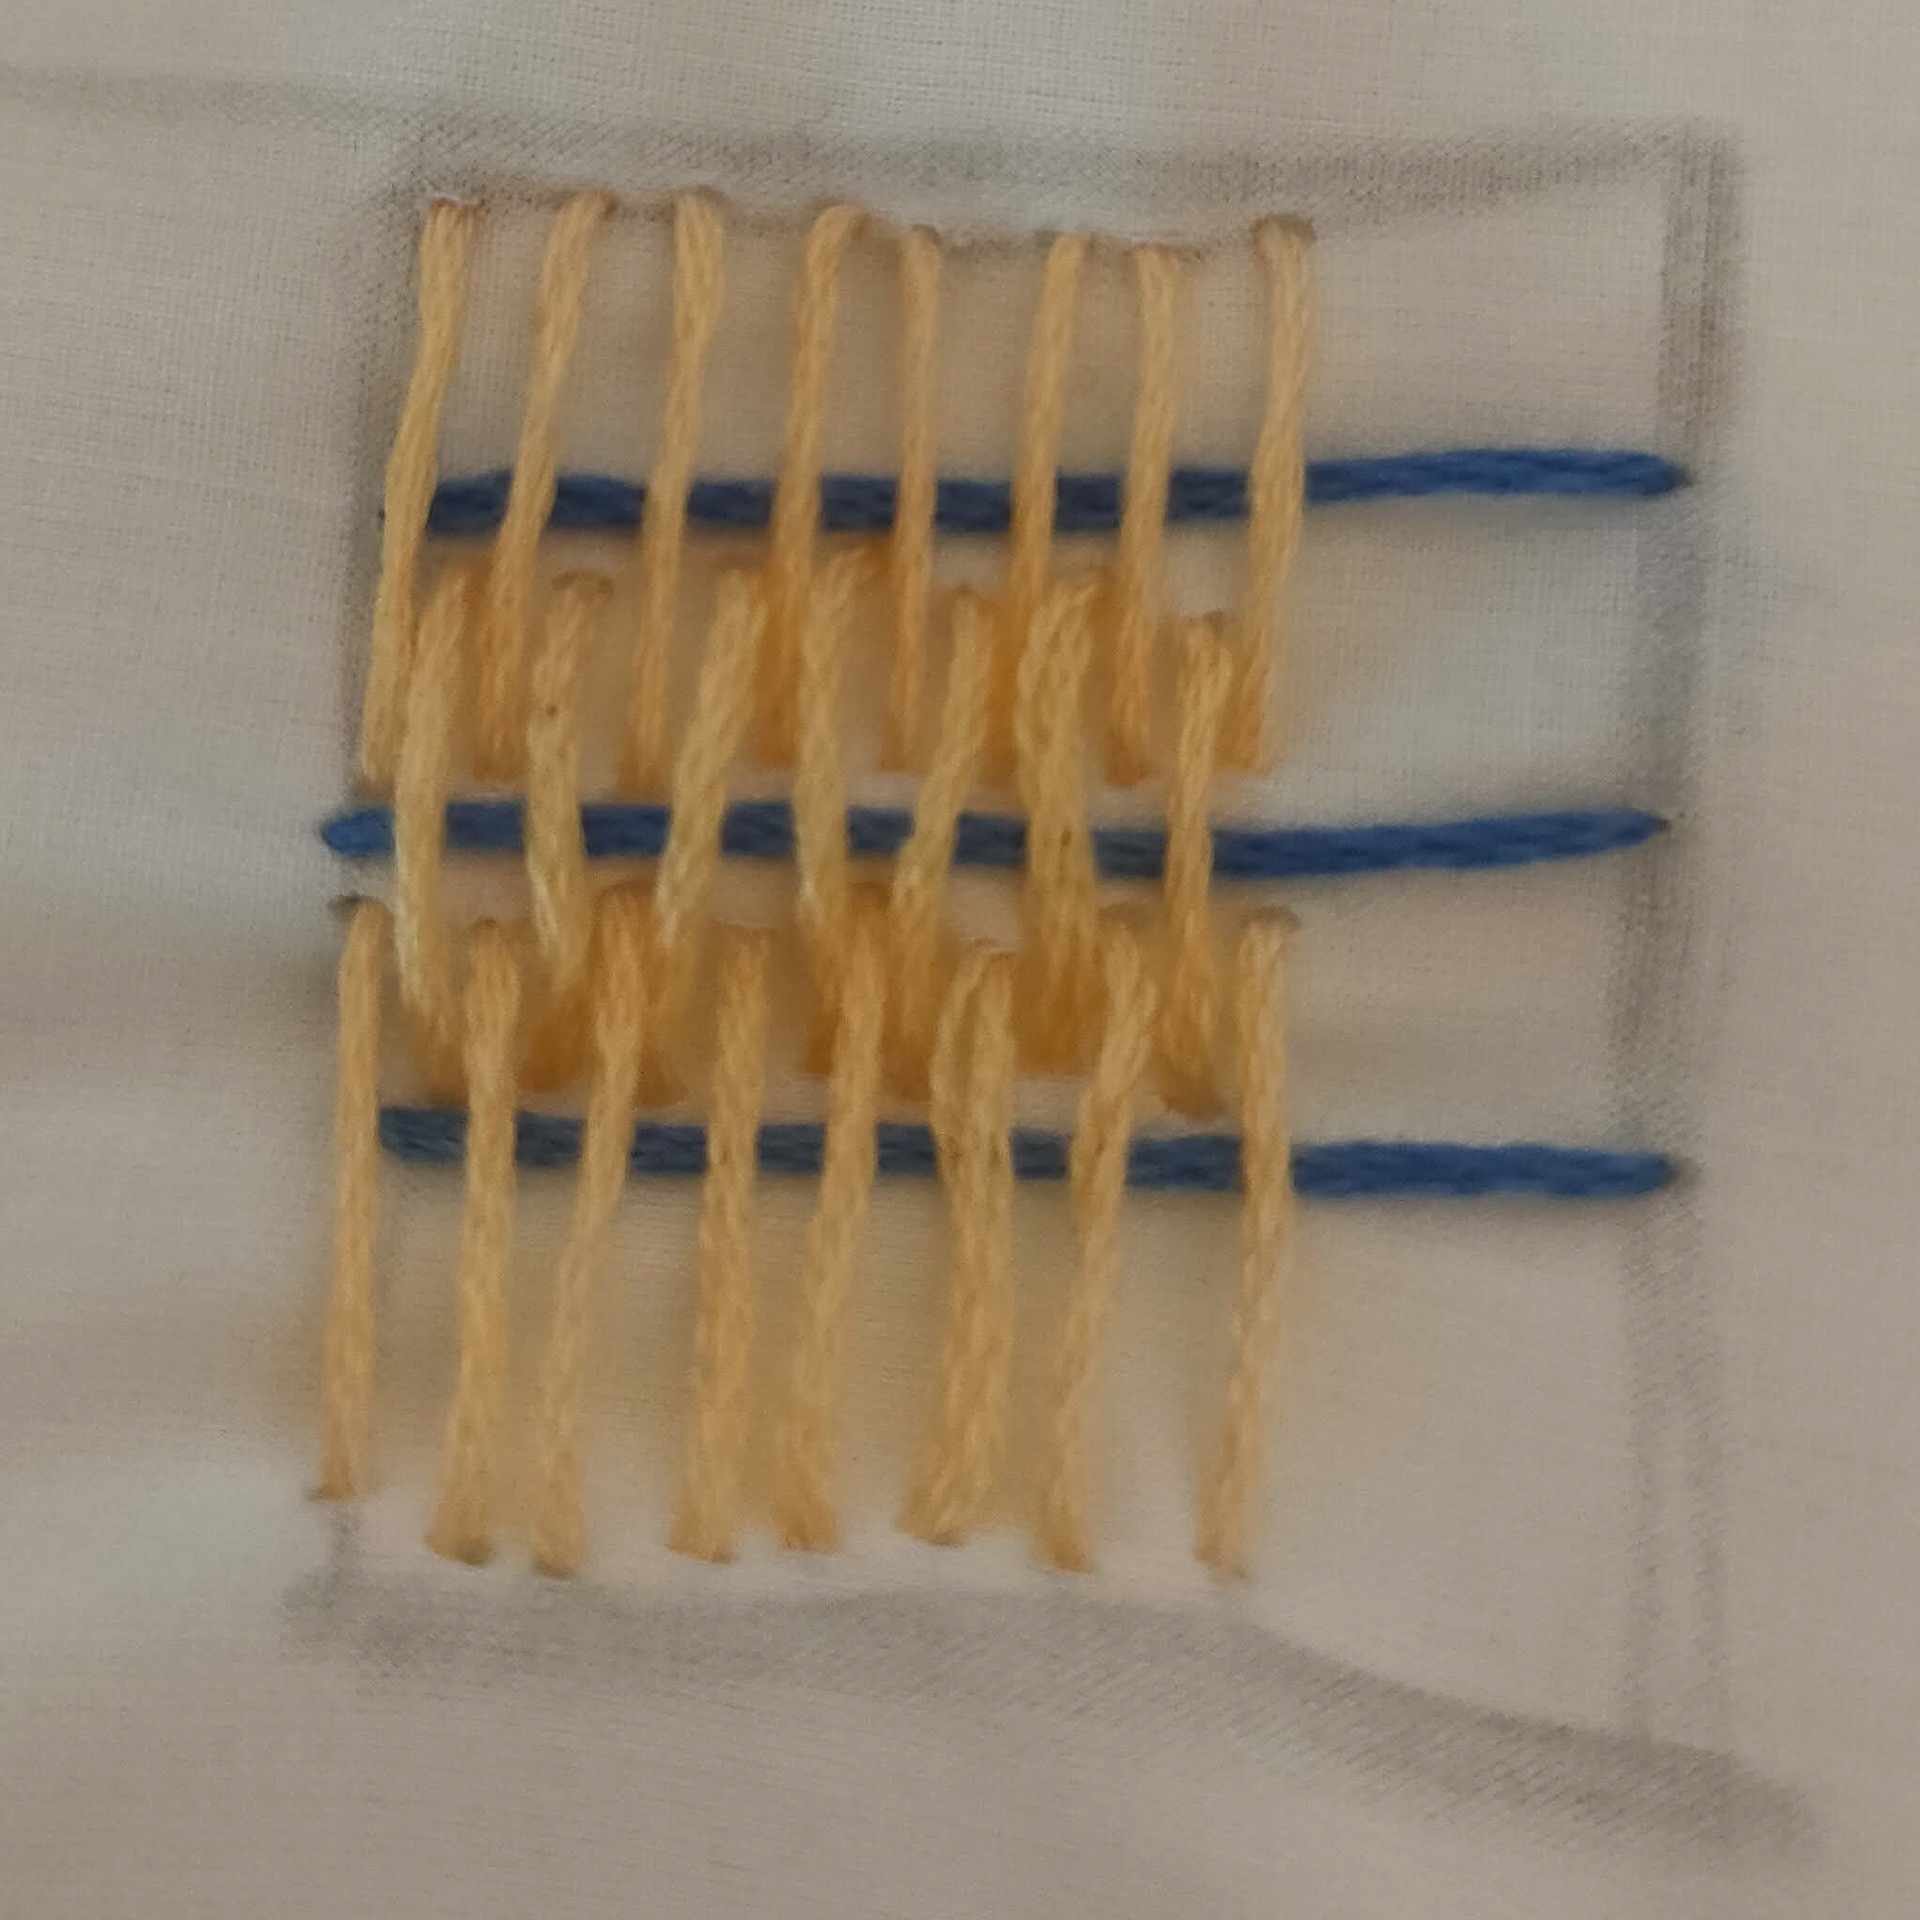
place 3 long horizontal stitches in your box left to right.
Starting at the top left of the box place a stitch from the top, over the first line of stitch and inserting your needle just above the second row of stitch
Continue this until you reach the right of the stitched line.
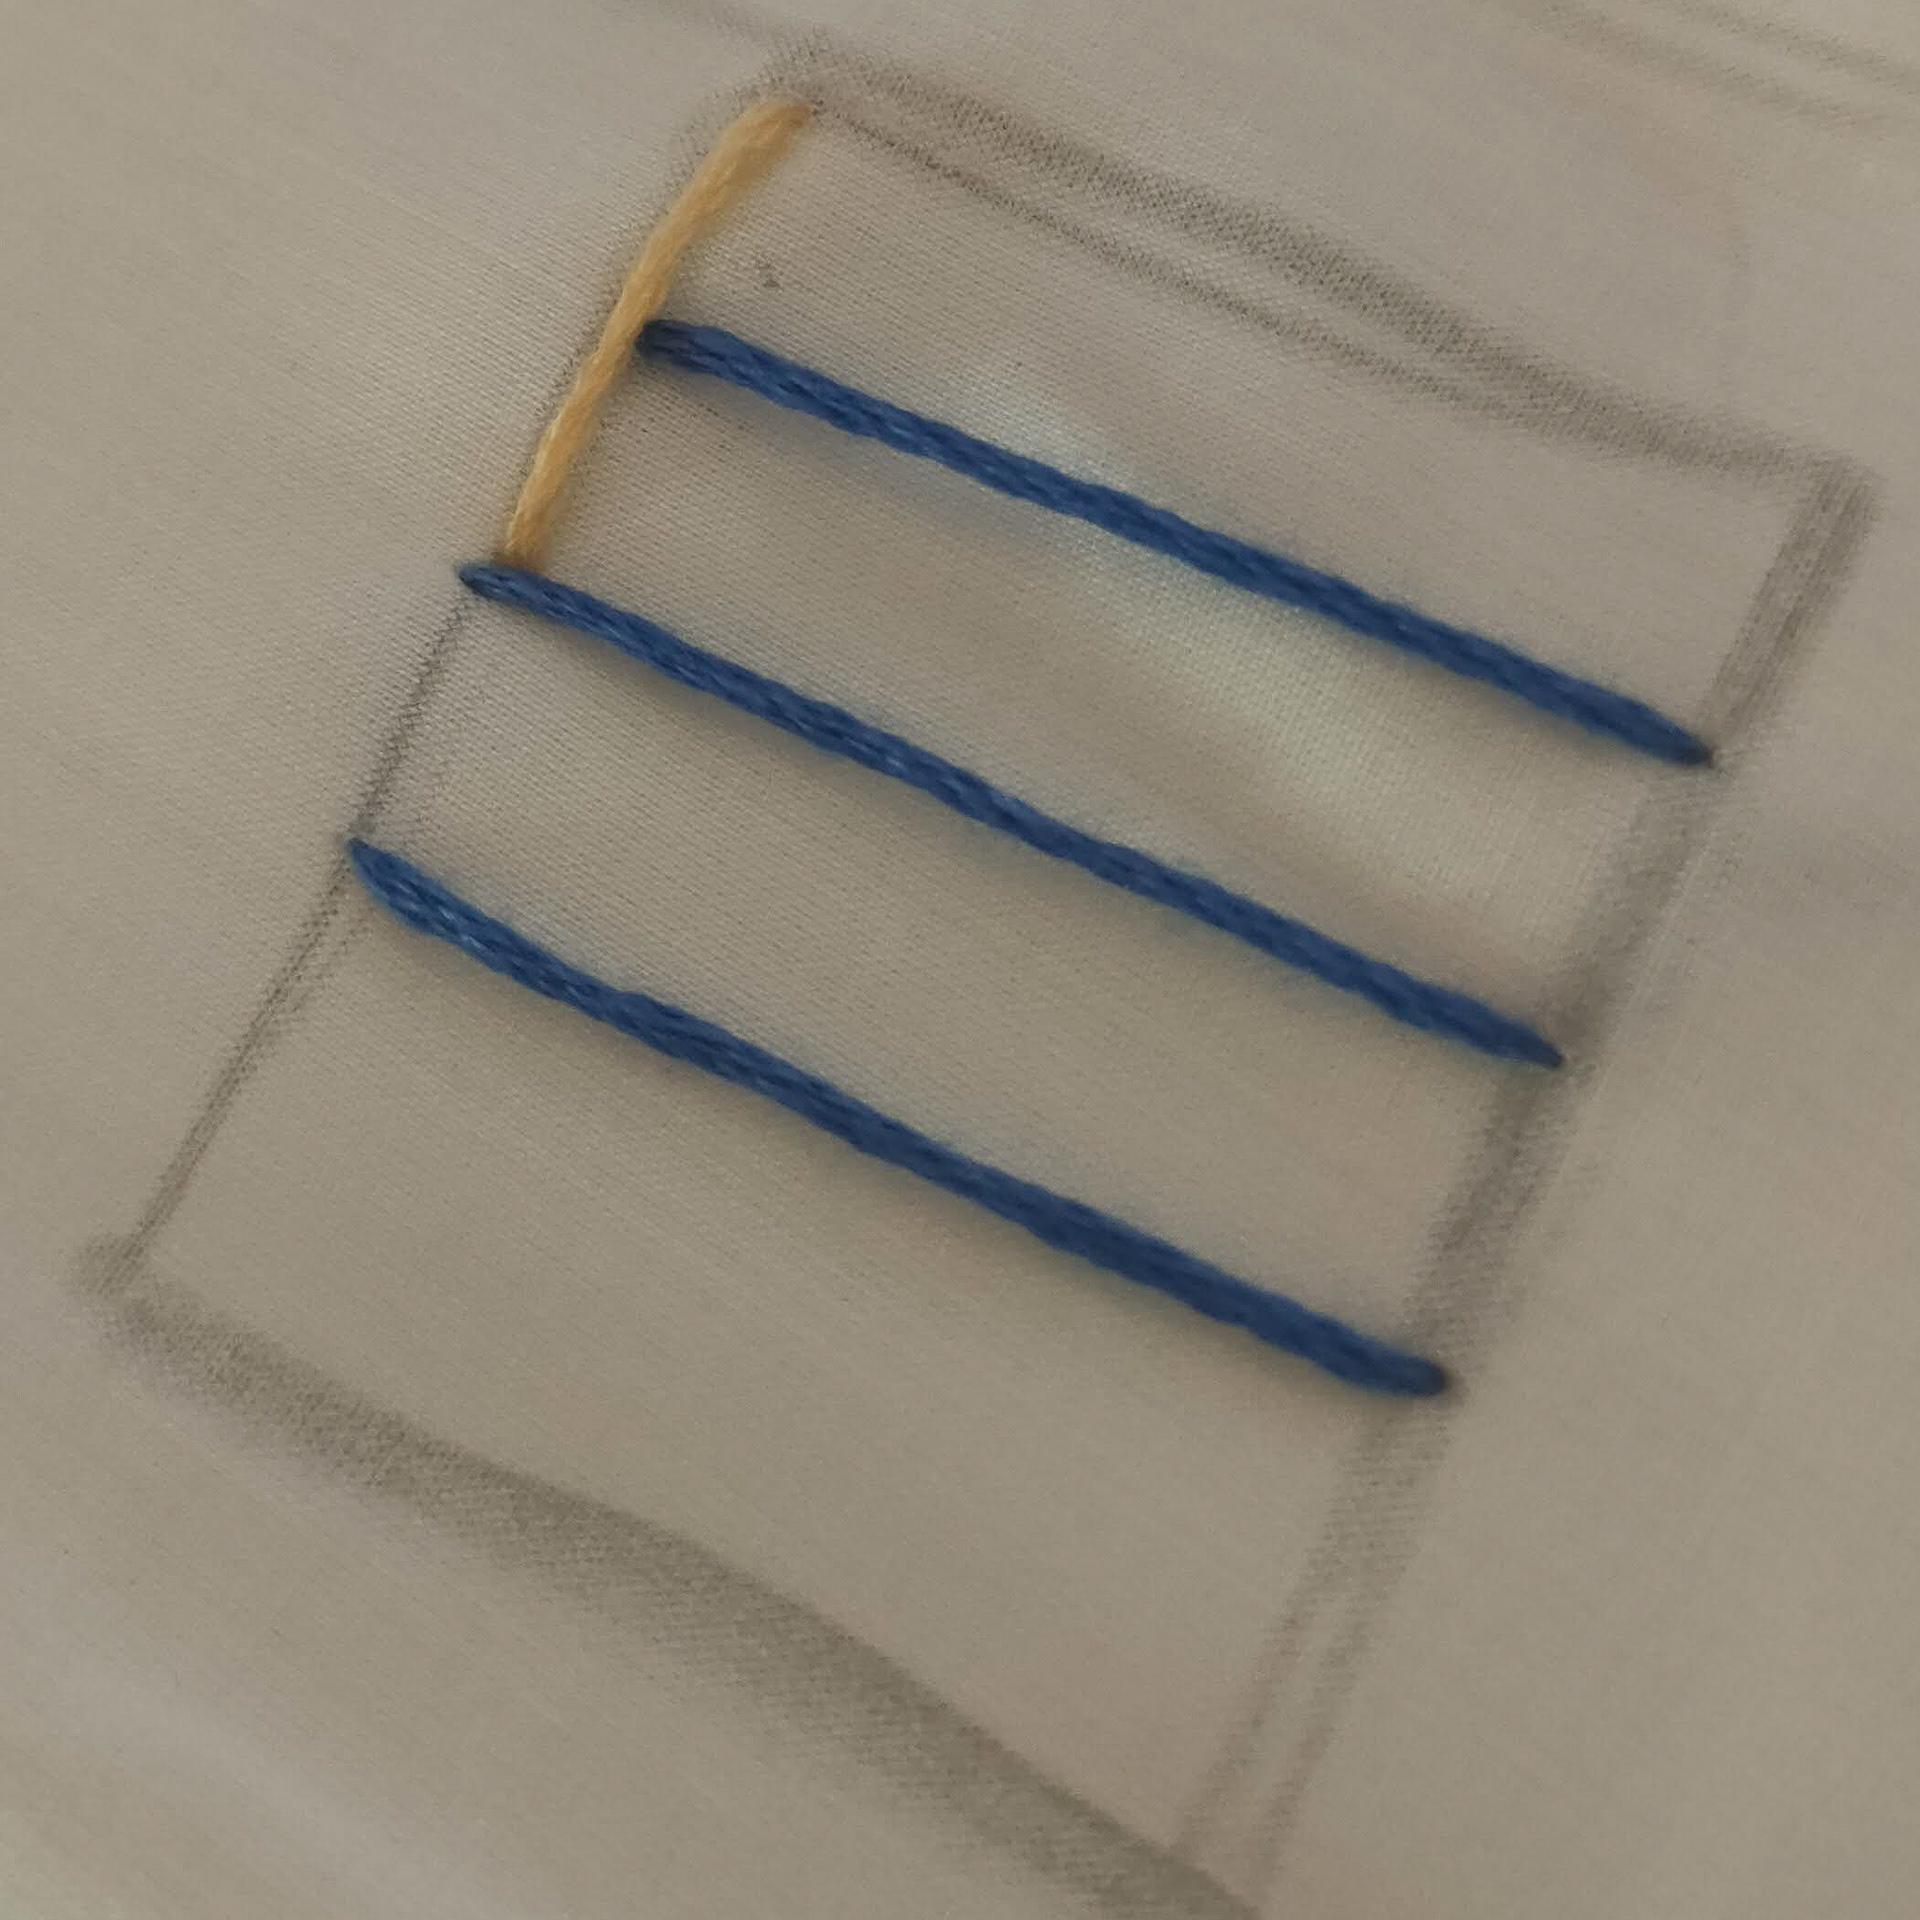
For the next line you want to start your needle at the bottom of the top line of stitch going over the middle line of stitch and ending just above the bottom stitch.
To get the full effect of the burden stitch you want to place the stitches alternating to the vertical stitches on the first row of stitch

Continue this line all the way to the right then follow this line of logic to finish the last line.
This is my prefered fill stitch as it has a bit more opportunity for texture that satin stitch does not allow.
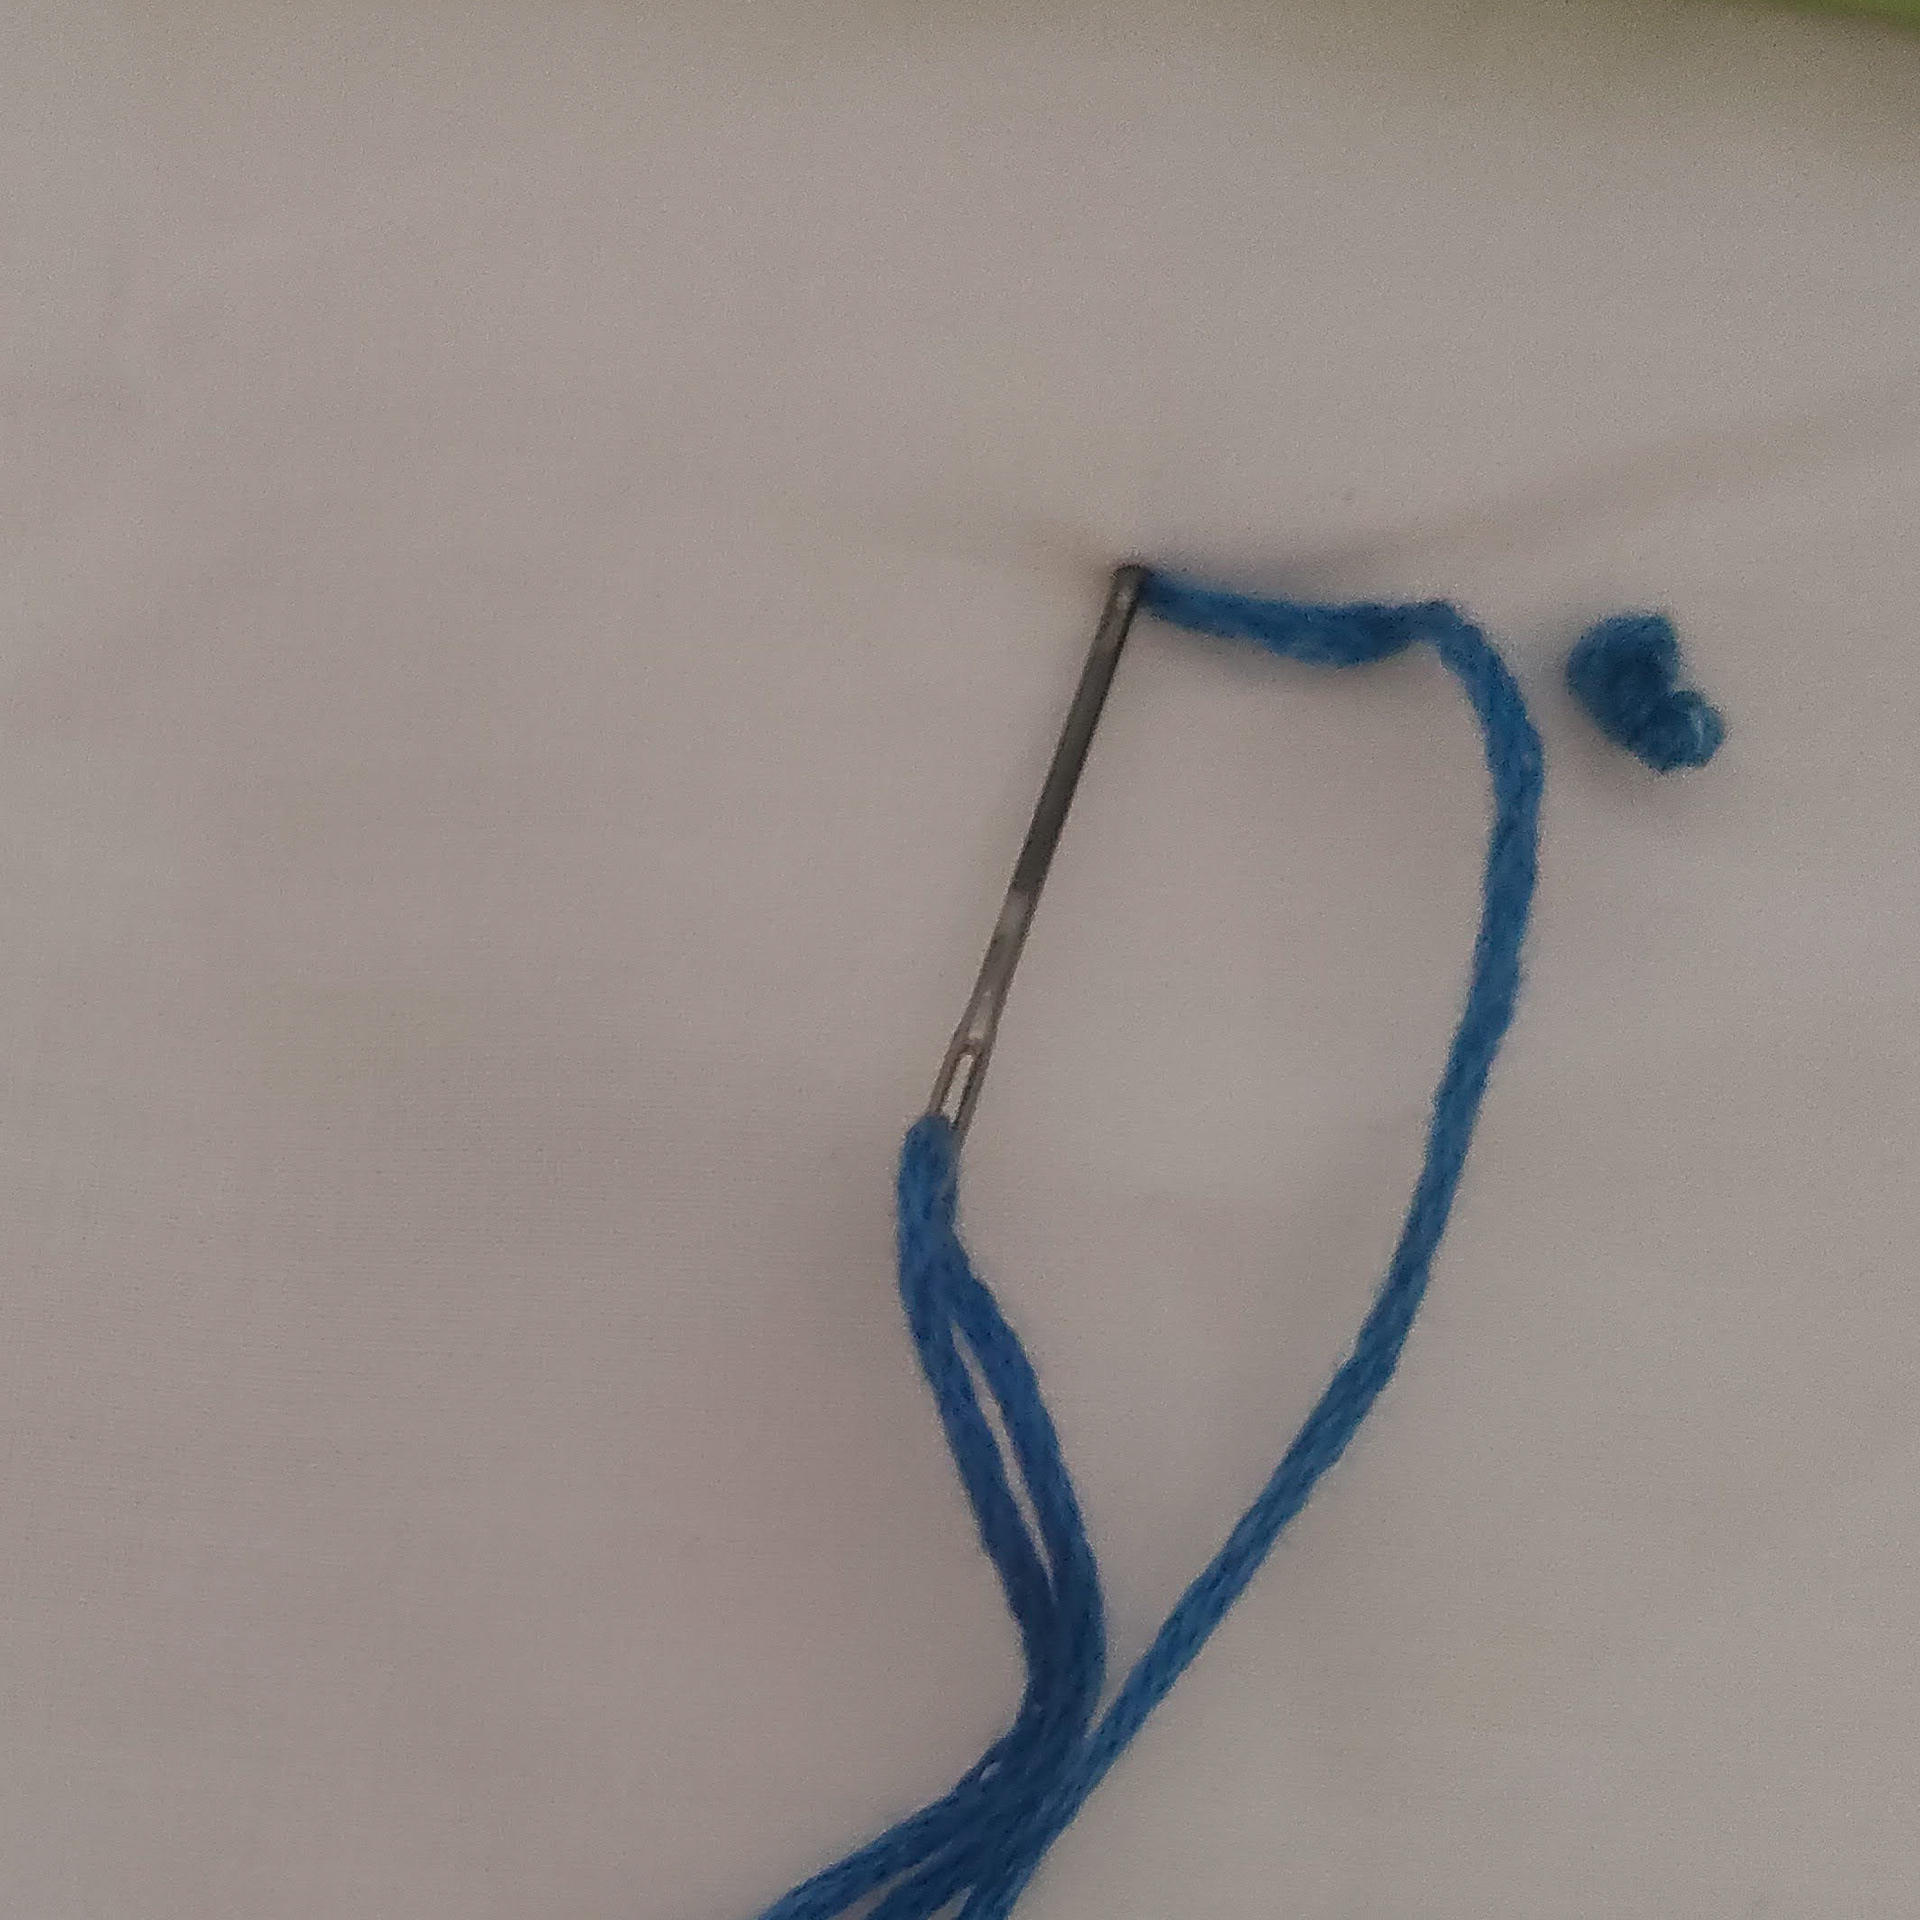
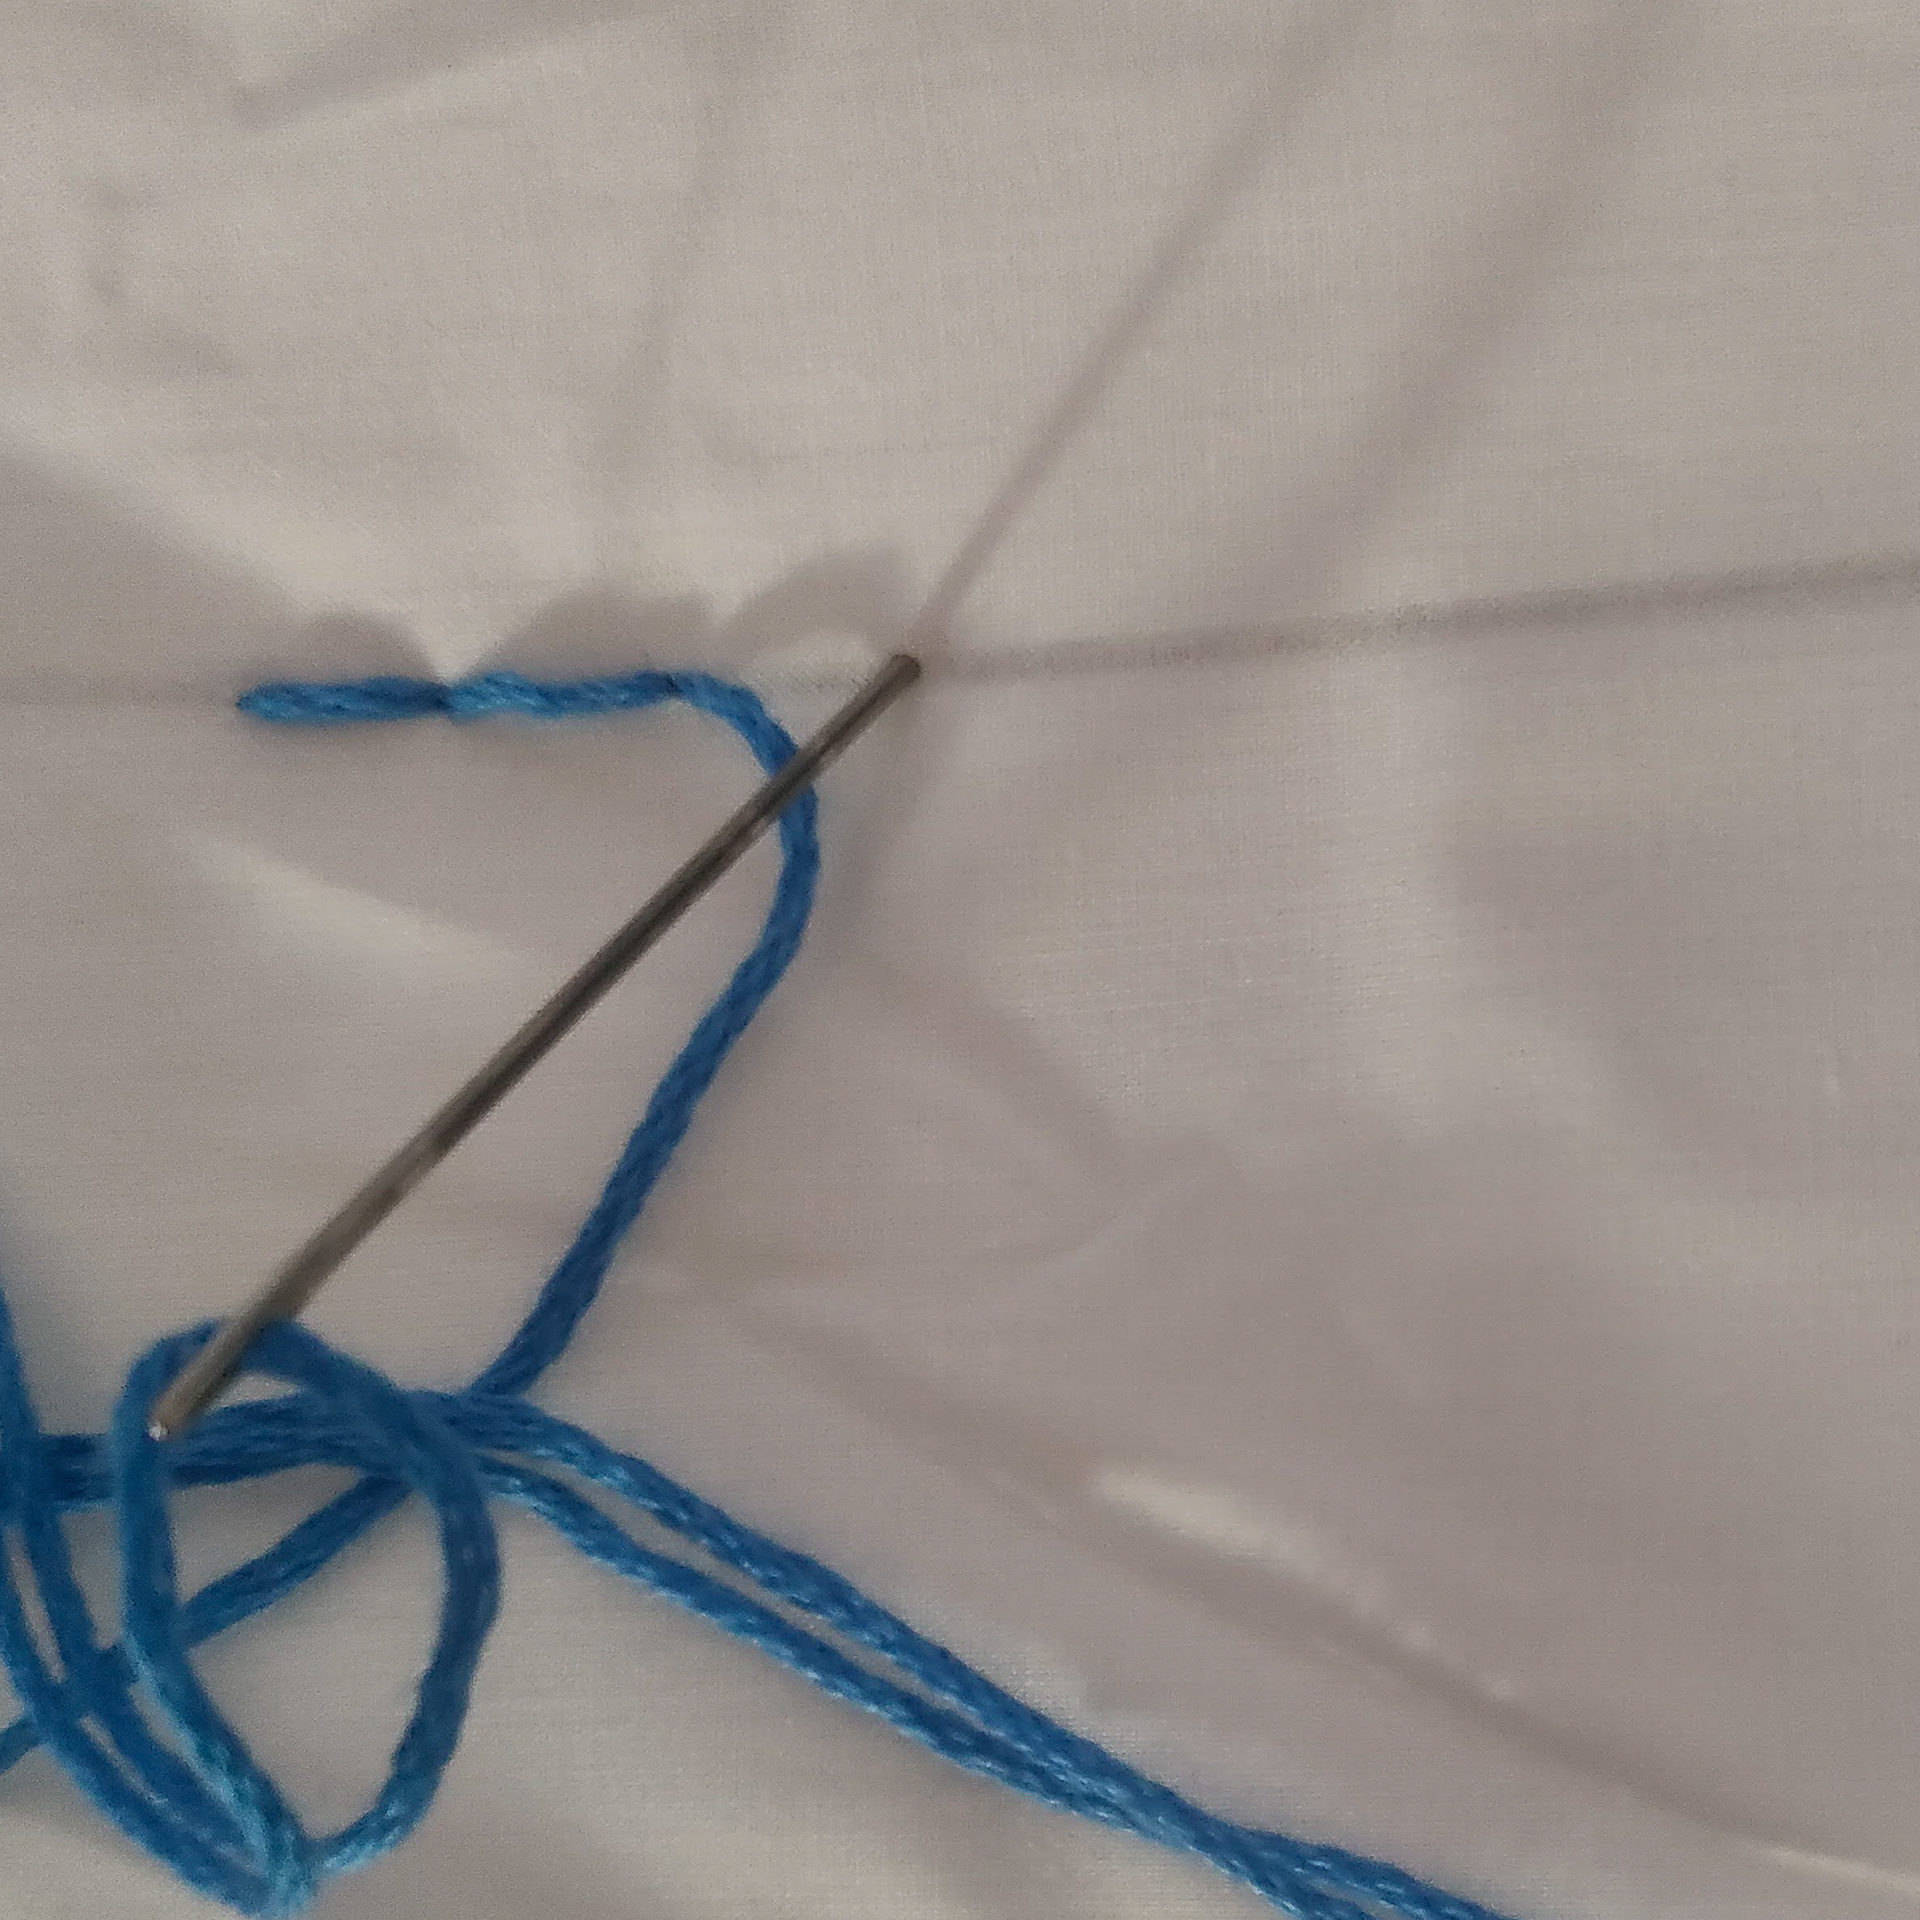
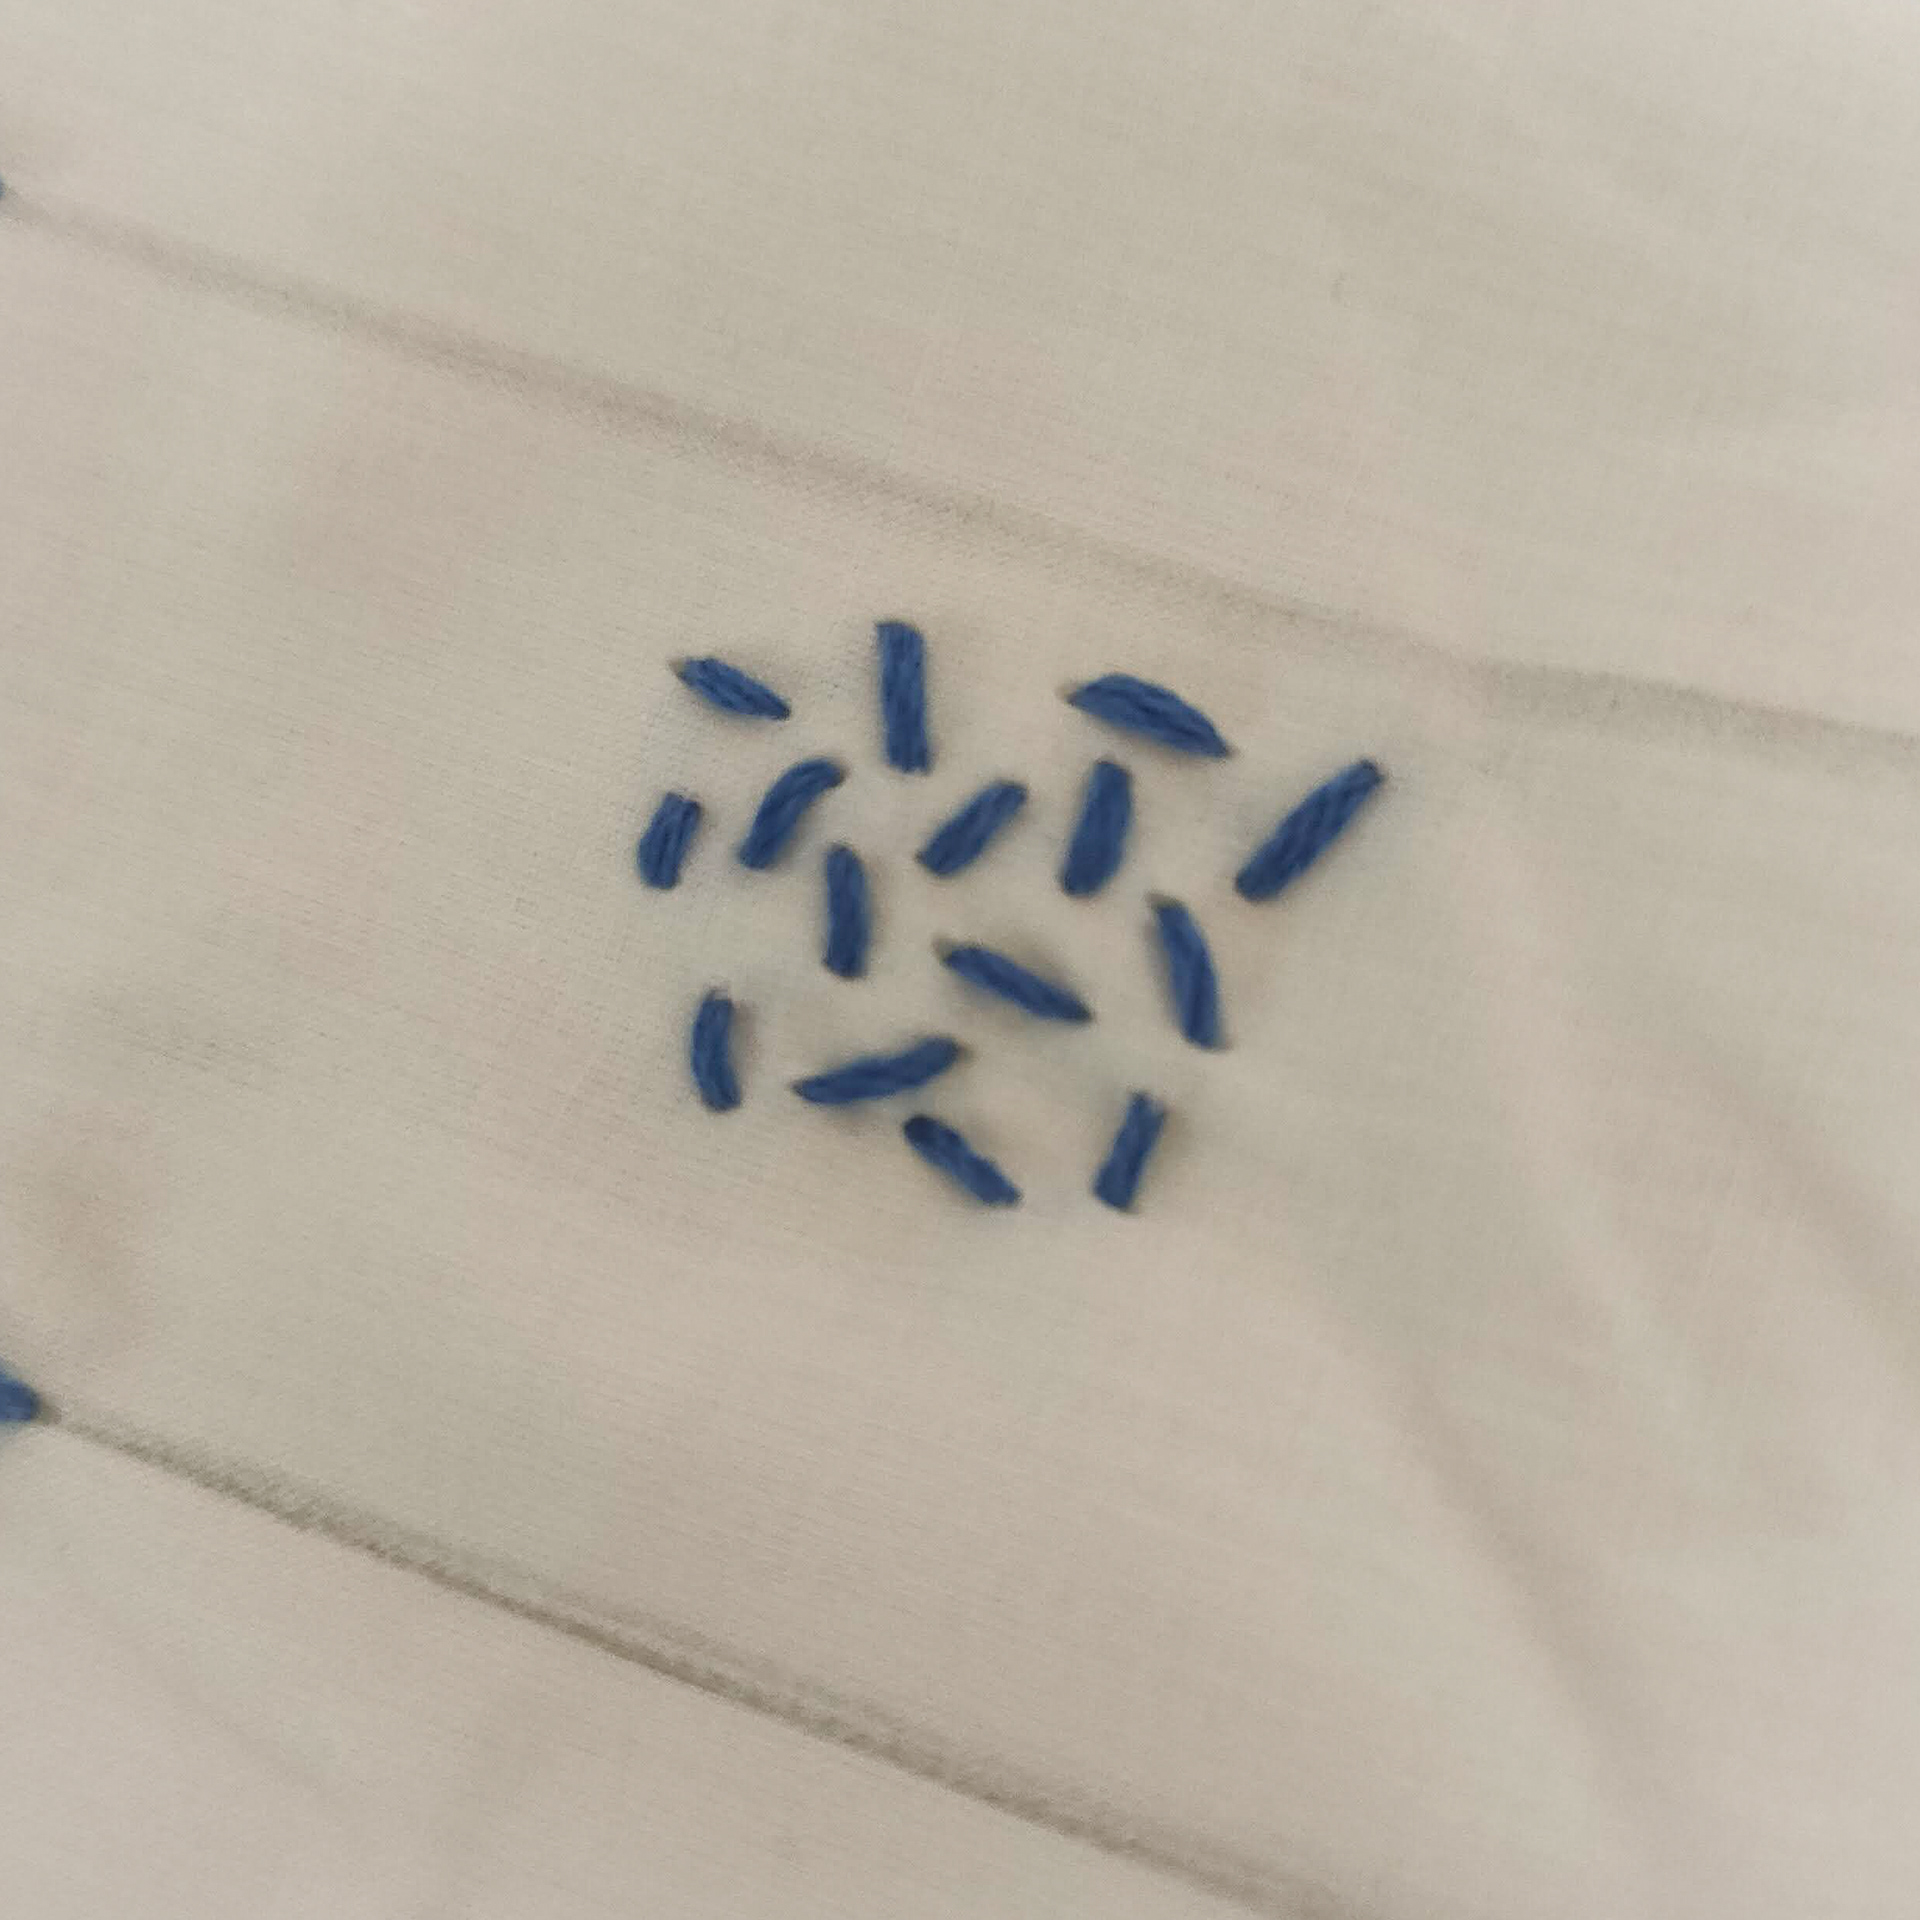
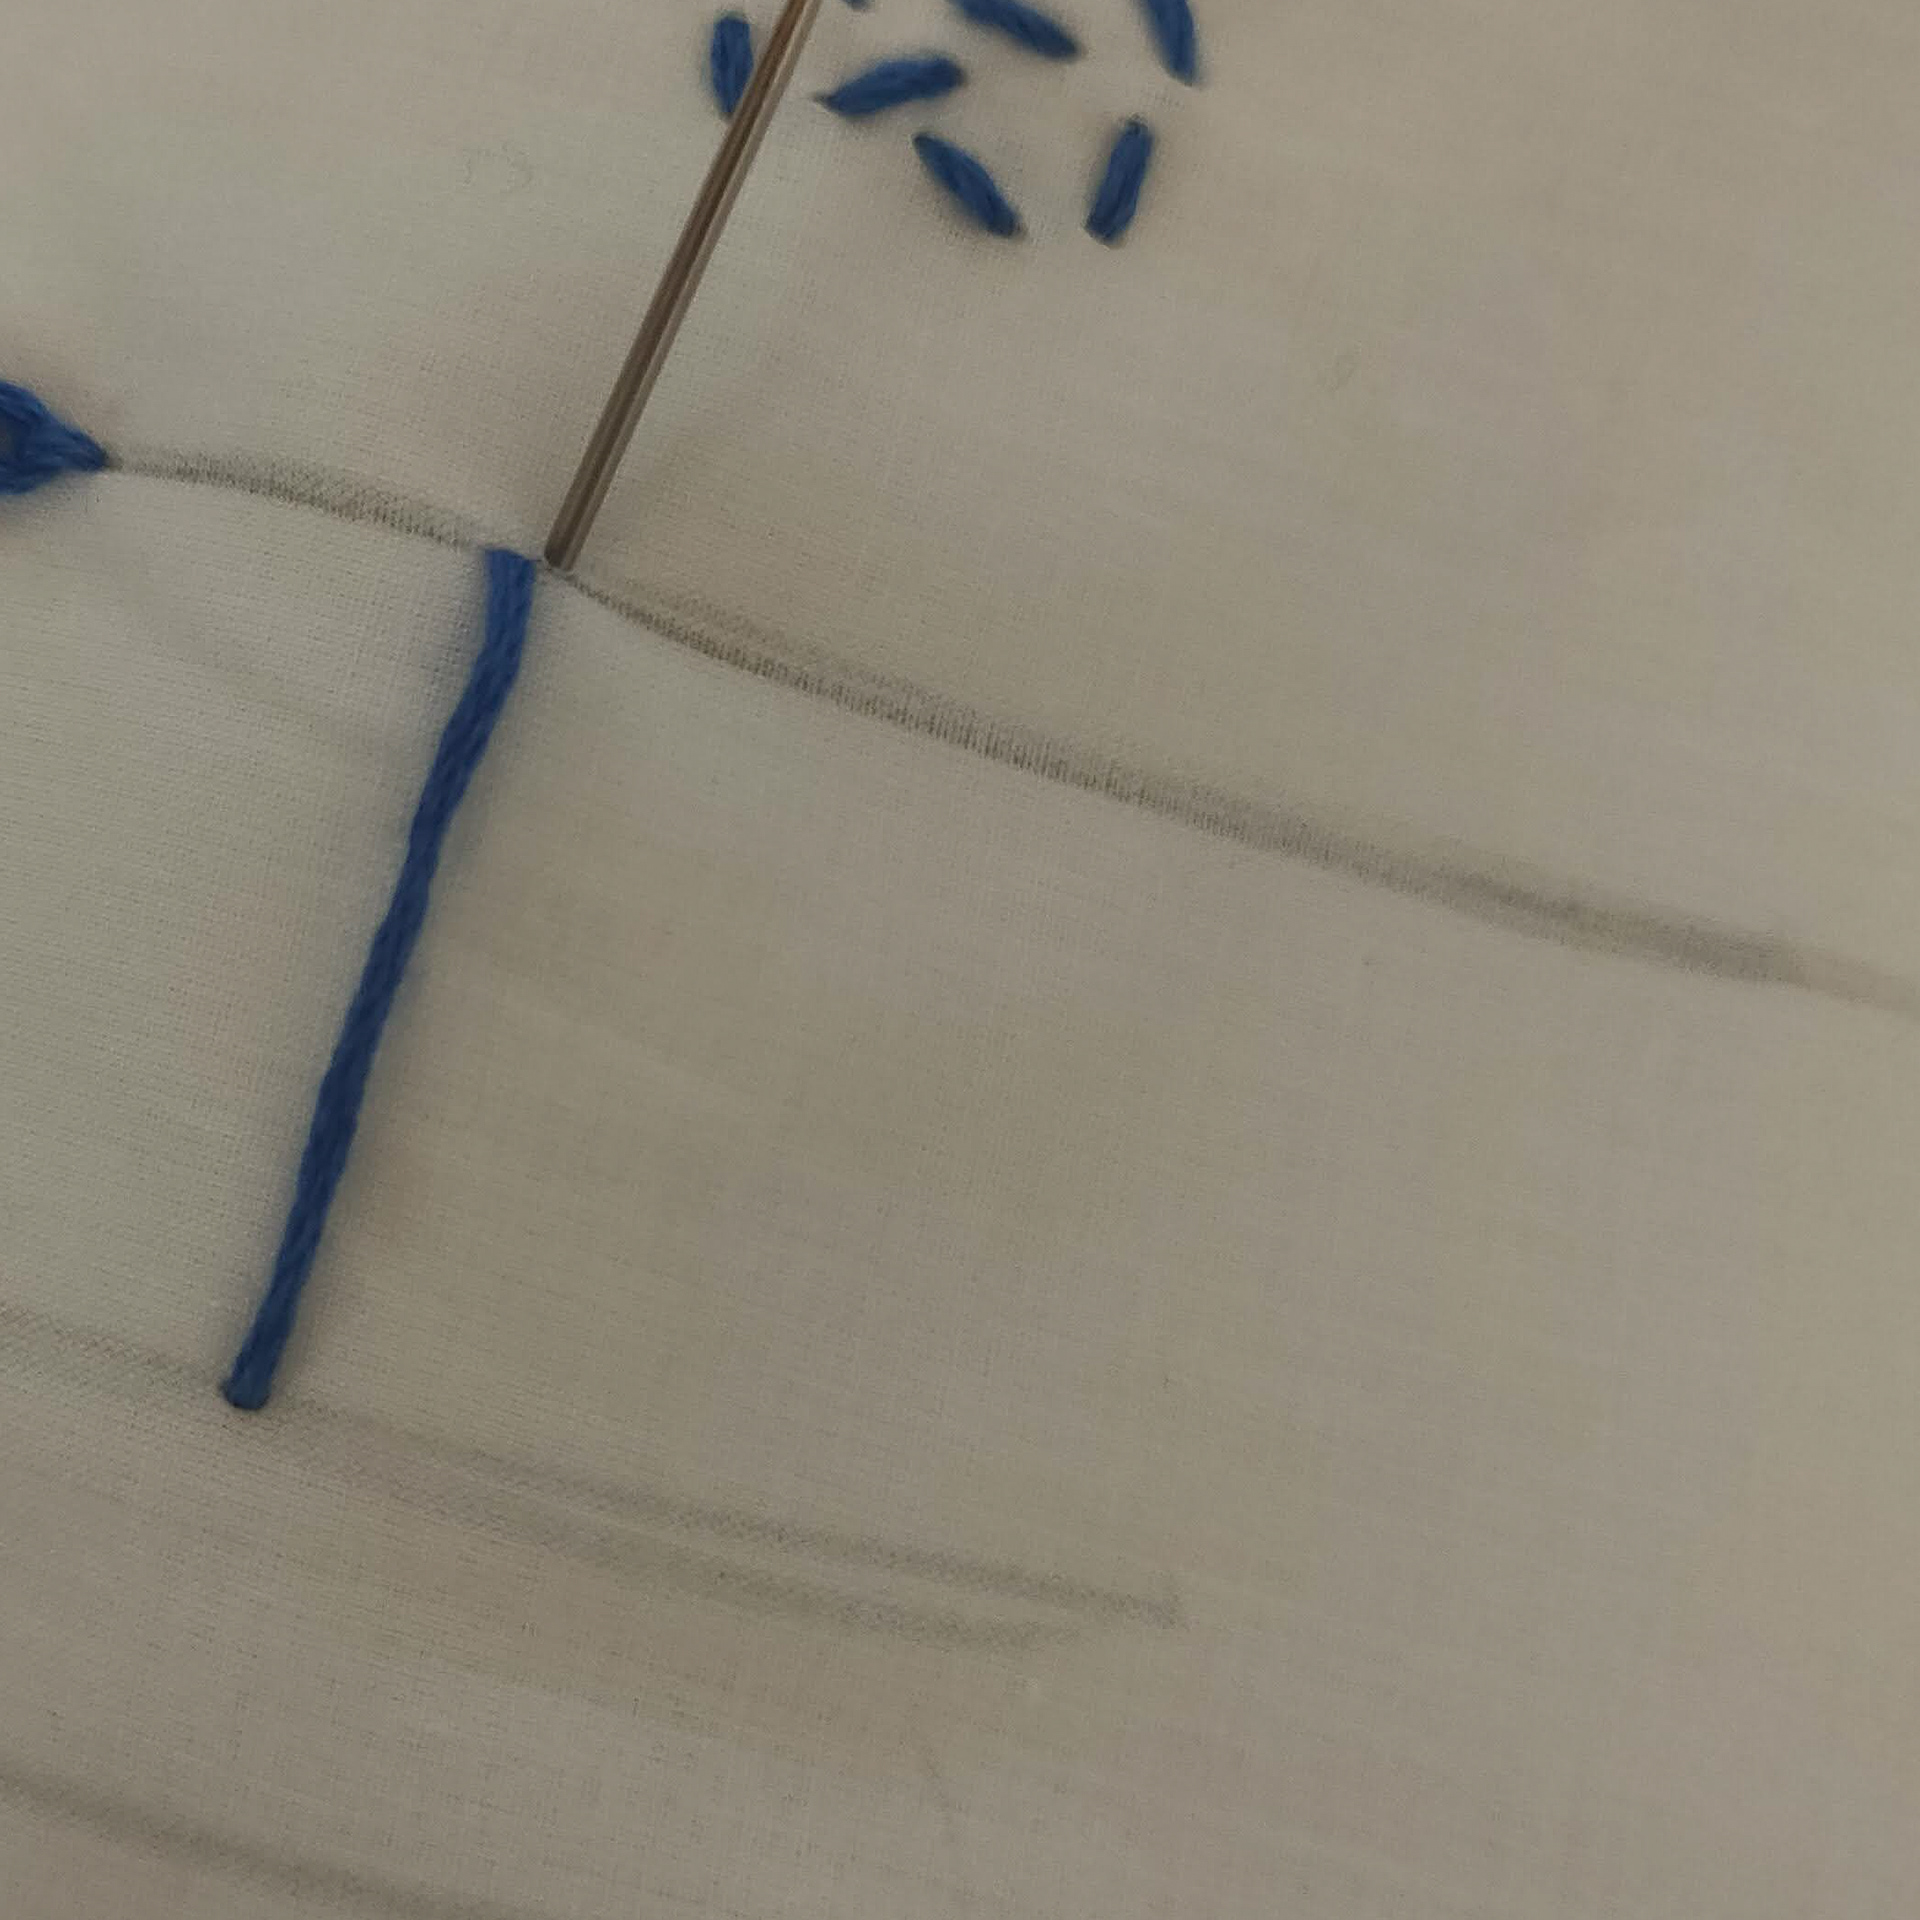
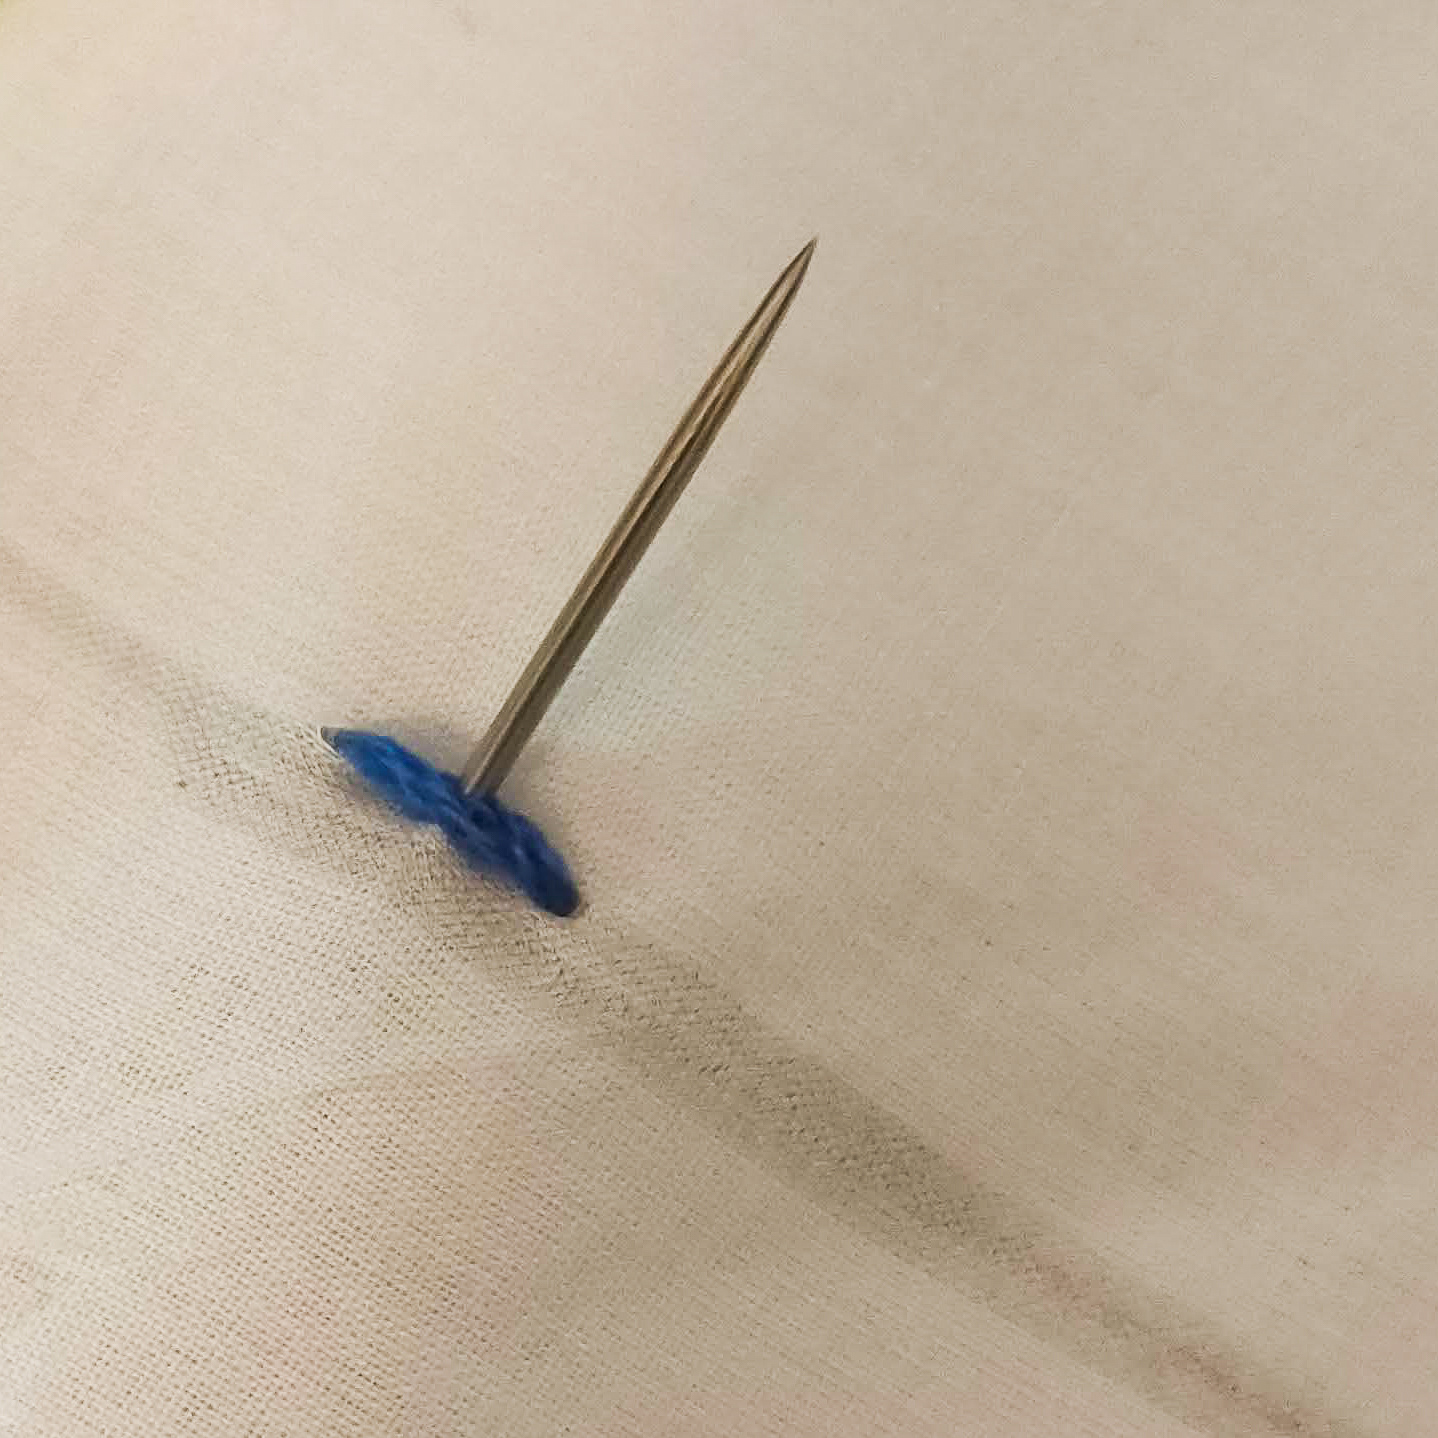
French Knot
pull your needle to the RS.
With a needle in one hand and the working thread in your other wrap your thread around your needle twice.
Holding the working thread tight insert your needle into the fabric as close to your previous hole as possible
Now pull your needle all the way through to create your knot.
Try this out a couple of times by filling the box
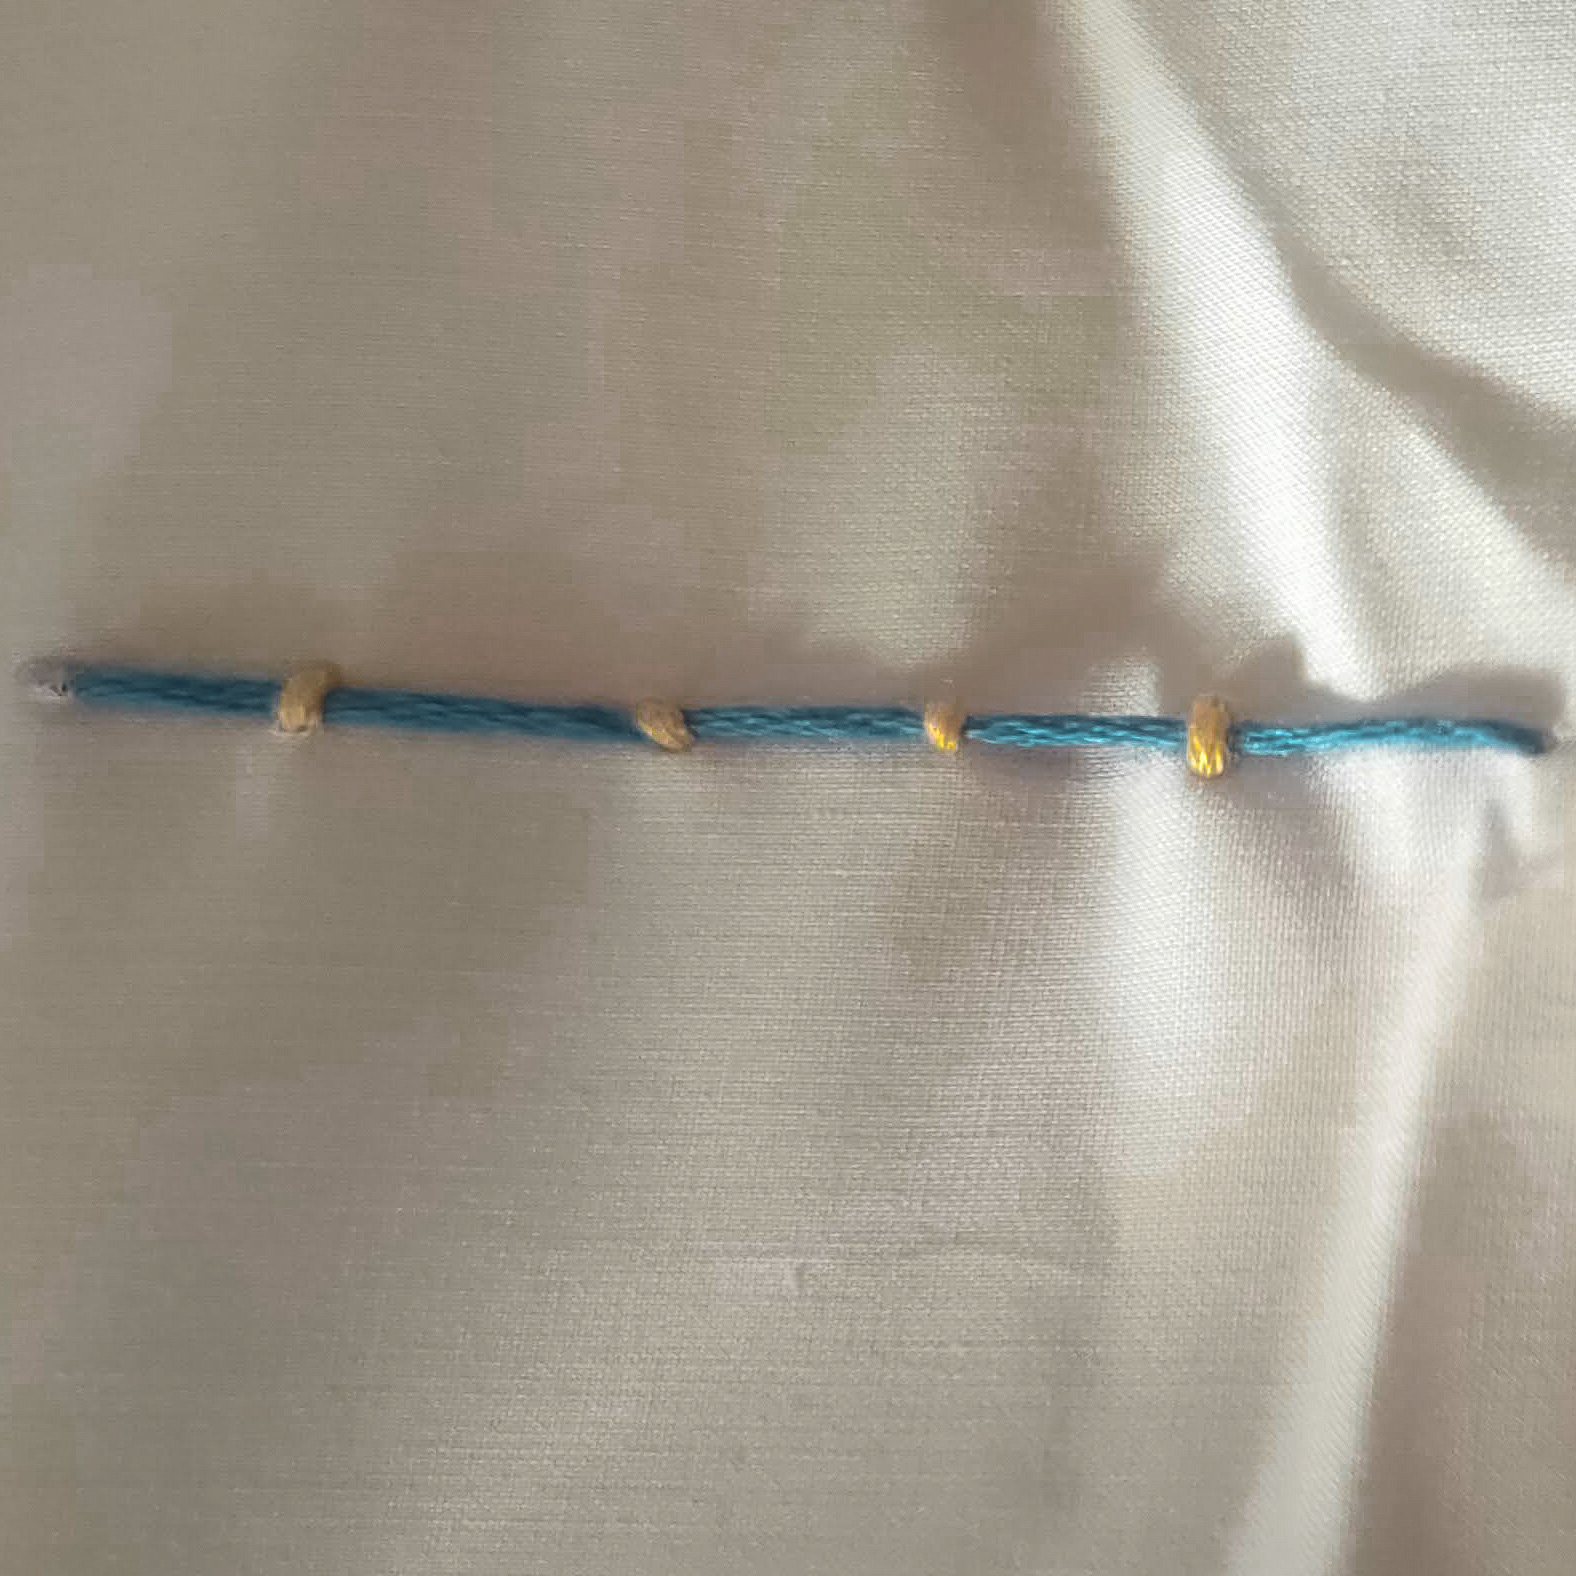
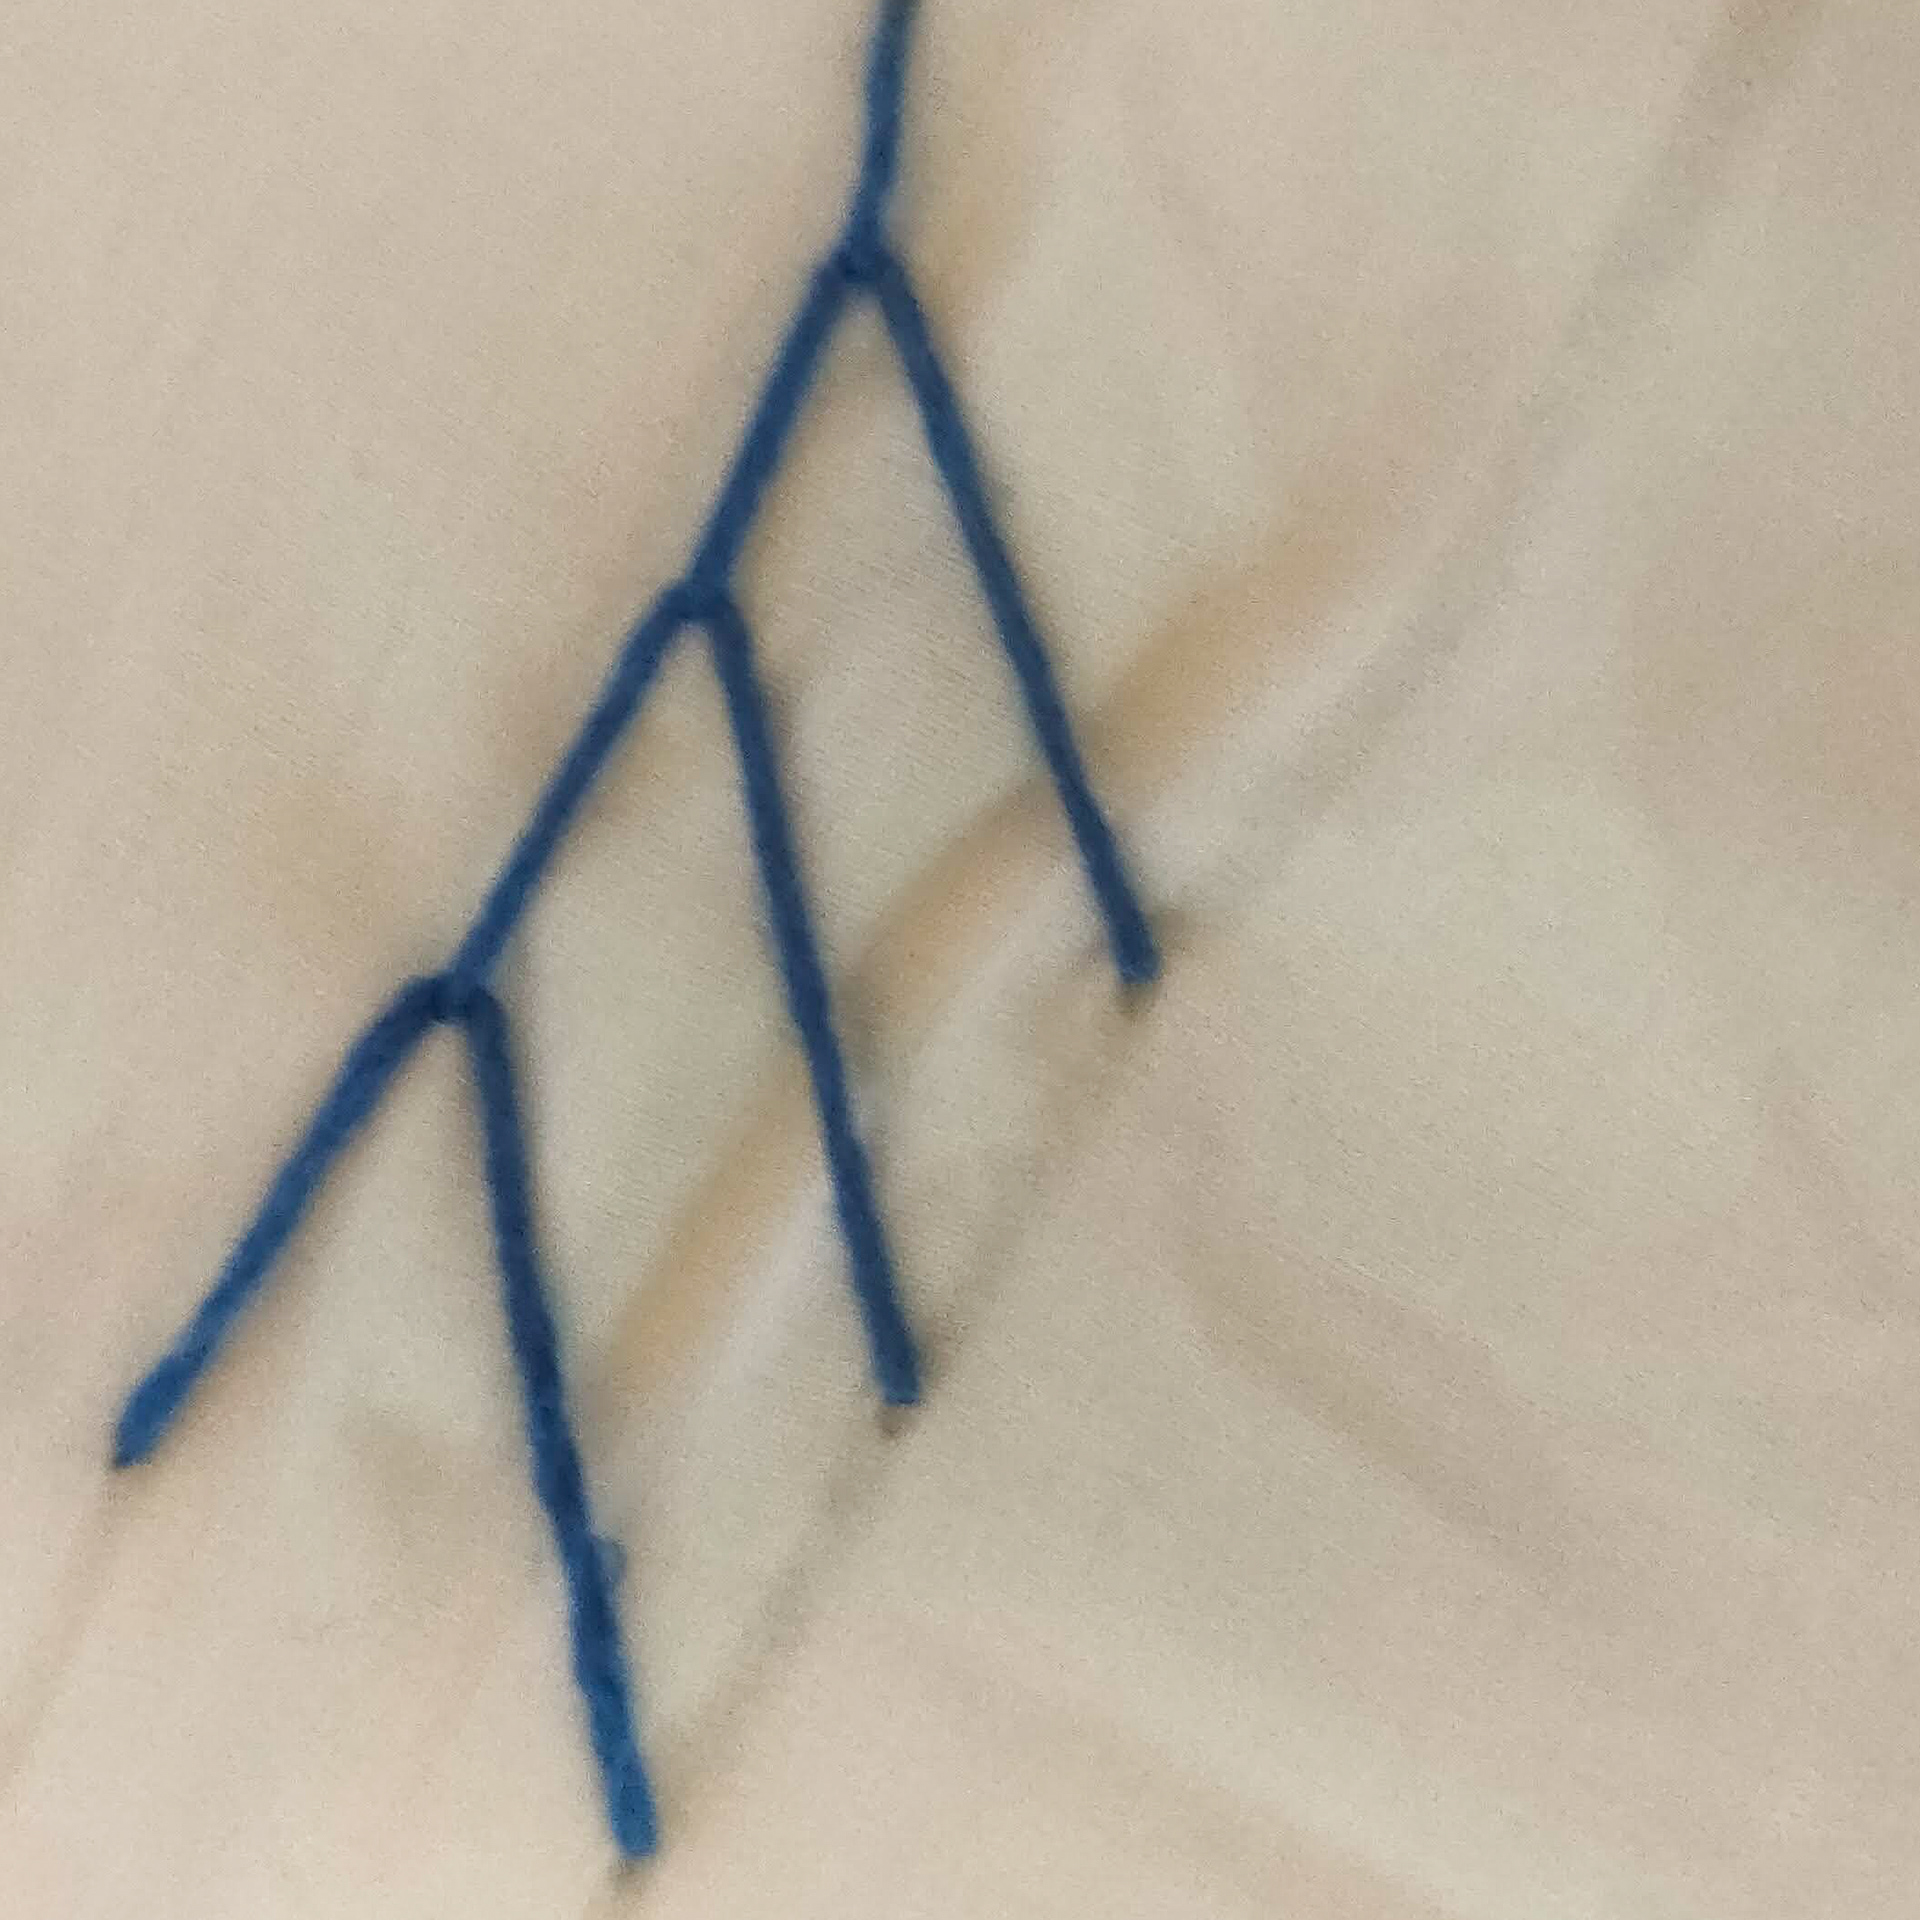
Split stitch

create a stitch
bring needle up in the middle of the previous stitch
Insert needle half the length of the stitch to the right of it.

Continue to desired length
Fly Stitch
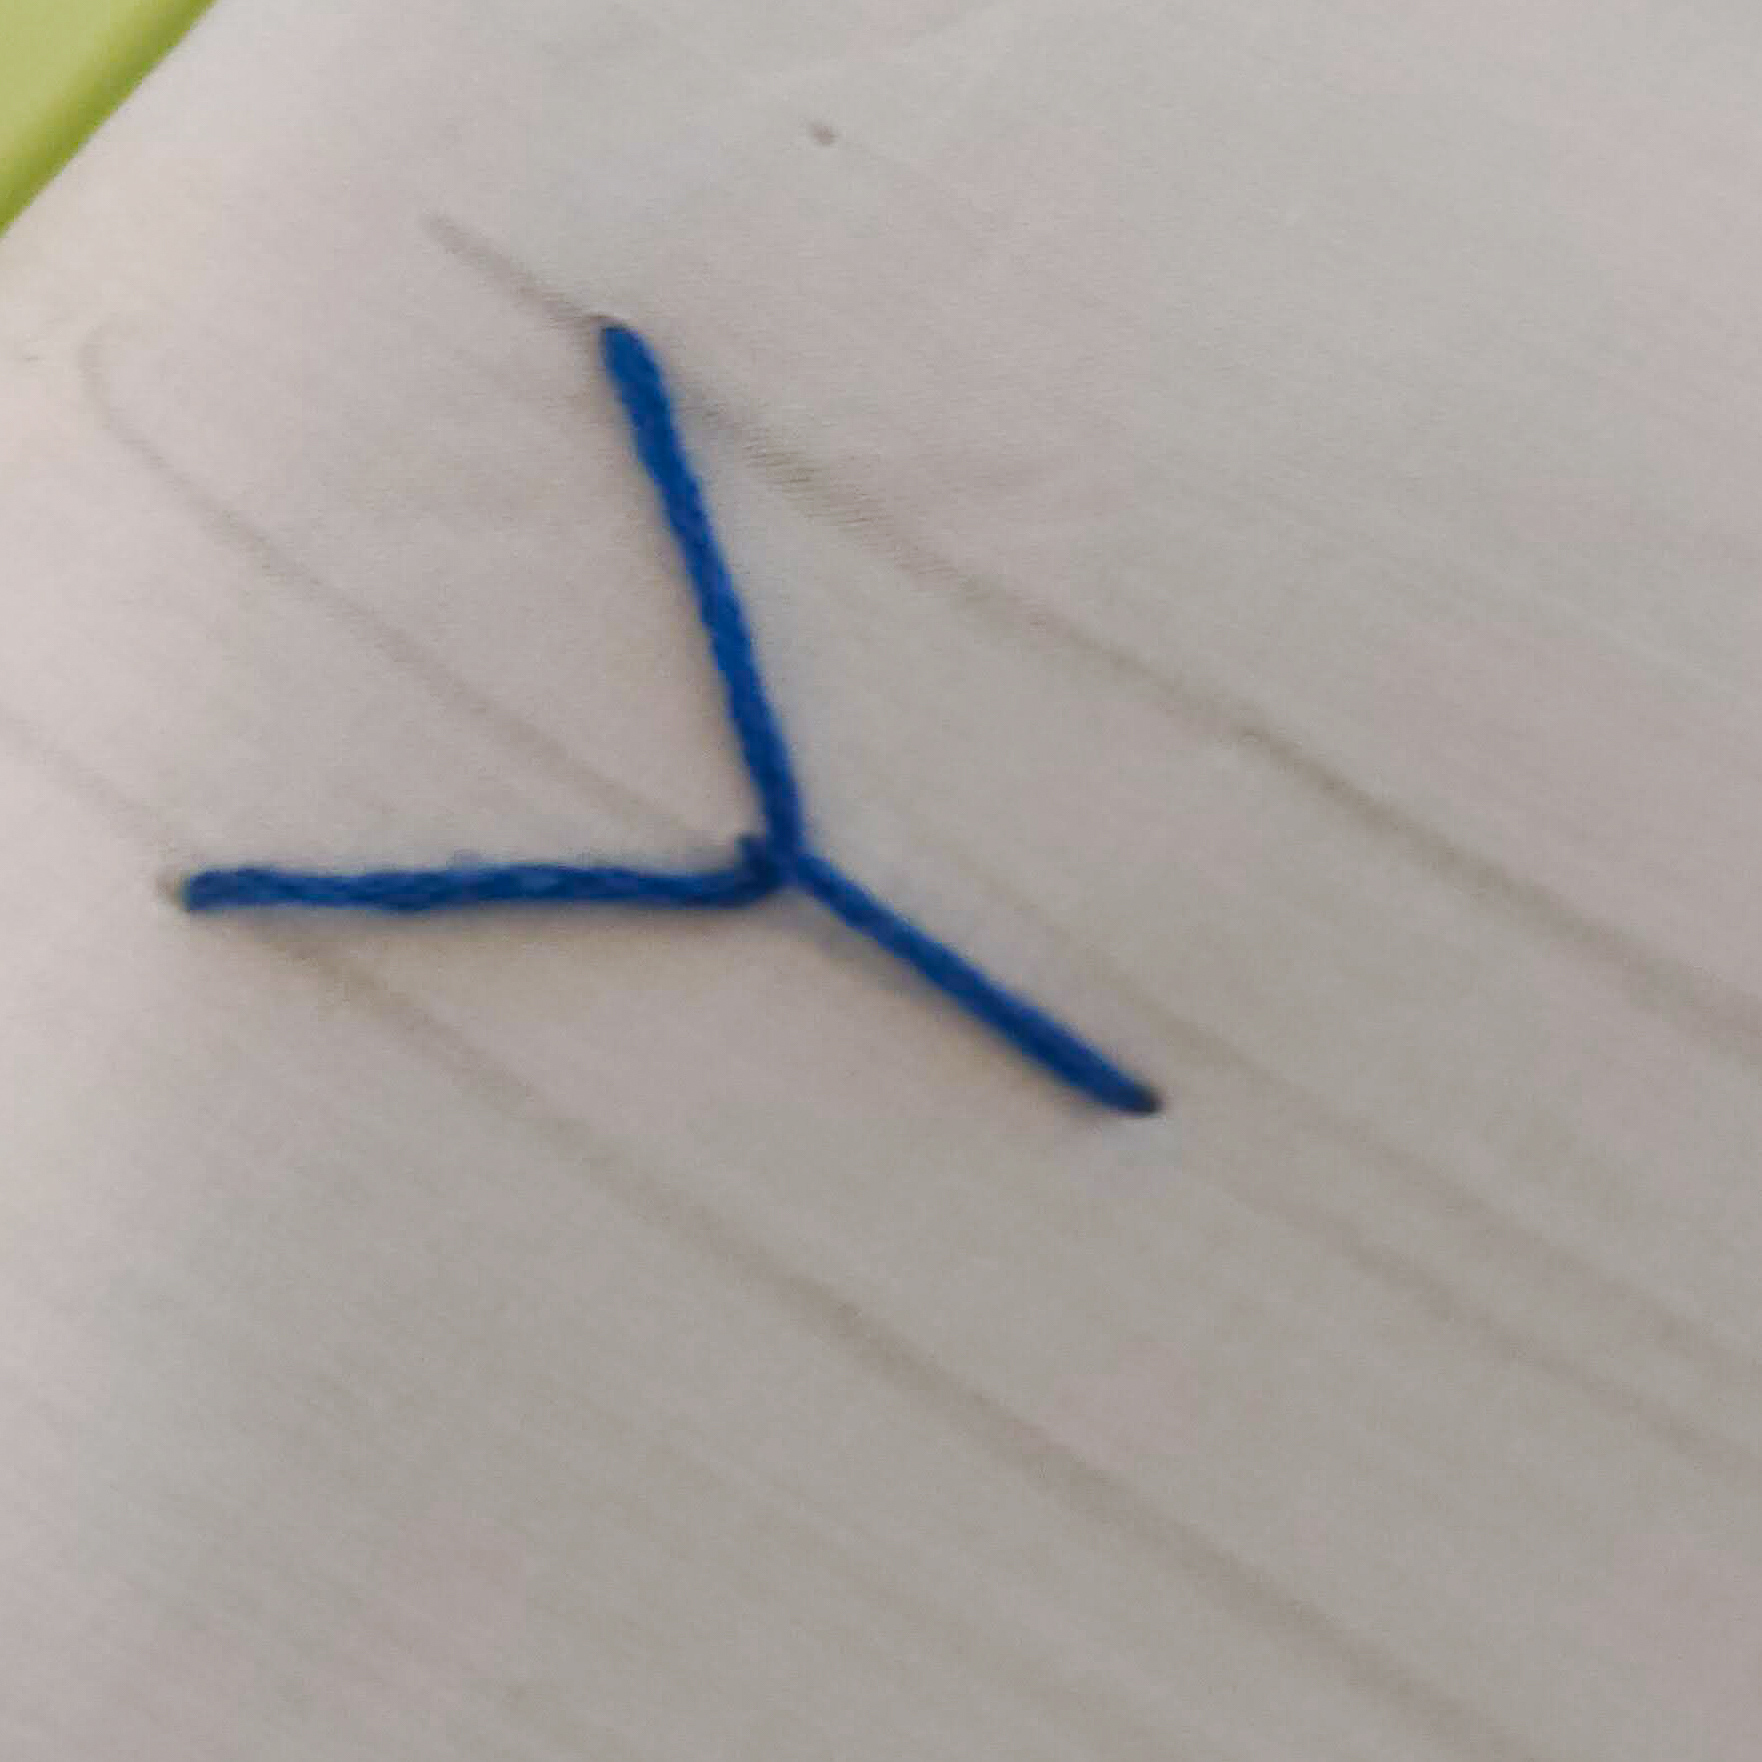
starting at your top guideline bring the thread up then insert the needle below the previous stitch on the bottom guideline, before pulling the needle all the way through bring it up a little to the right of your previous stitches on the middle guideline.


With the needle sticking out of the fabric loop your thread around the needle and pull through
place an equal space to the right before pulling your needle down. This can be used as a single fly stitch or turned into a chain.

Chain fly stitch: pull your needle up on the top guideline above the peak of the loop then repeat the first couple of steps.

Buttonhole Stitch

starting at the bottom guideline to the right pull your needle up

insert your needle a little to the left on the top guideline and then to the bottom guideline.

loop your fabric under the needle then pull your needle all the way through.
Repeat this by inserting your needle to the top guideline then to the bottom guideline where you loop your thread around your needle then pull through.
Repeat stitch until complete.
Feather Stitch
starting at the top left of your guideline pull your needle through
then insert your needle around the same place on the bottom guideline. Then pull the needle up to the right of your previous stitch on the top guideline and loop your thread around it

and pull the needle through before continuing the previous steps
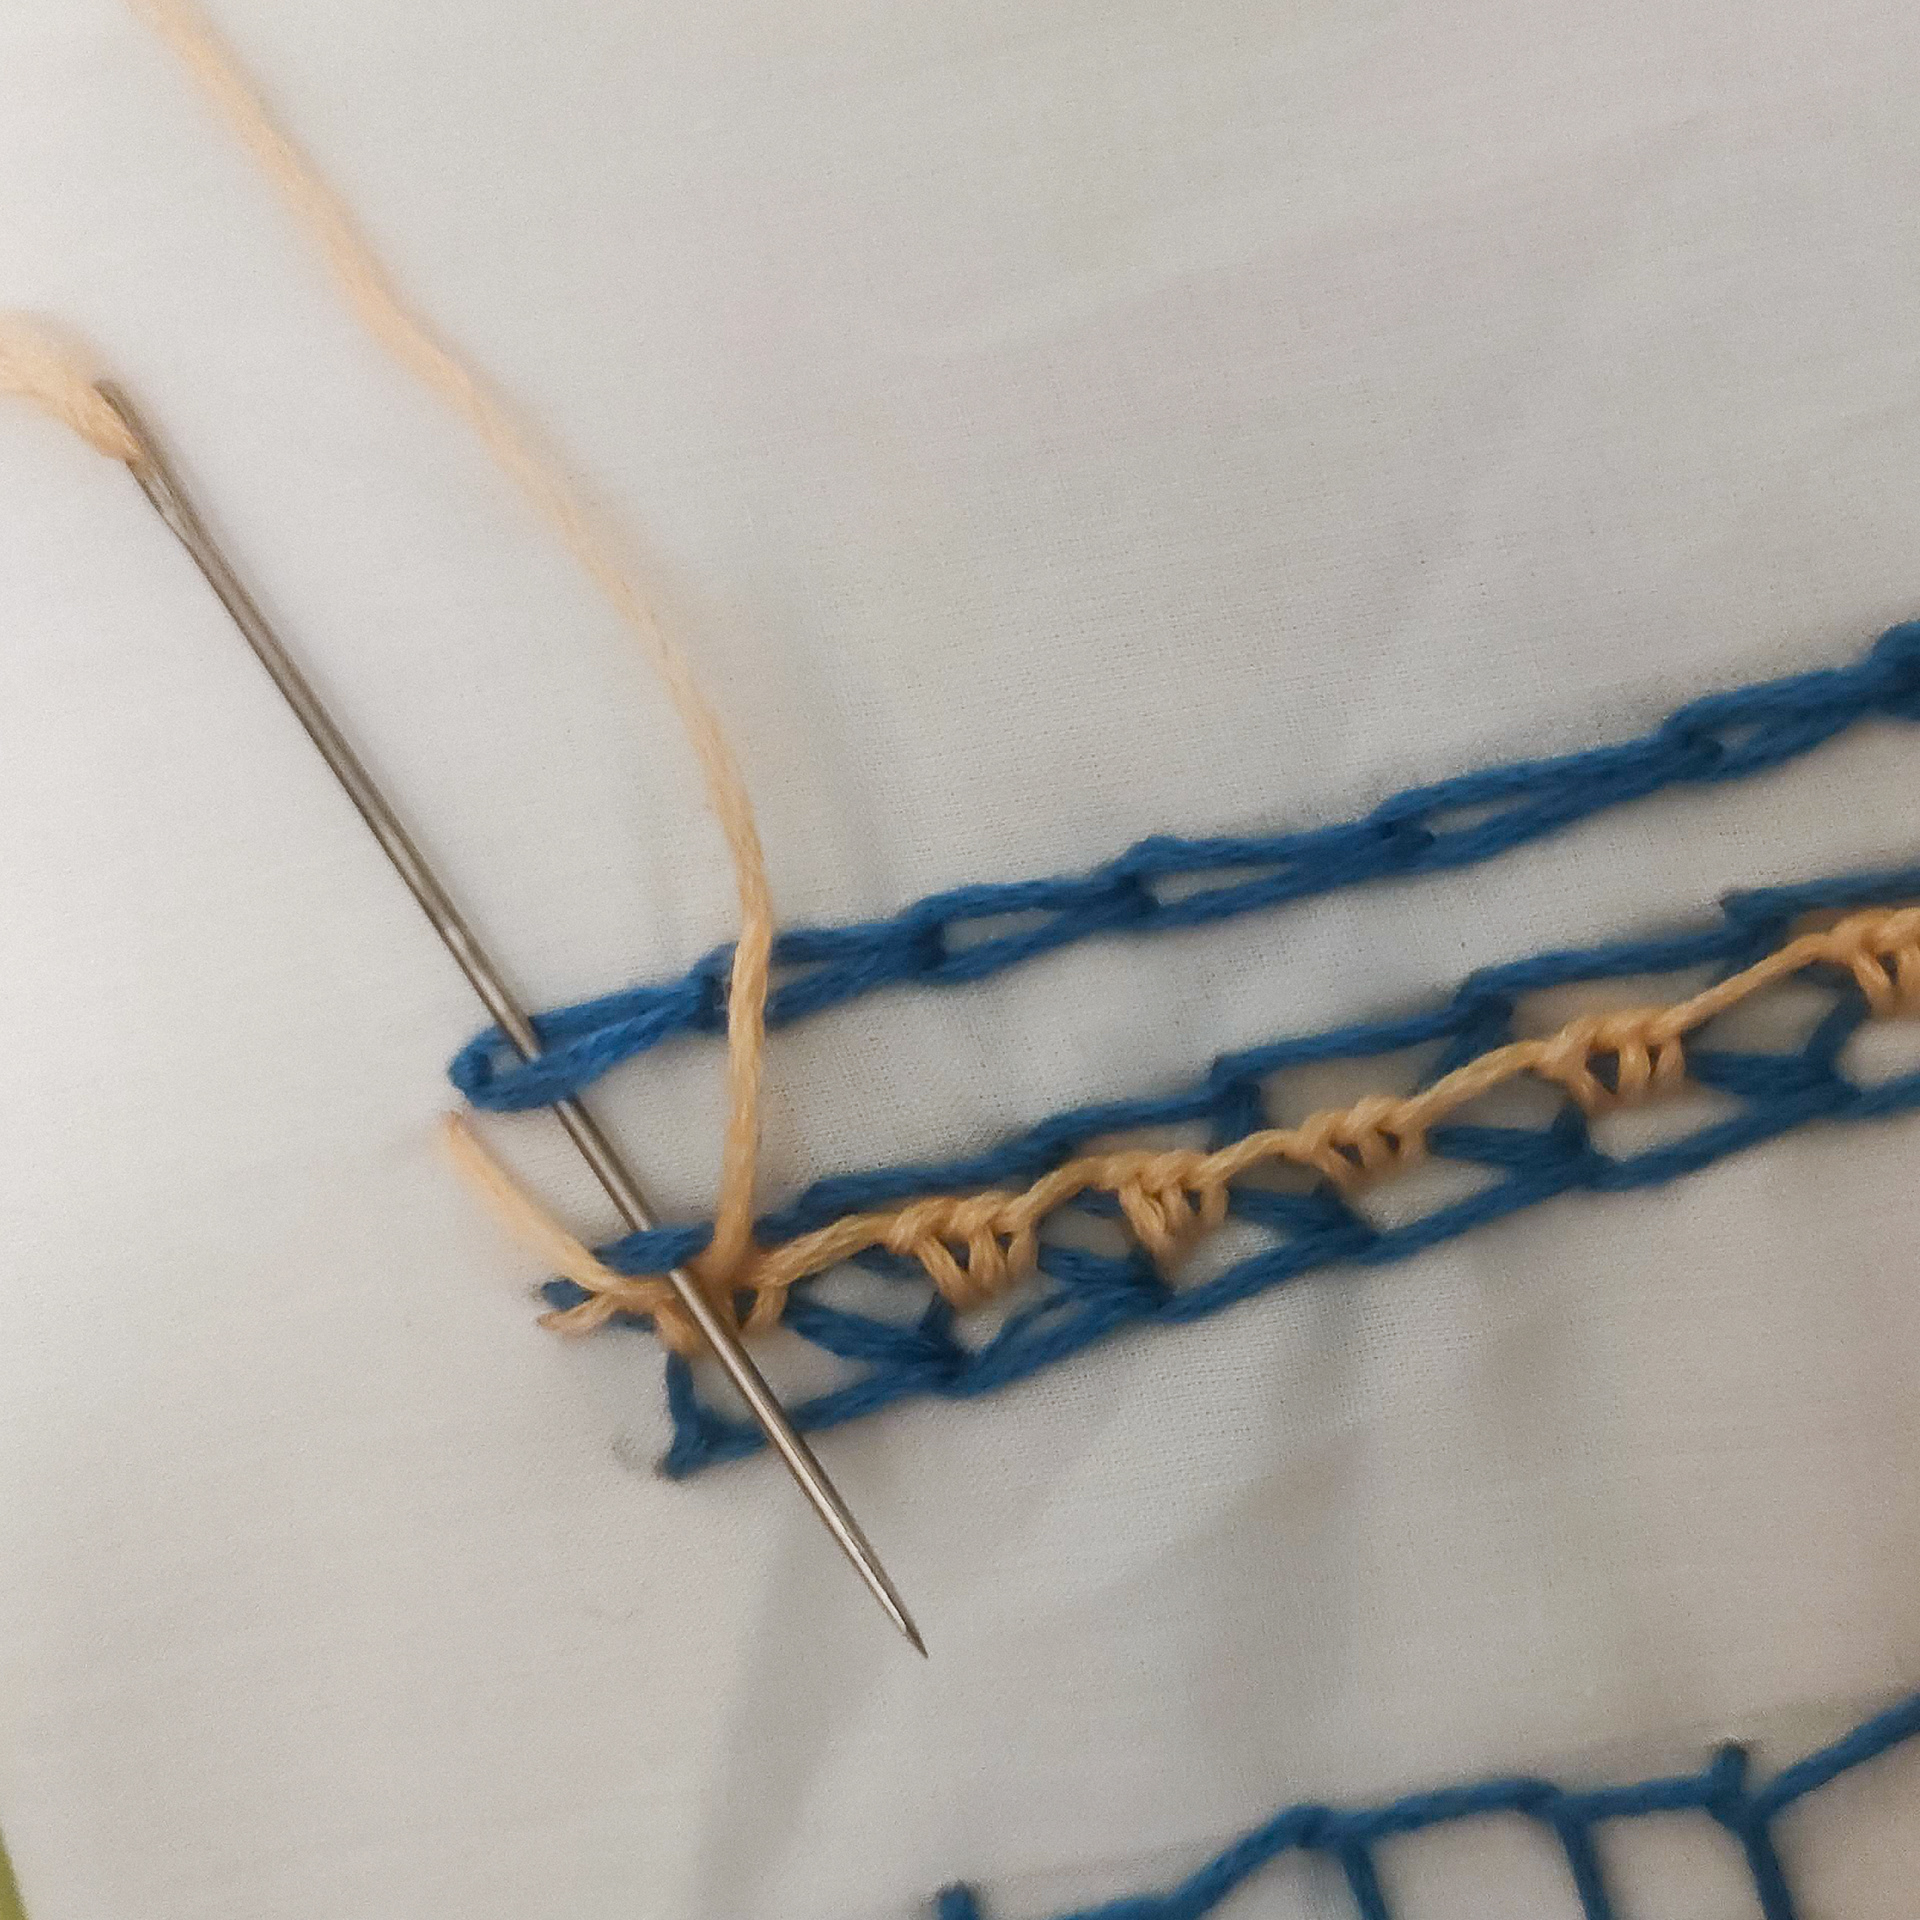
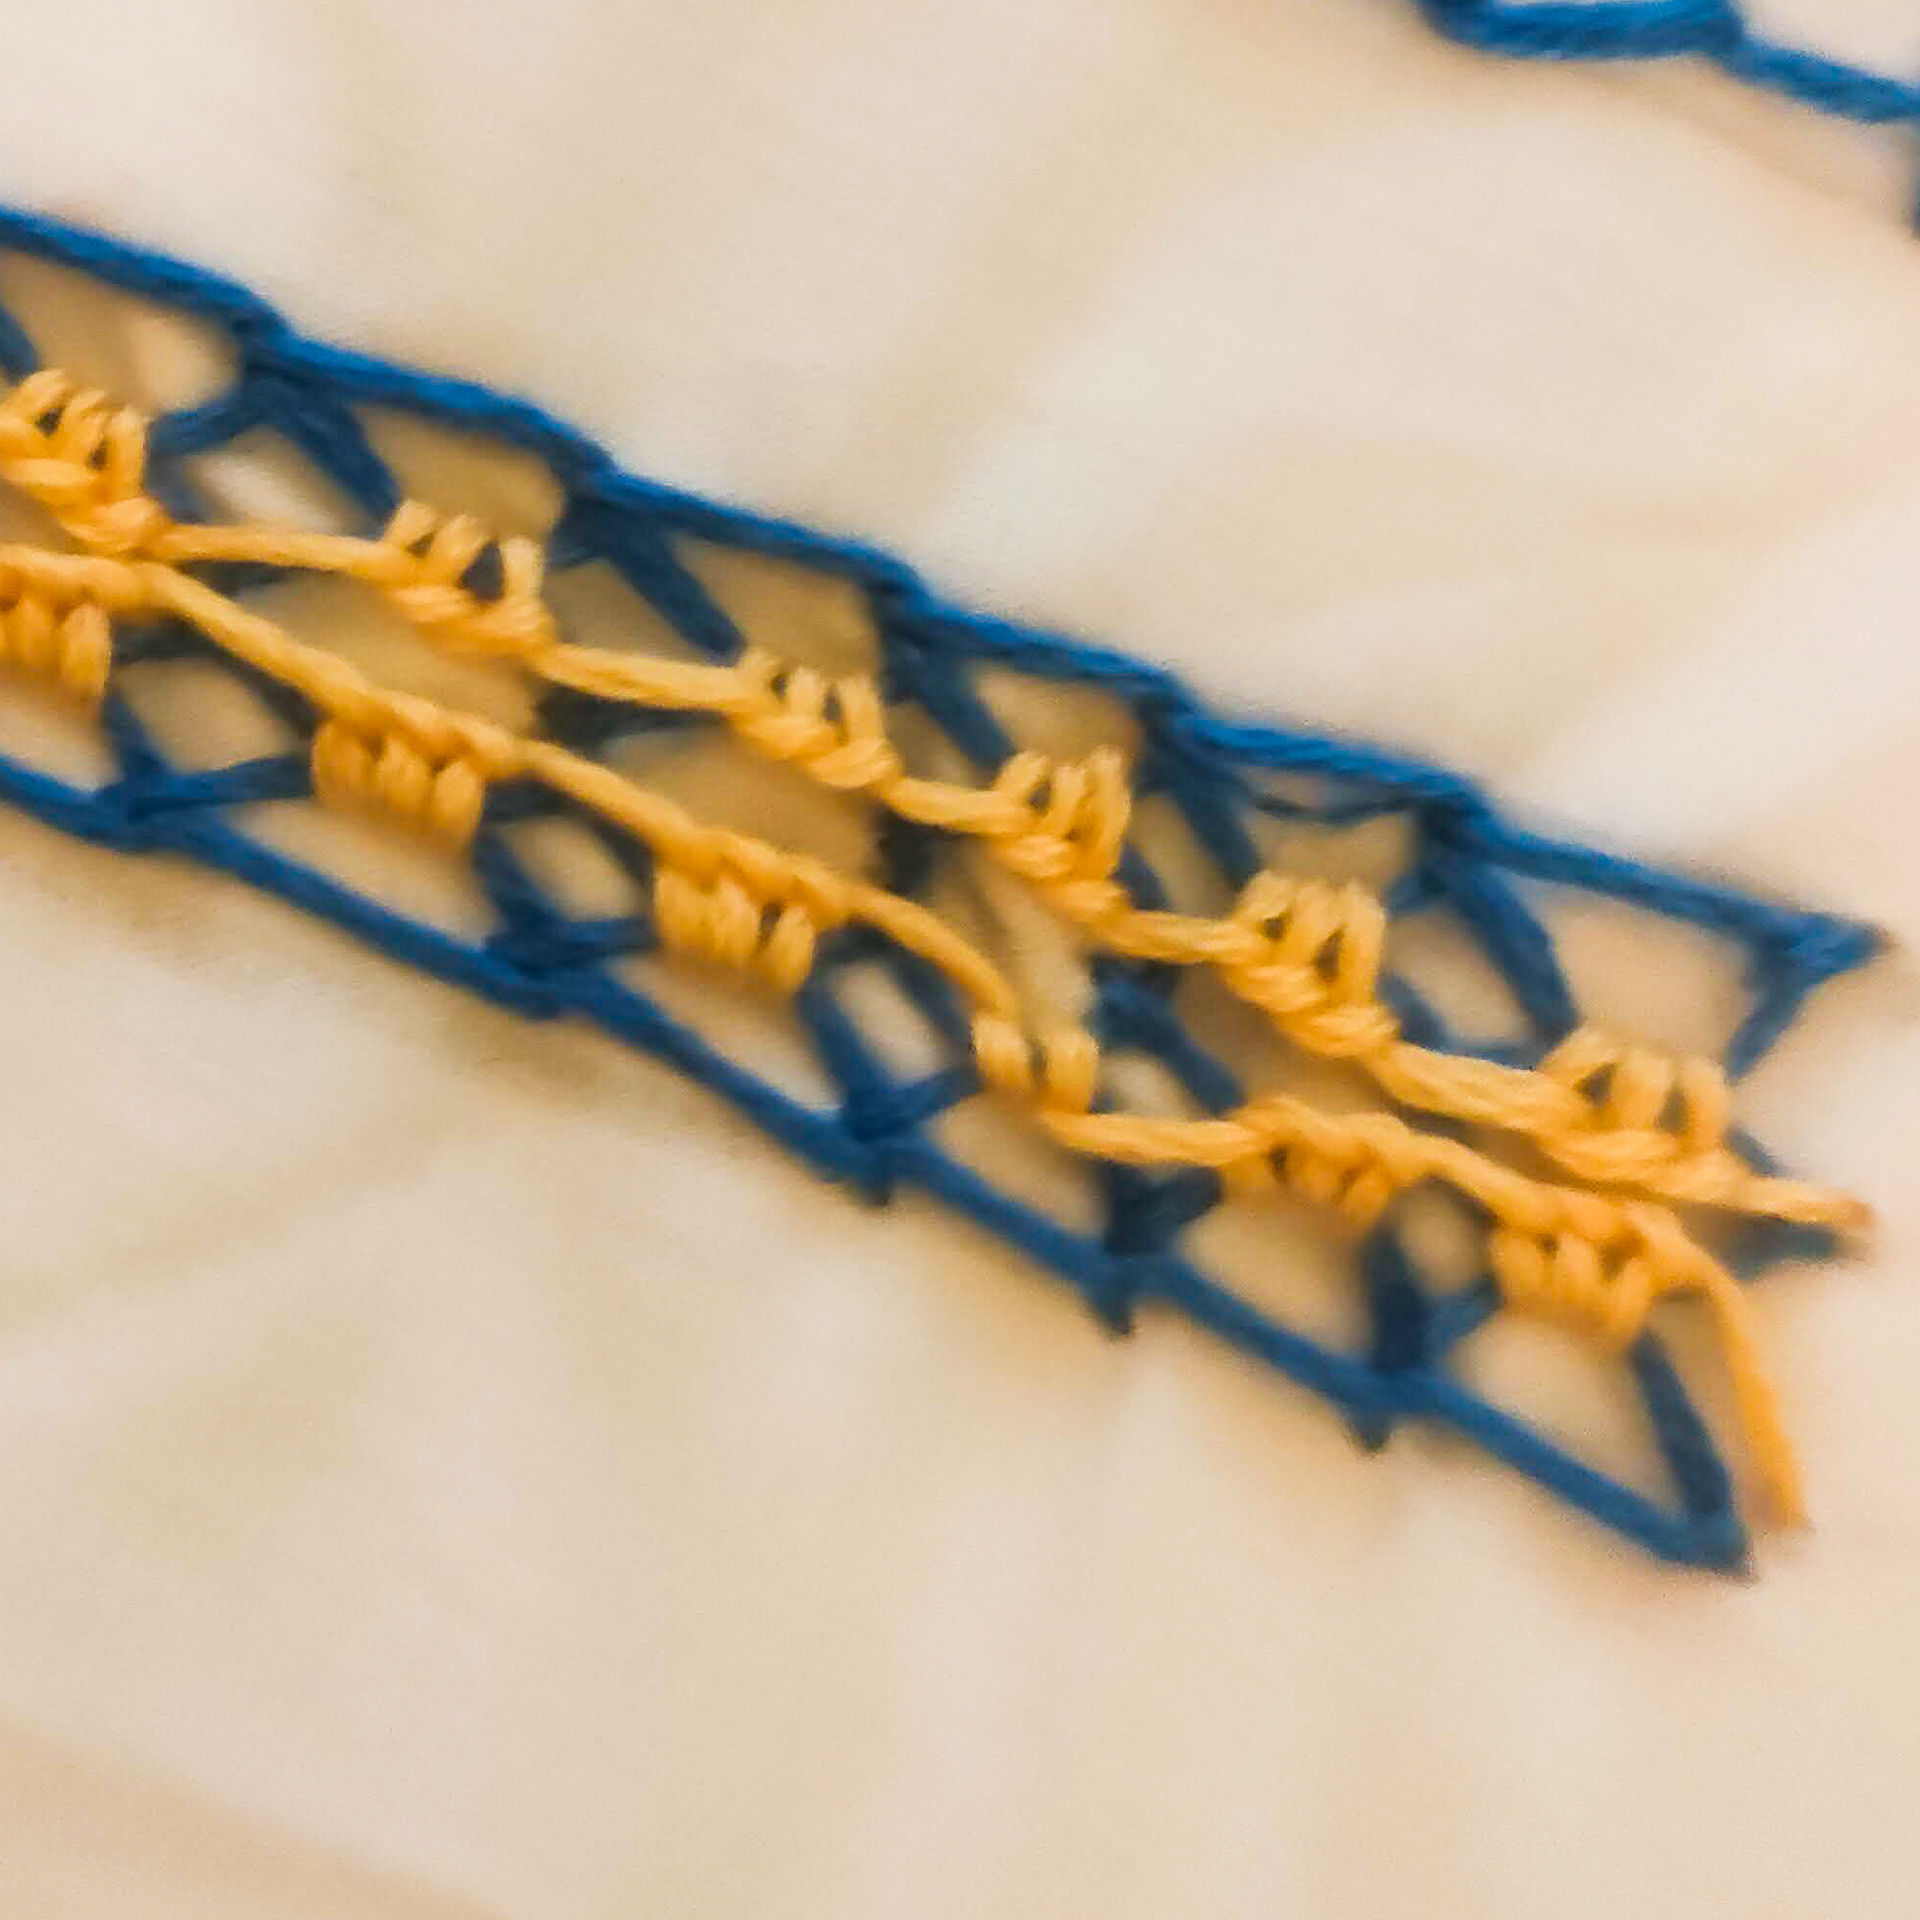
Parma Stitch

start this stitch by creating three rows of chain stitch on the provided guidelines.
start by pulling your thread through to the right of your middle chain stitch
NOT ENTERING THE FABRIC : from the top pull your needle down through the bottom loop of your top chain line then exiting at the top of the middle row loop. Keeping your needle under these two threads loop your working thread under your needle before pulling through.

Repeat this twice more before then moving onto the next loop in your chain.

Repeat this until you run out of loops.

Once this is complete turn your fabric around and repeat your previous working on this side.
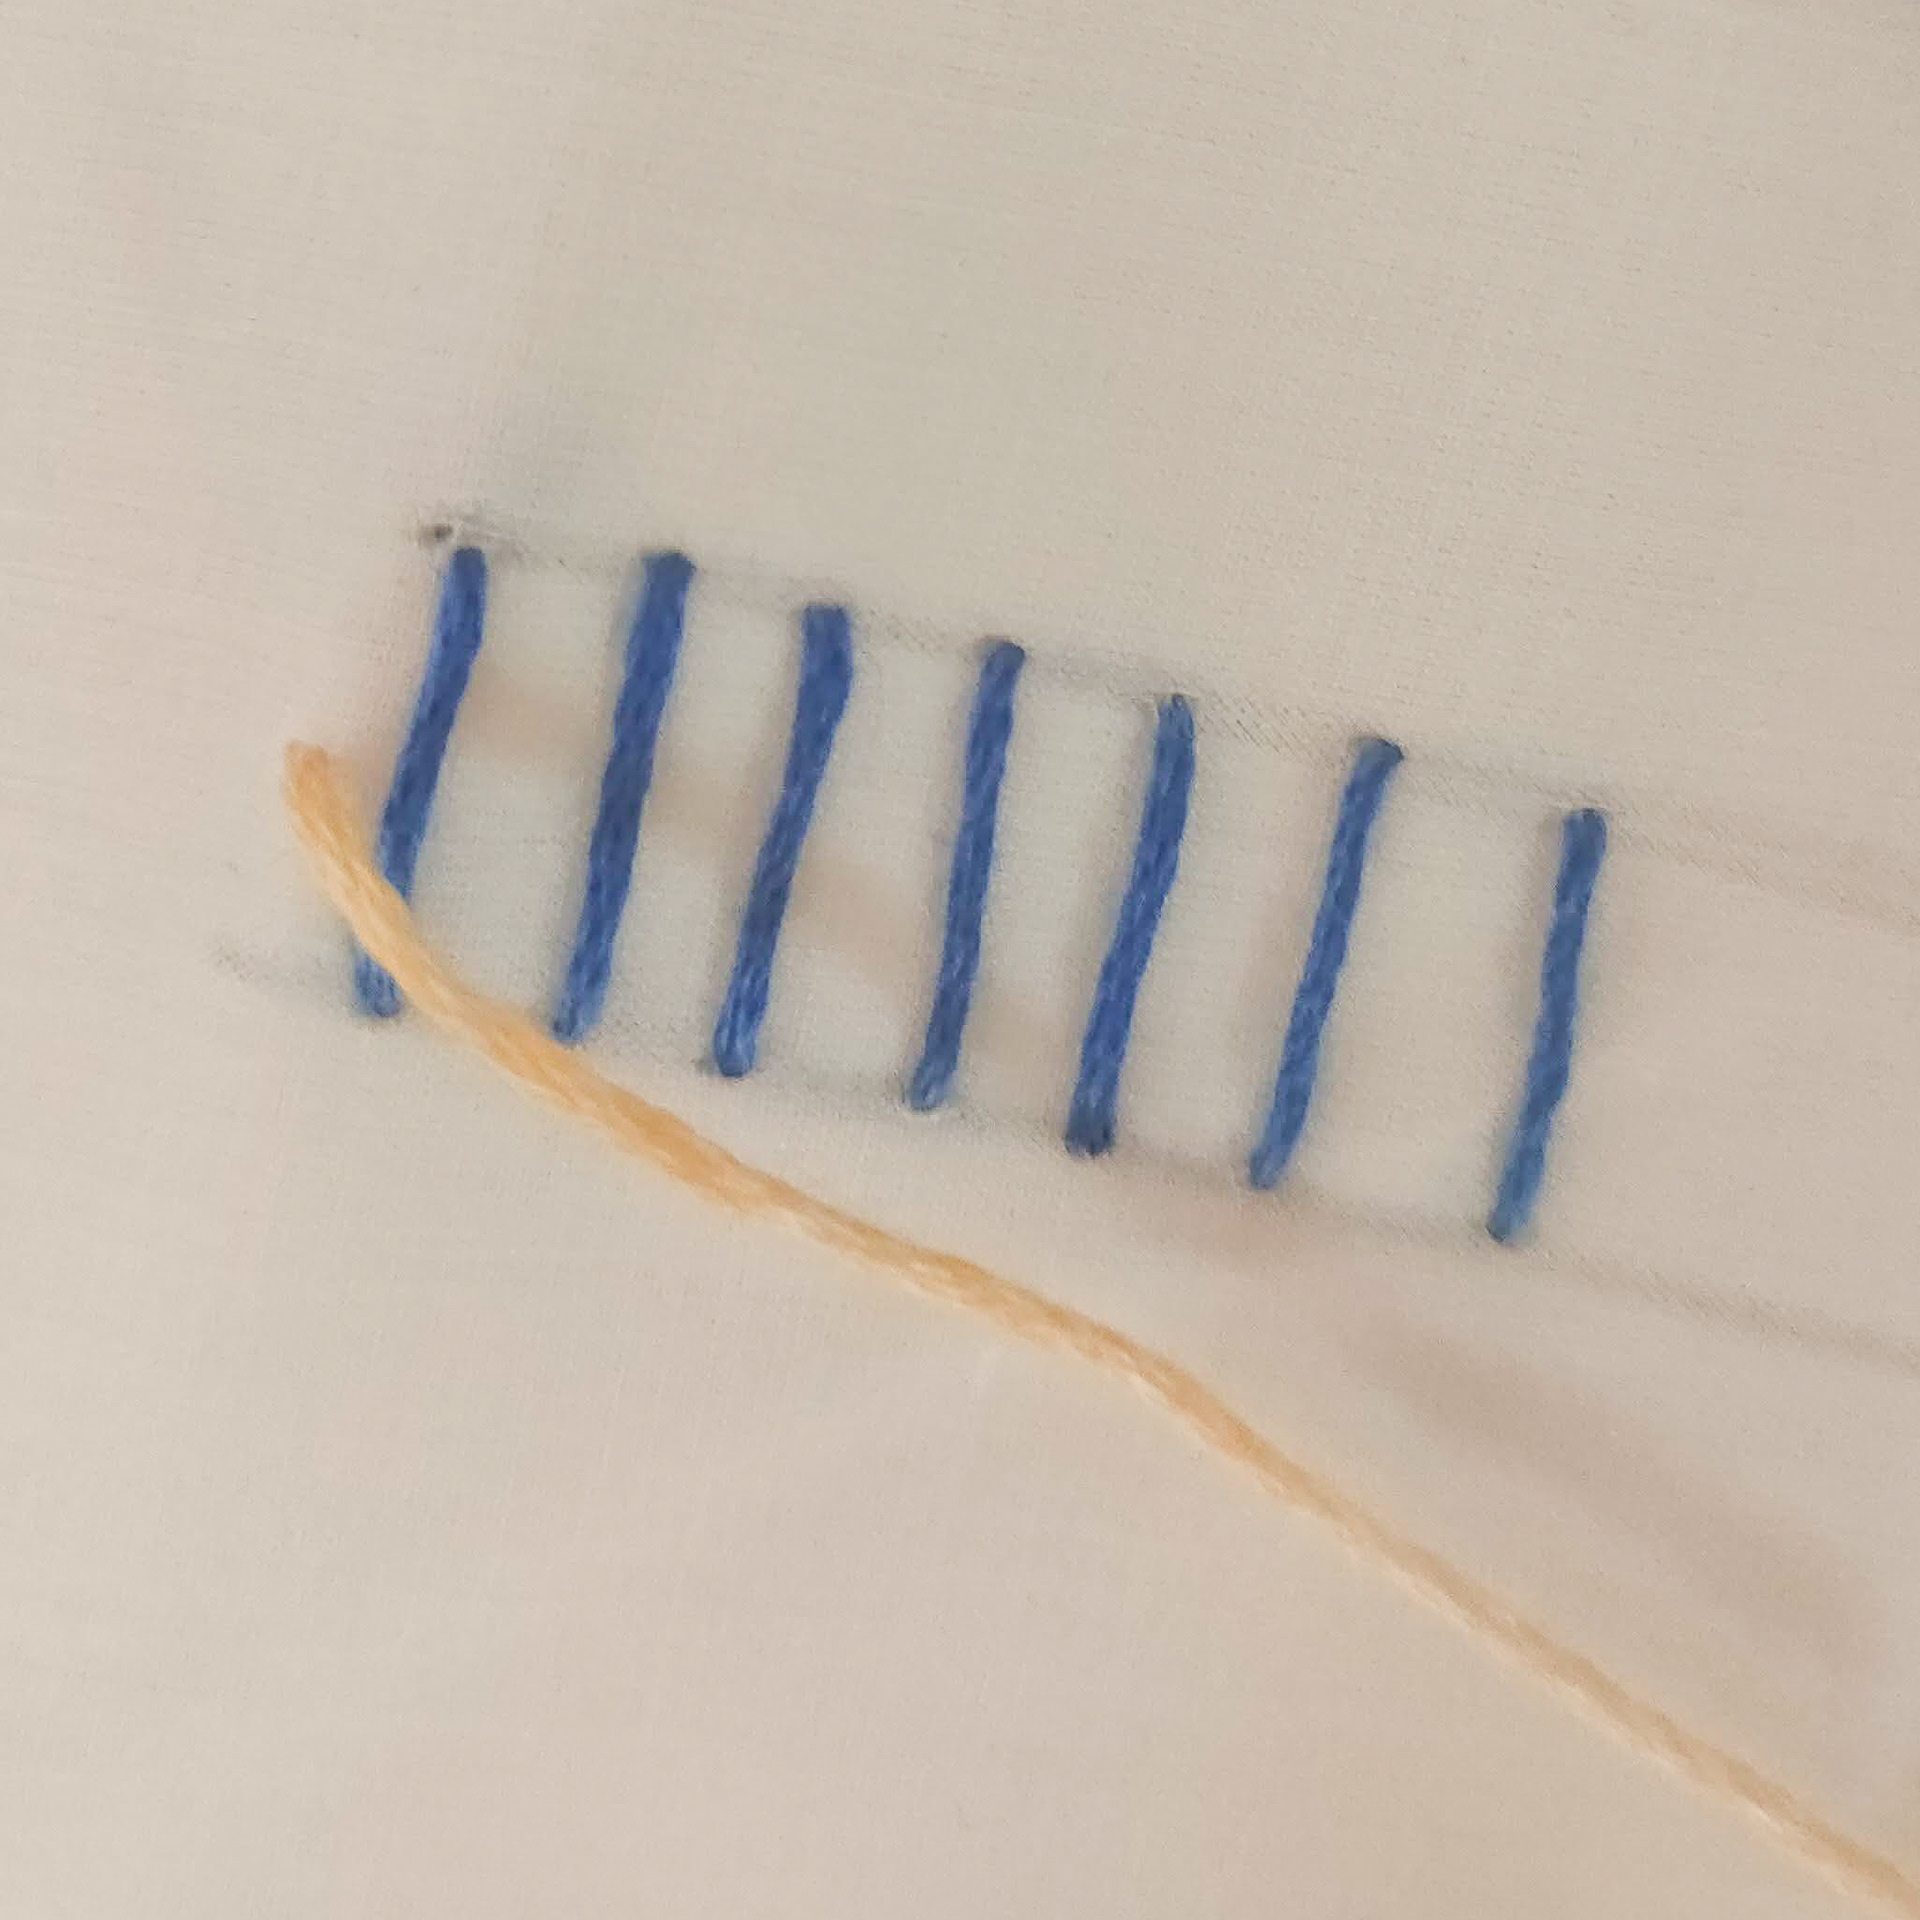
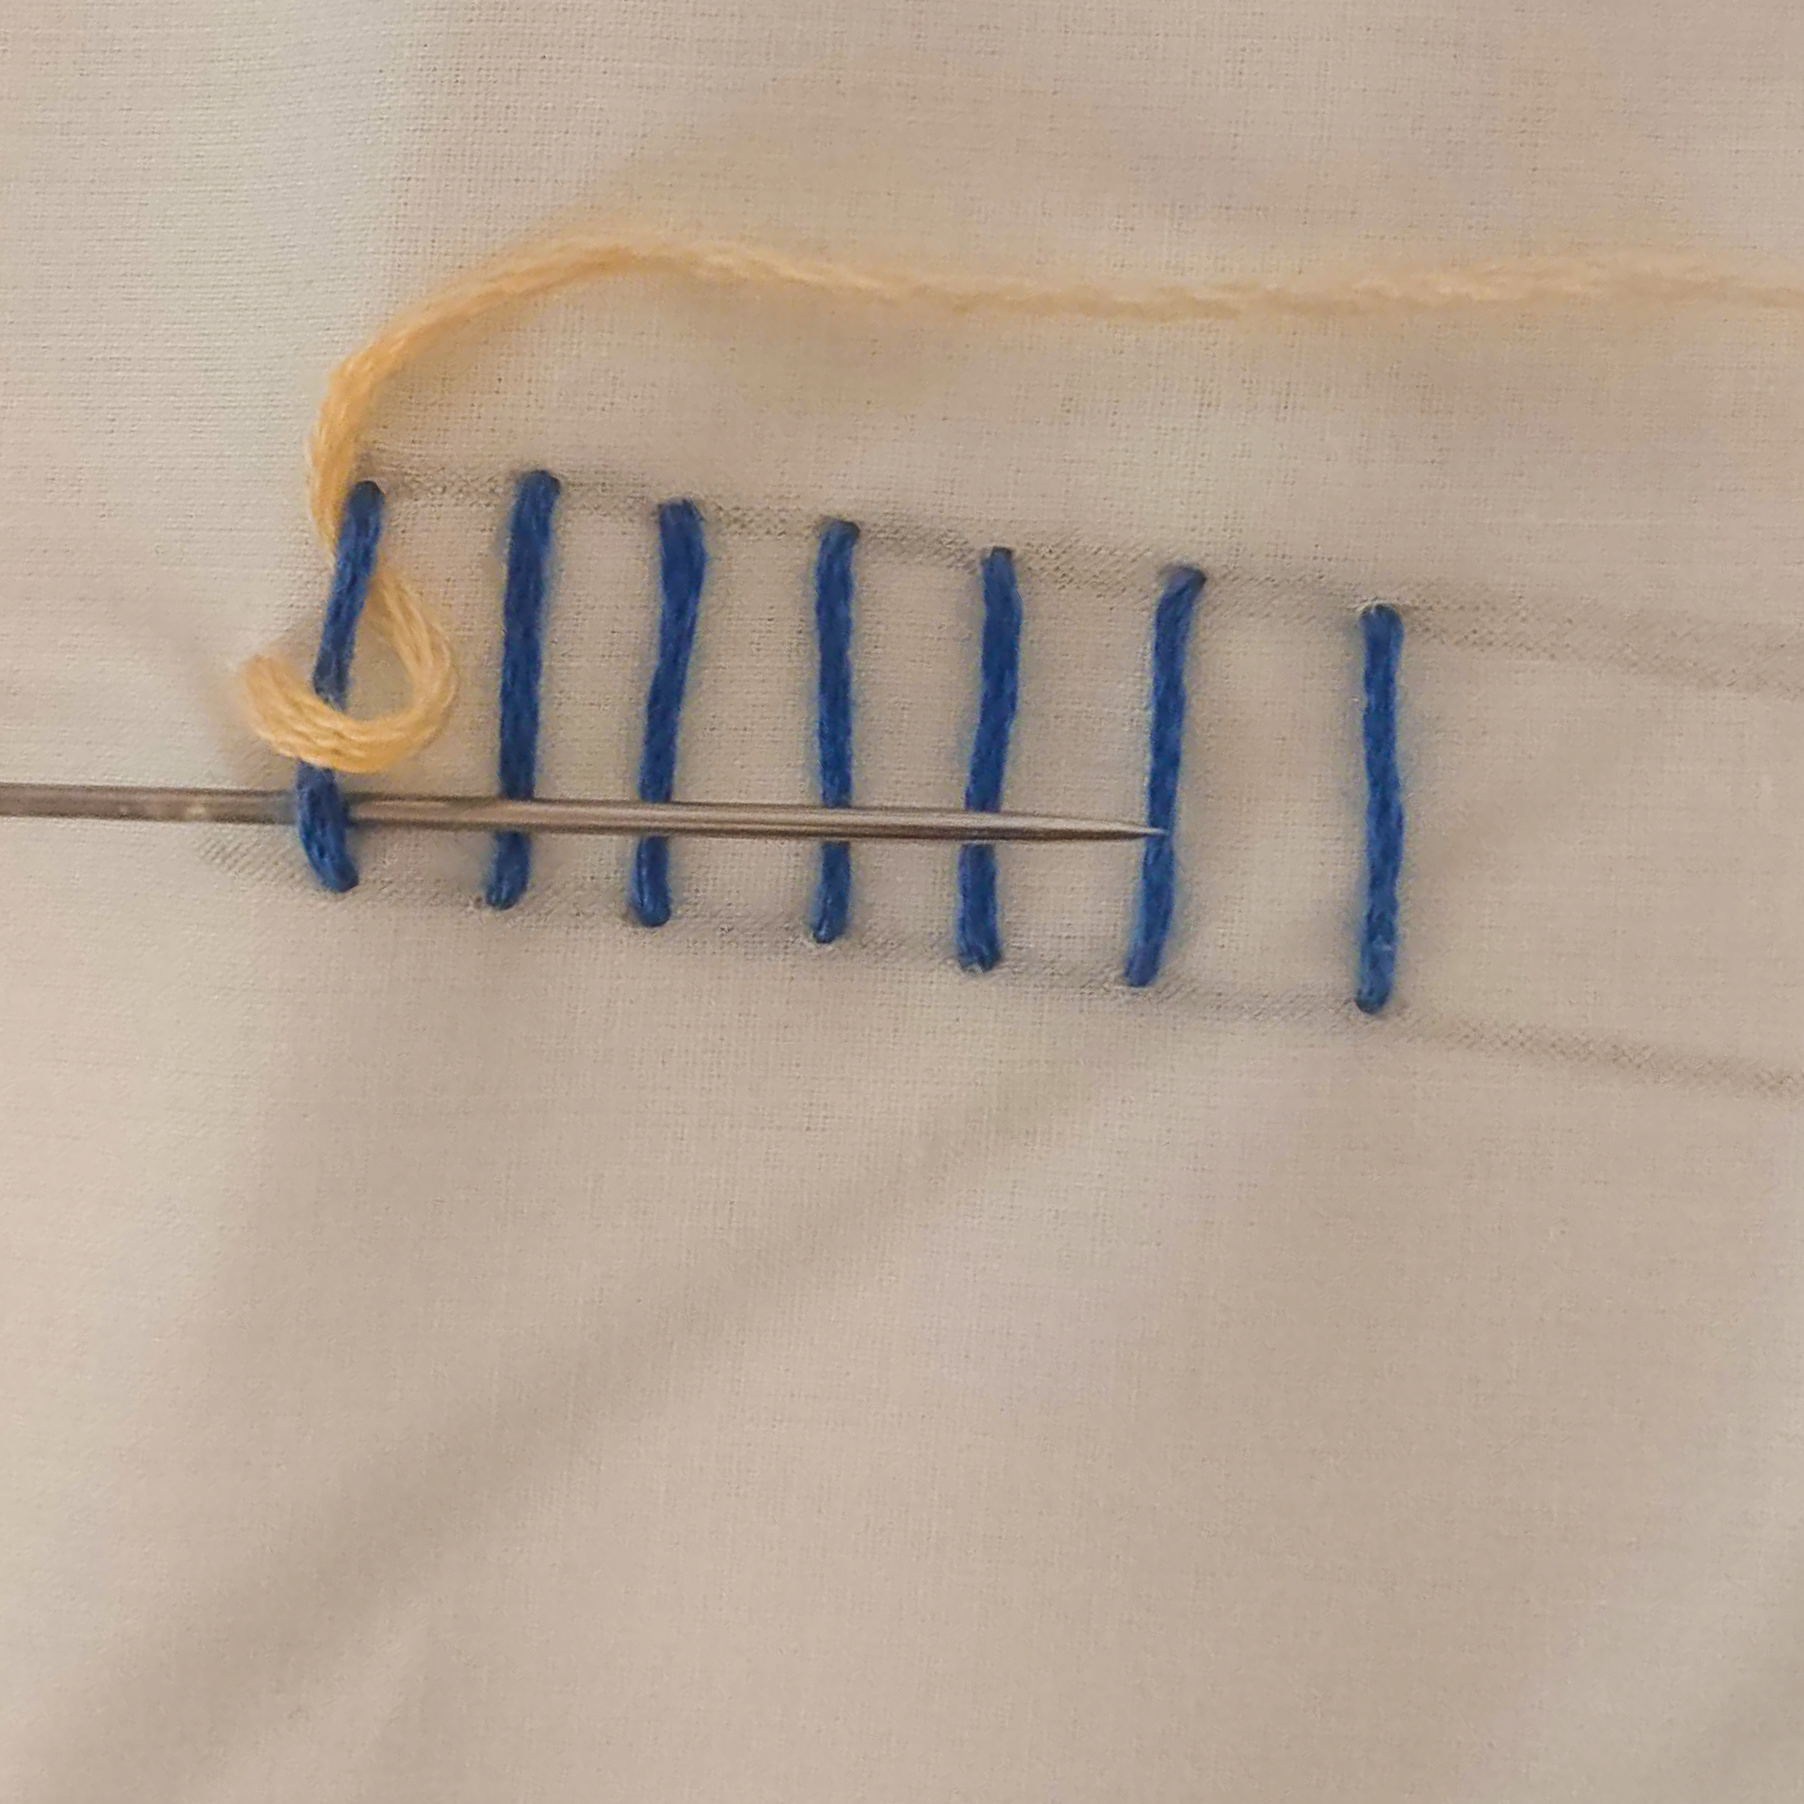
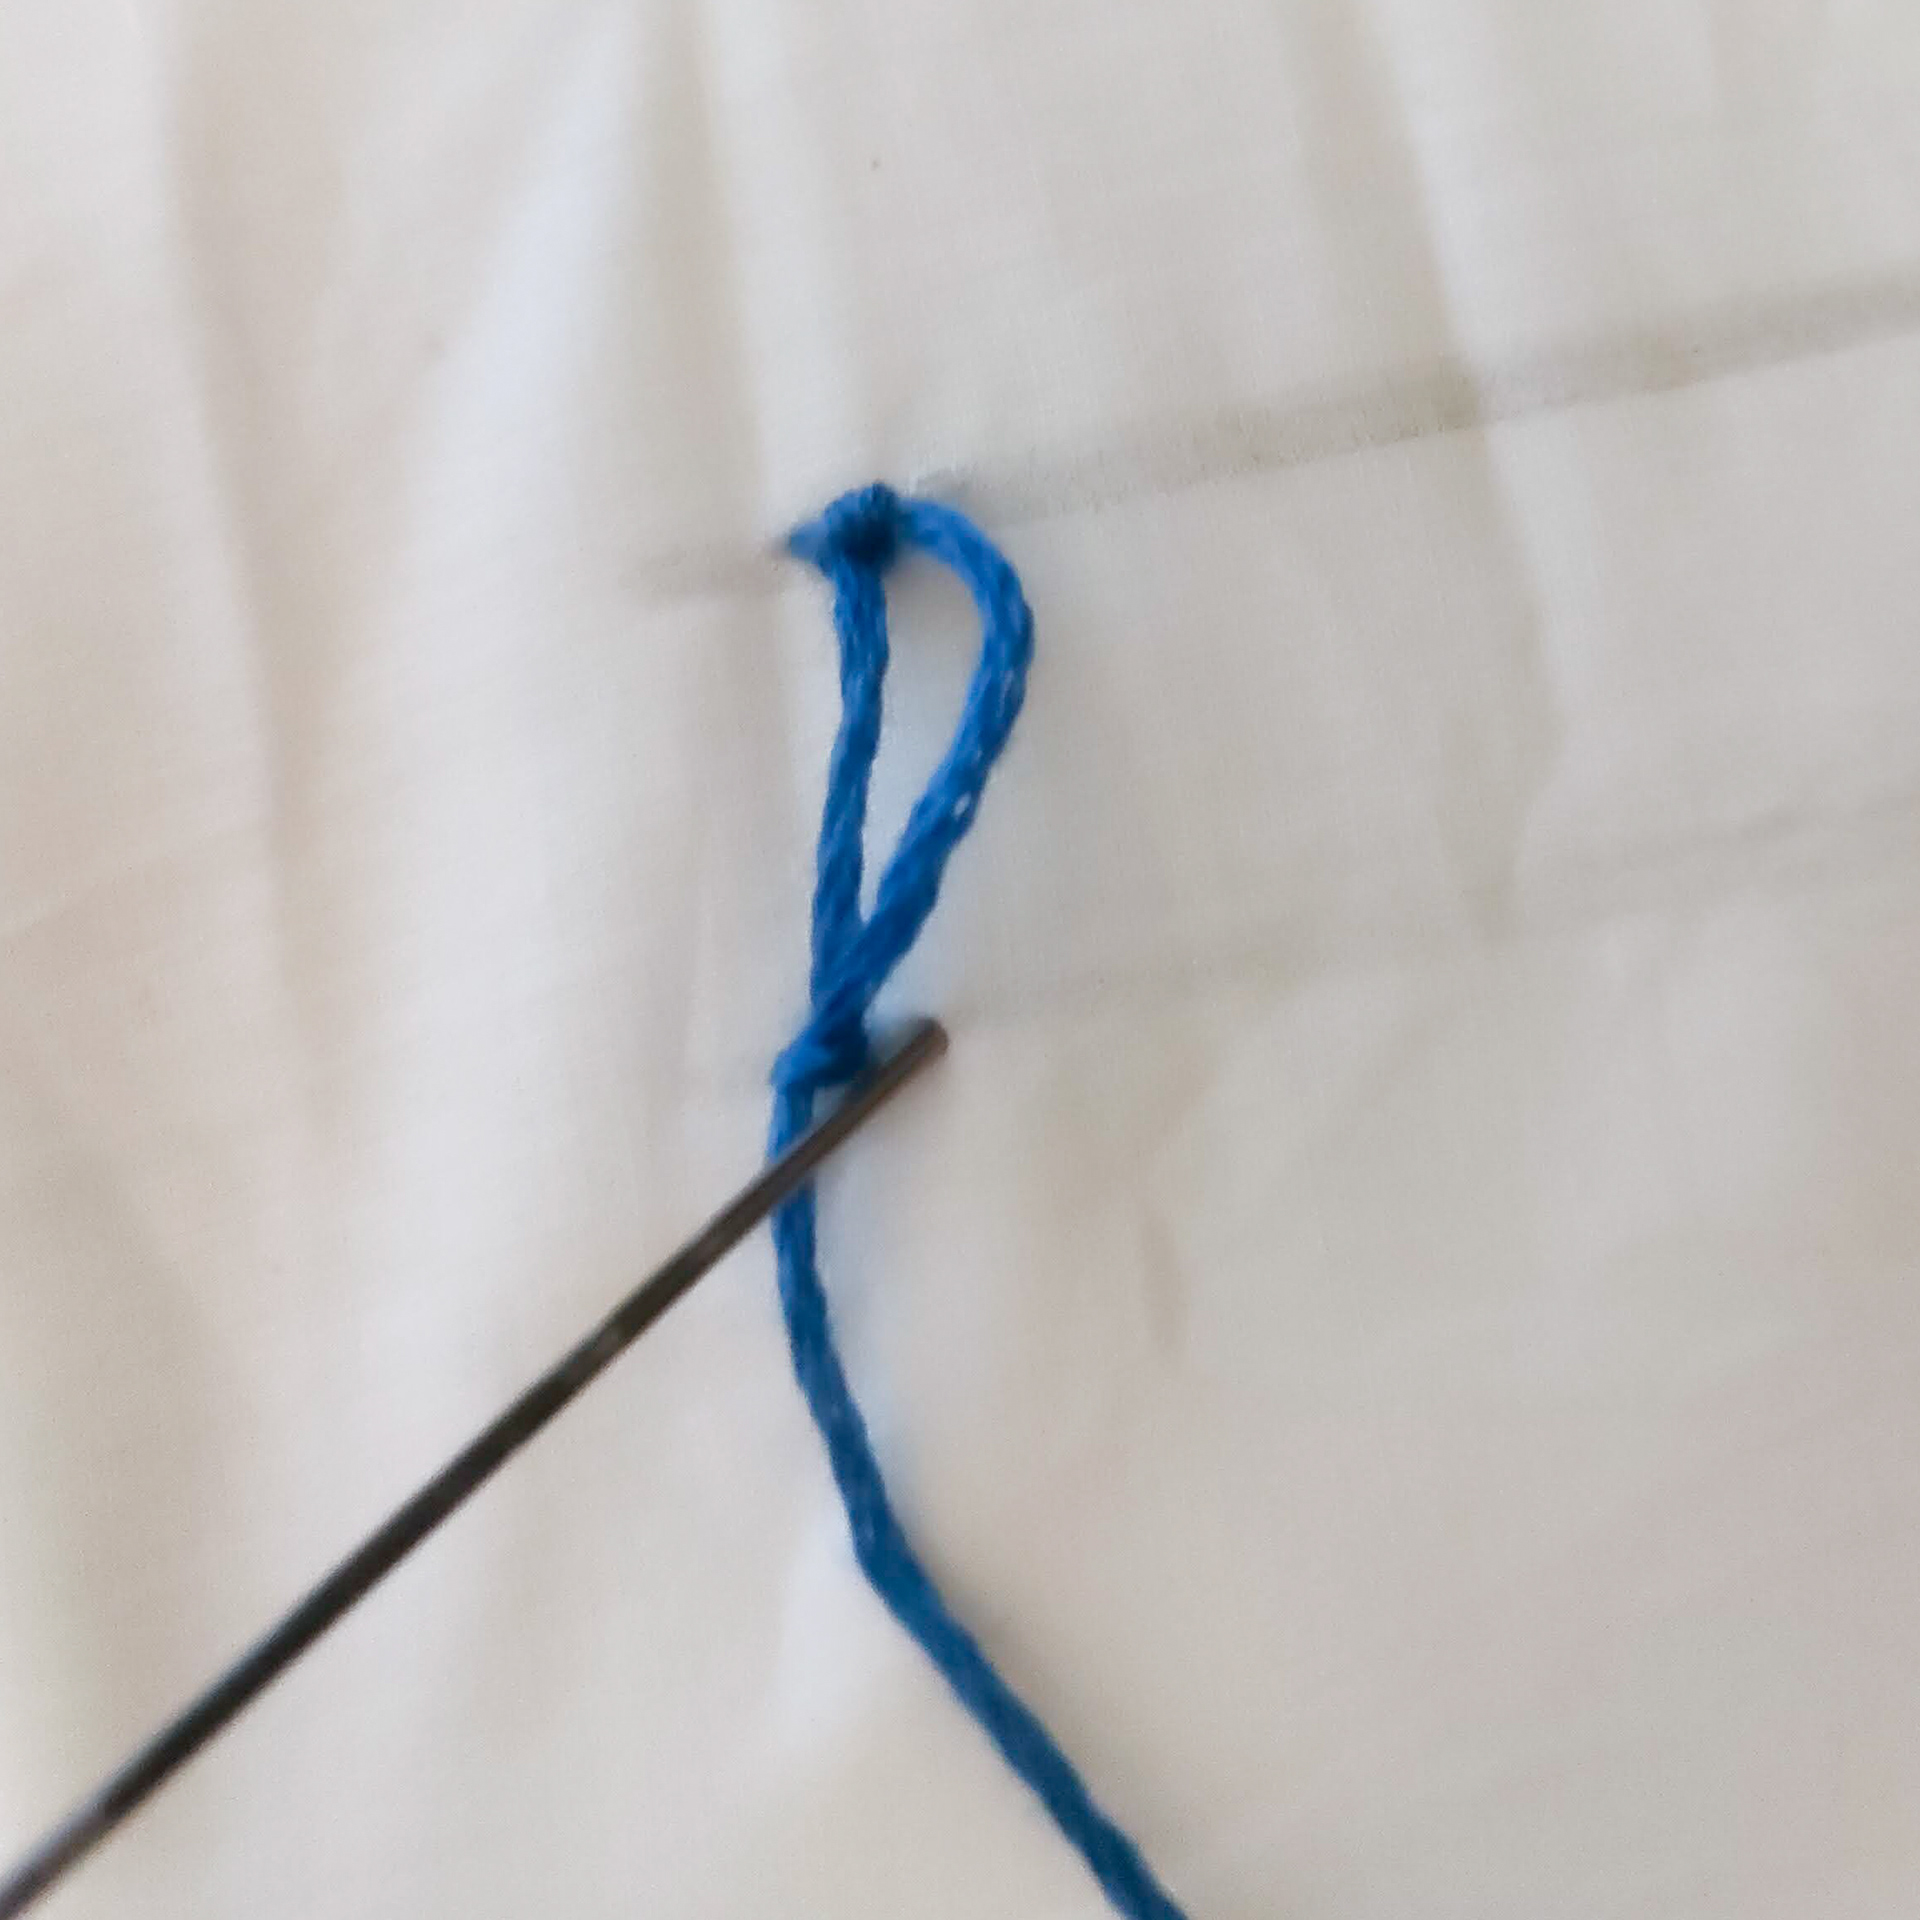
Diamond Stitch
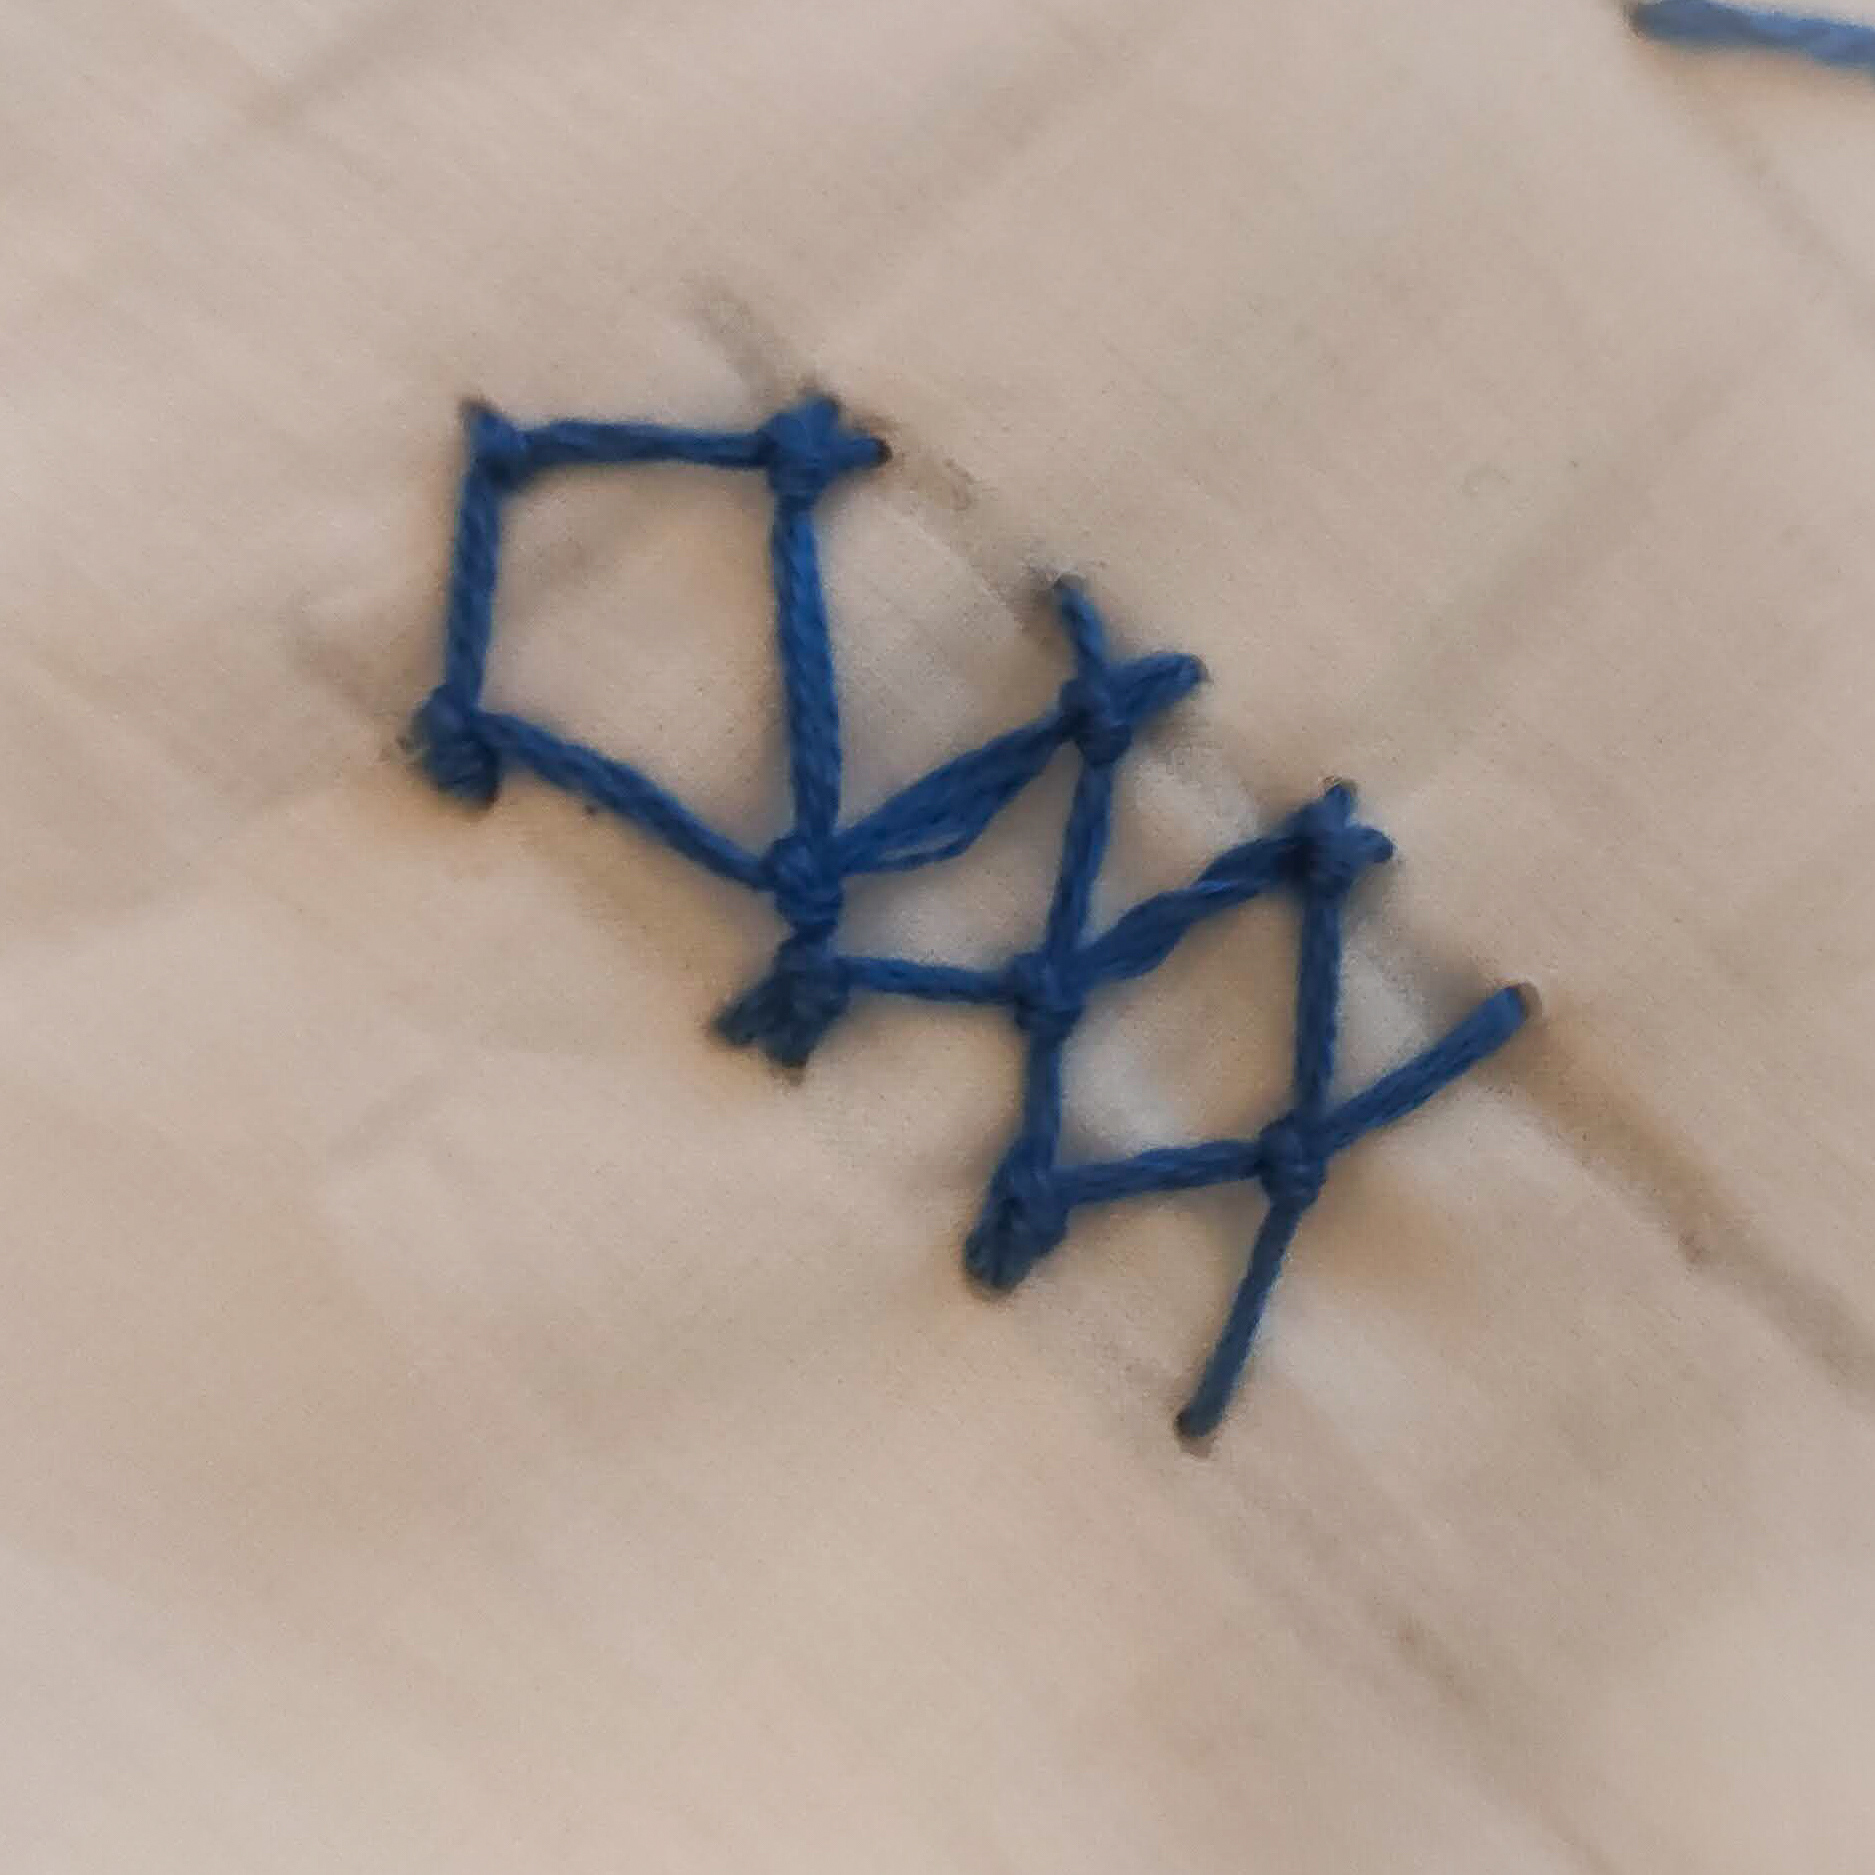
start at the top left of your guidelines pull your needle through and then insert your needle on the bottom guideline below where your needle started.
Place your needle next to that previous stitch on the top guideline and pull through
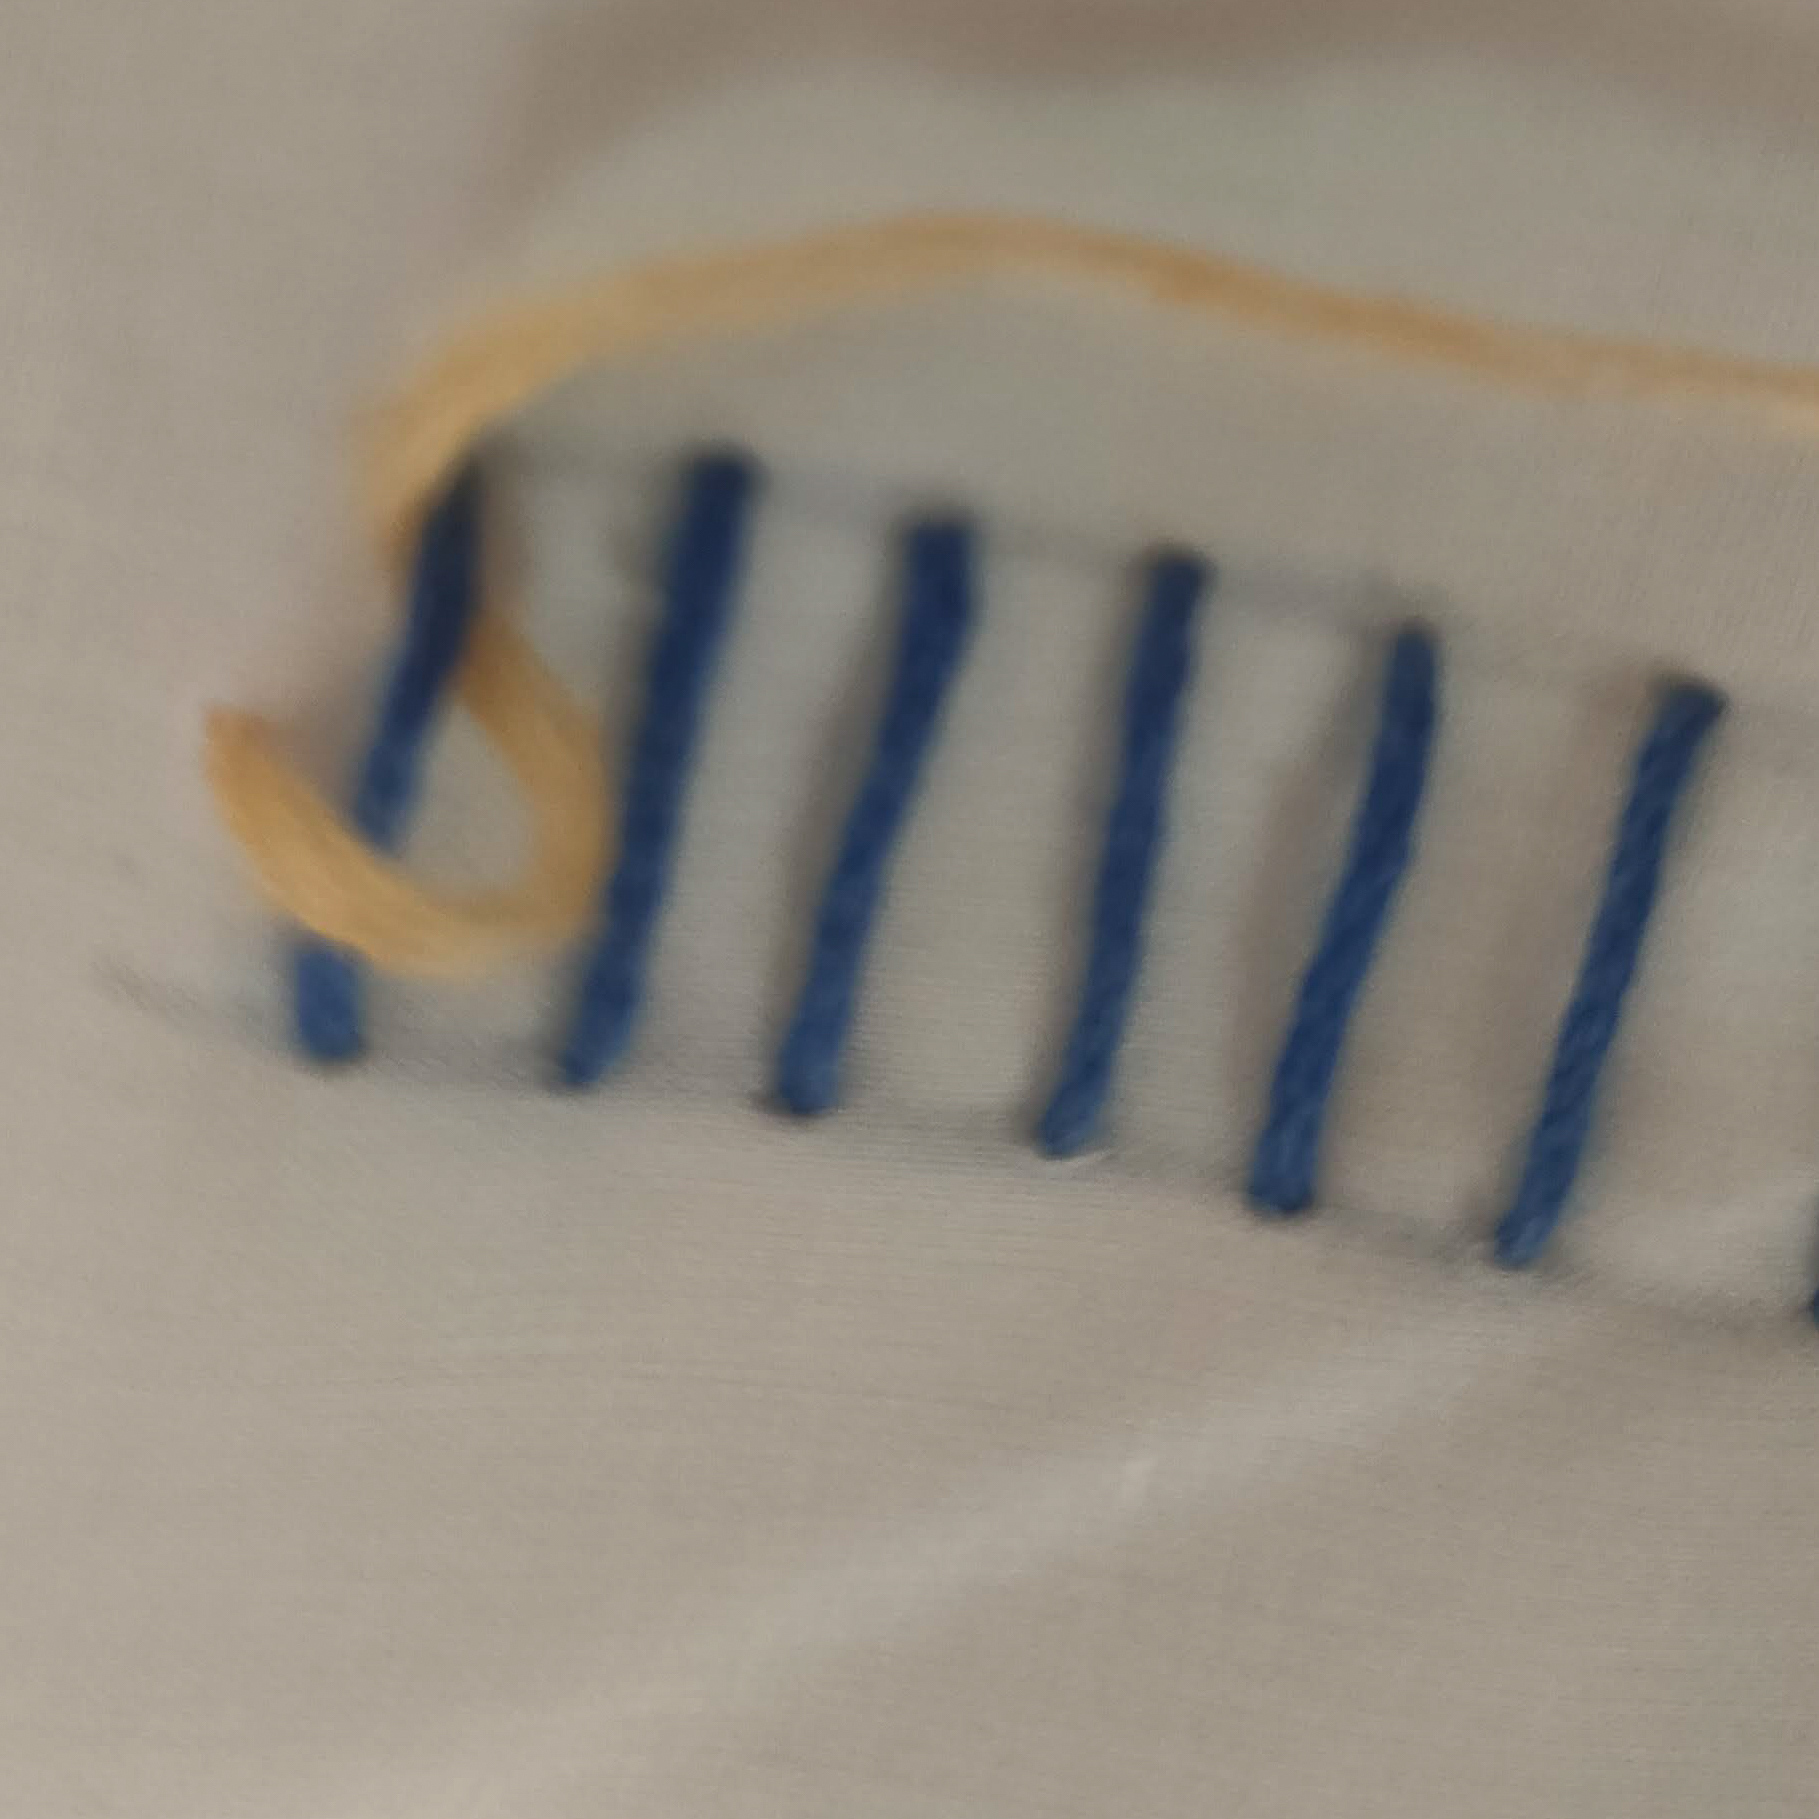
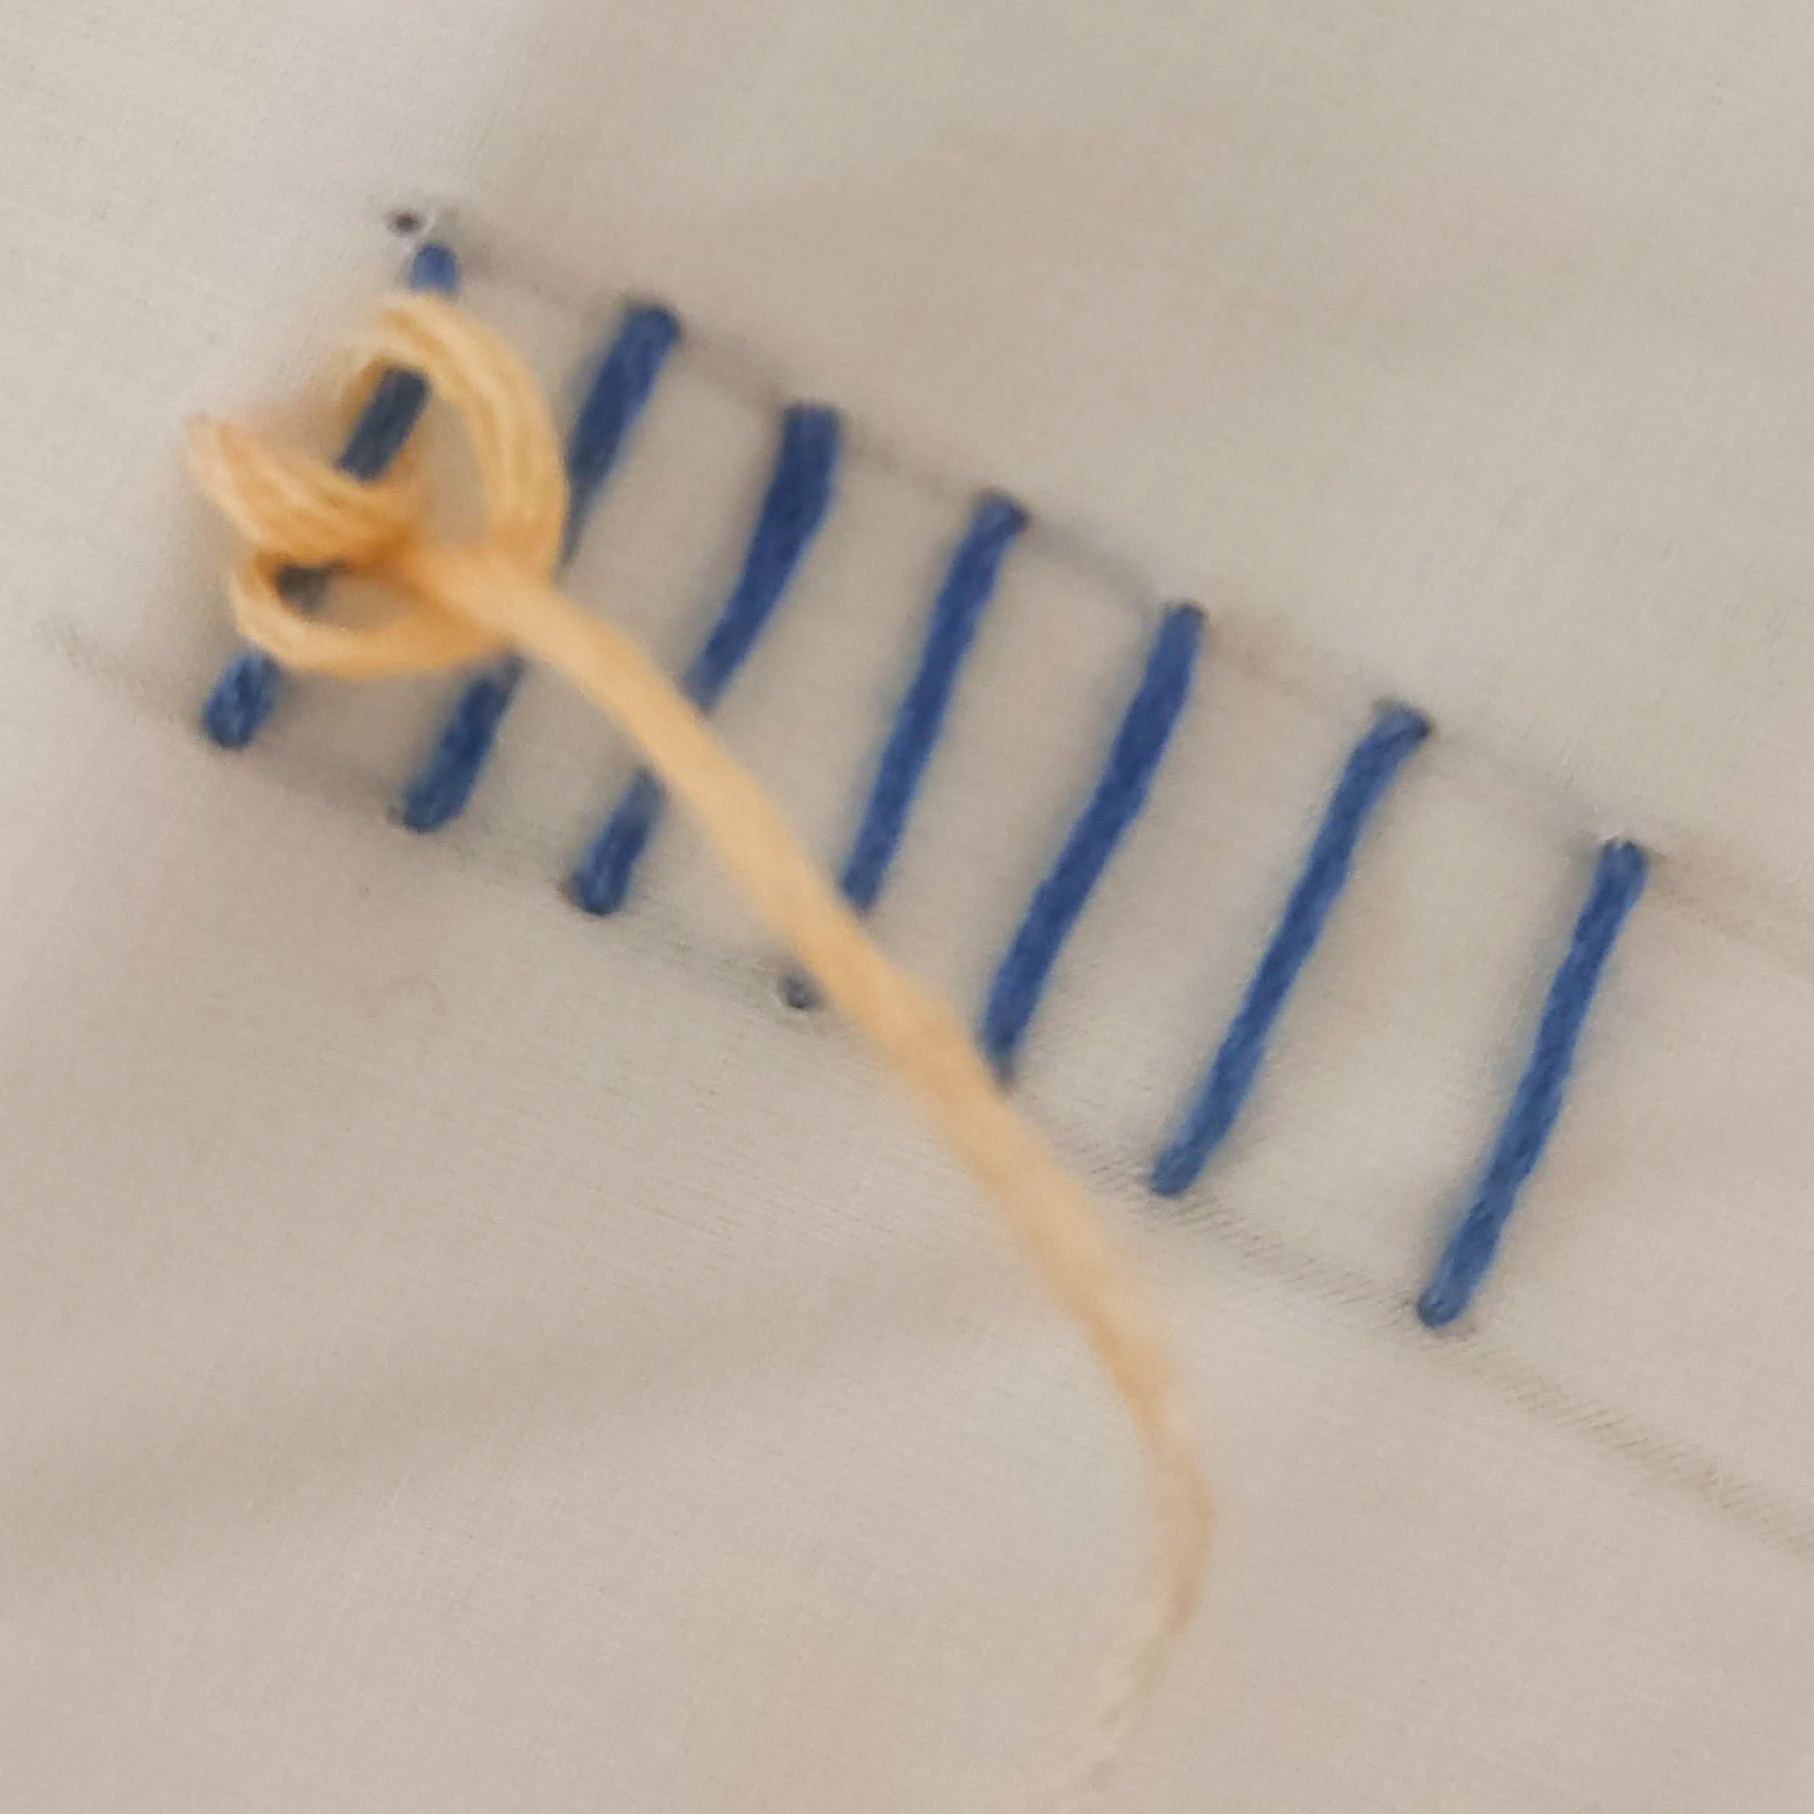
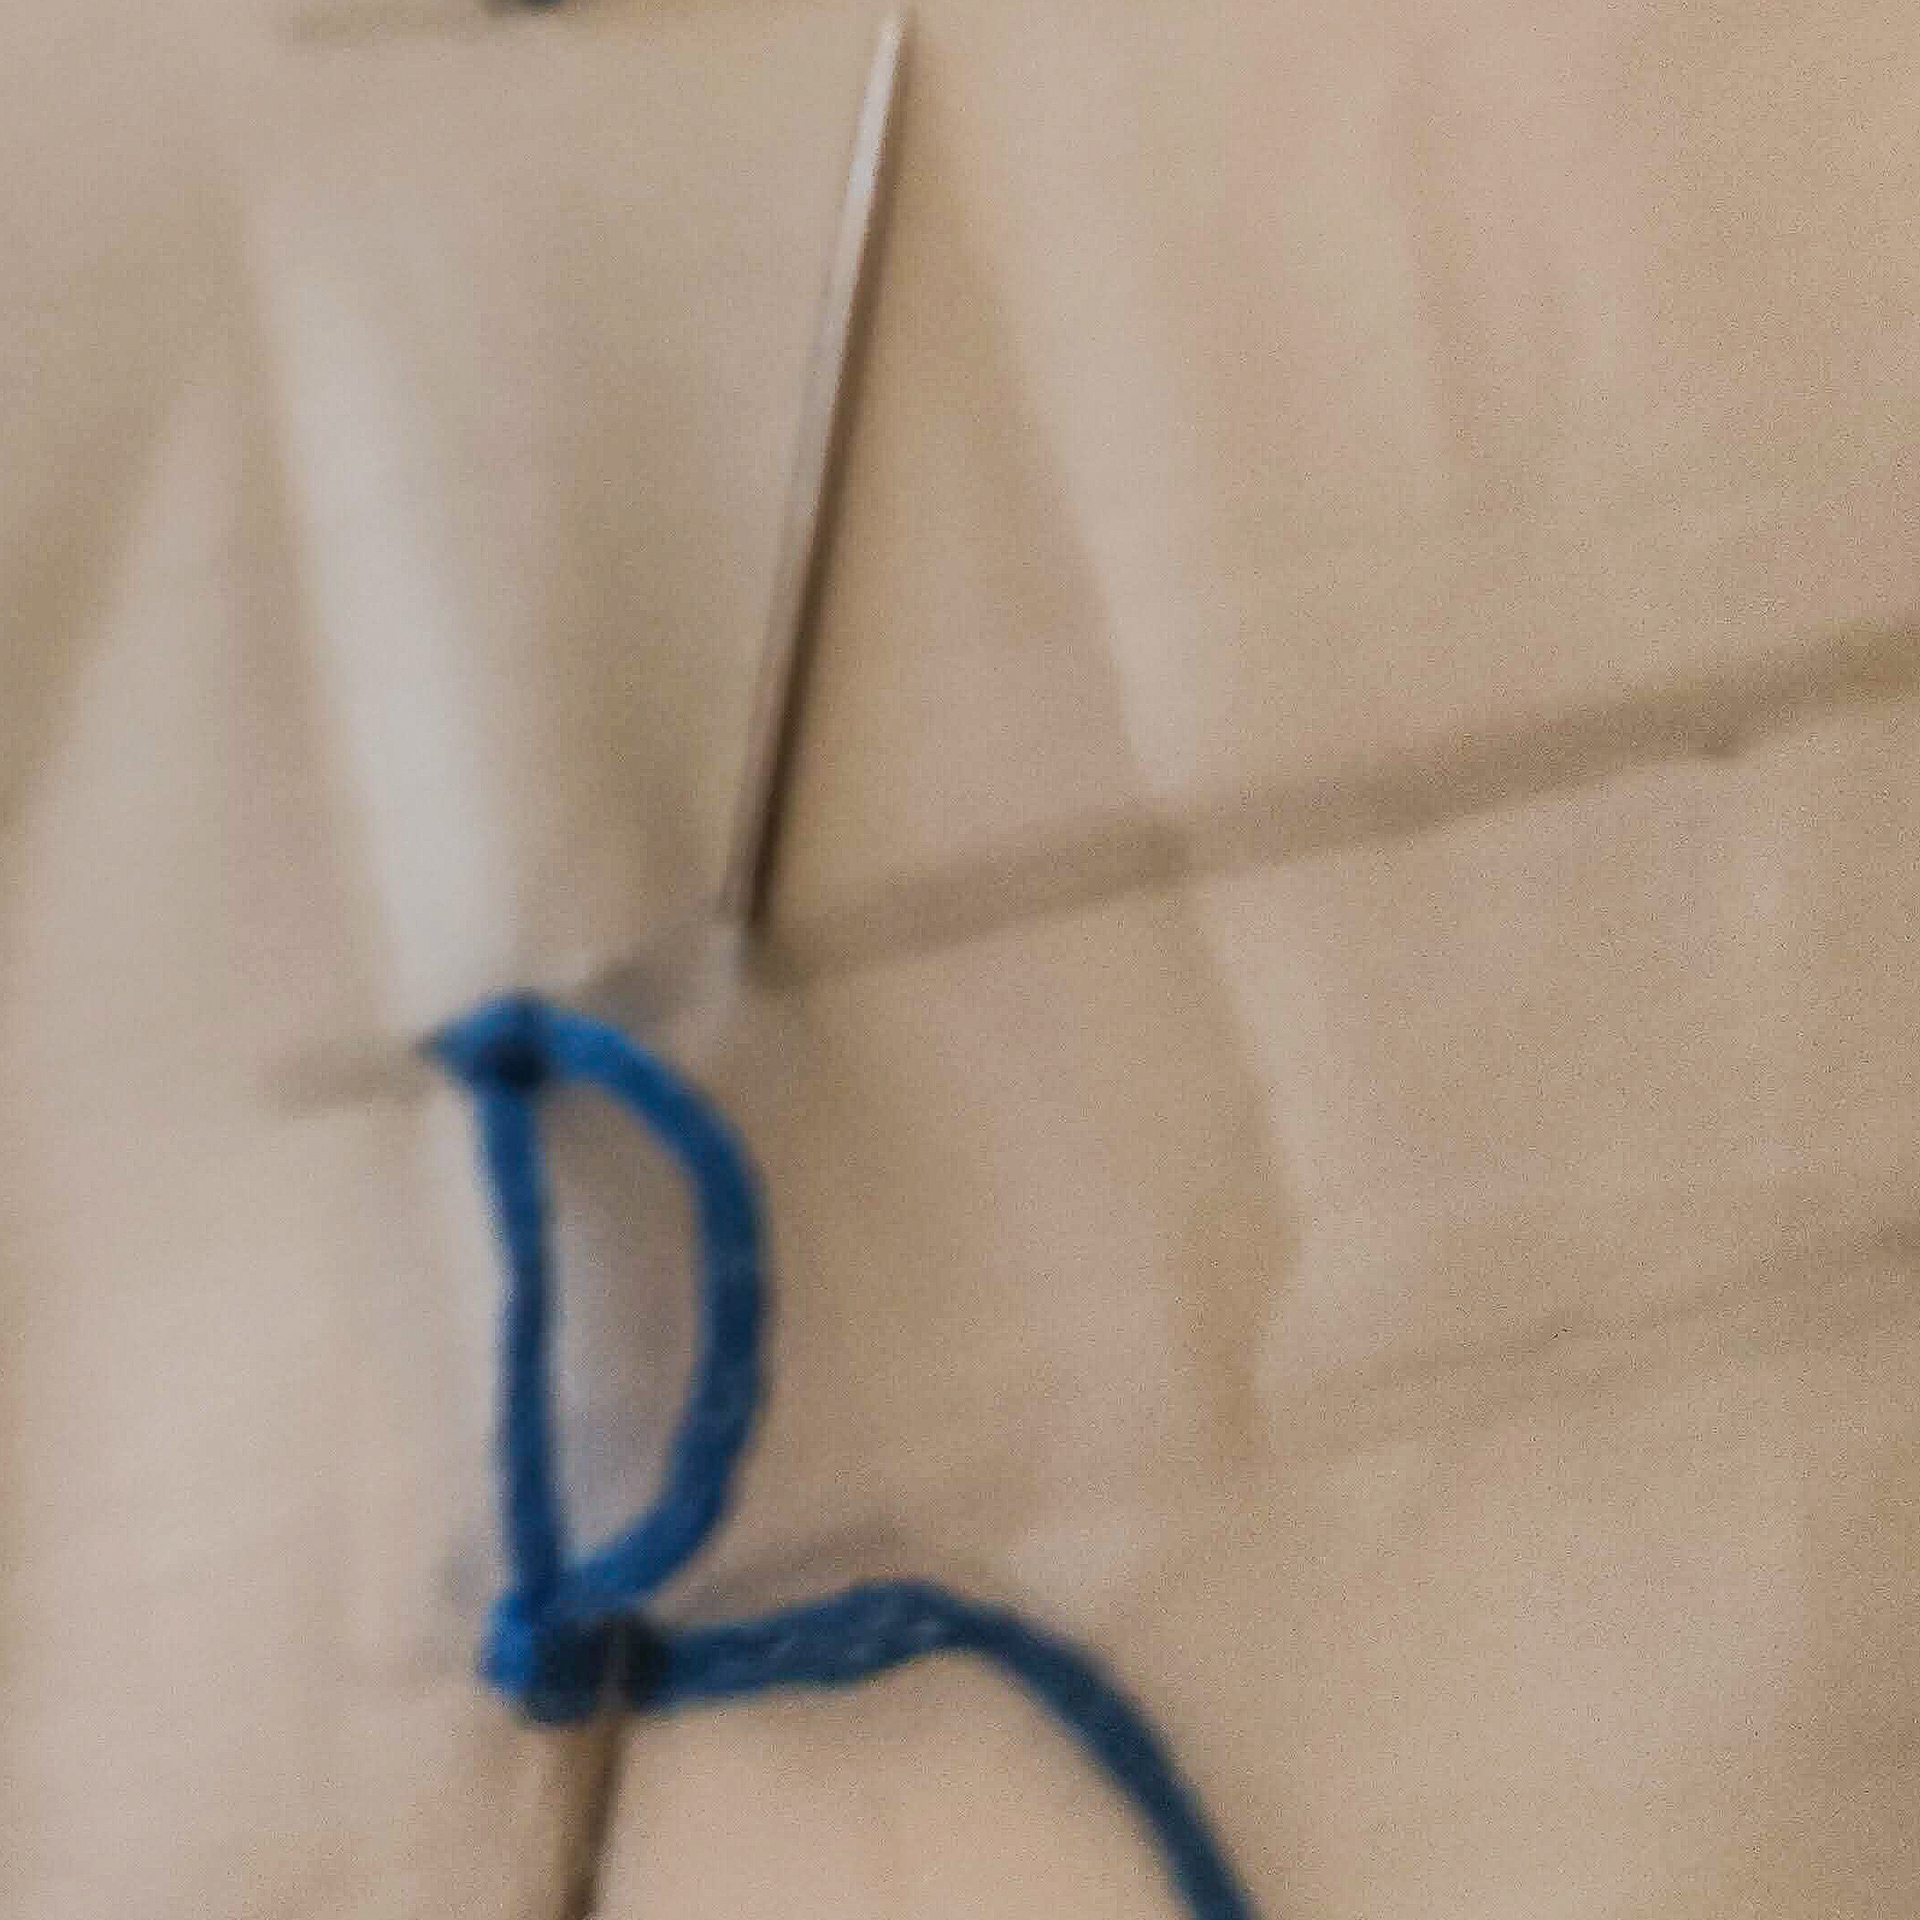
Once that is done NOT ENTERING THE FABRIC place your needle under the first stitch starting at the right and looping your working thread around your needle and pulling through to tighten,
ensuring the knot sits as close to the top as possible

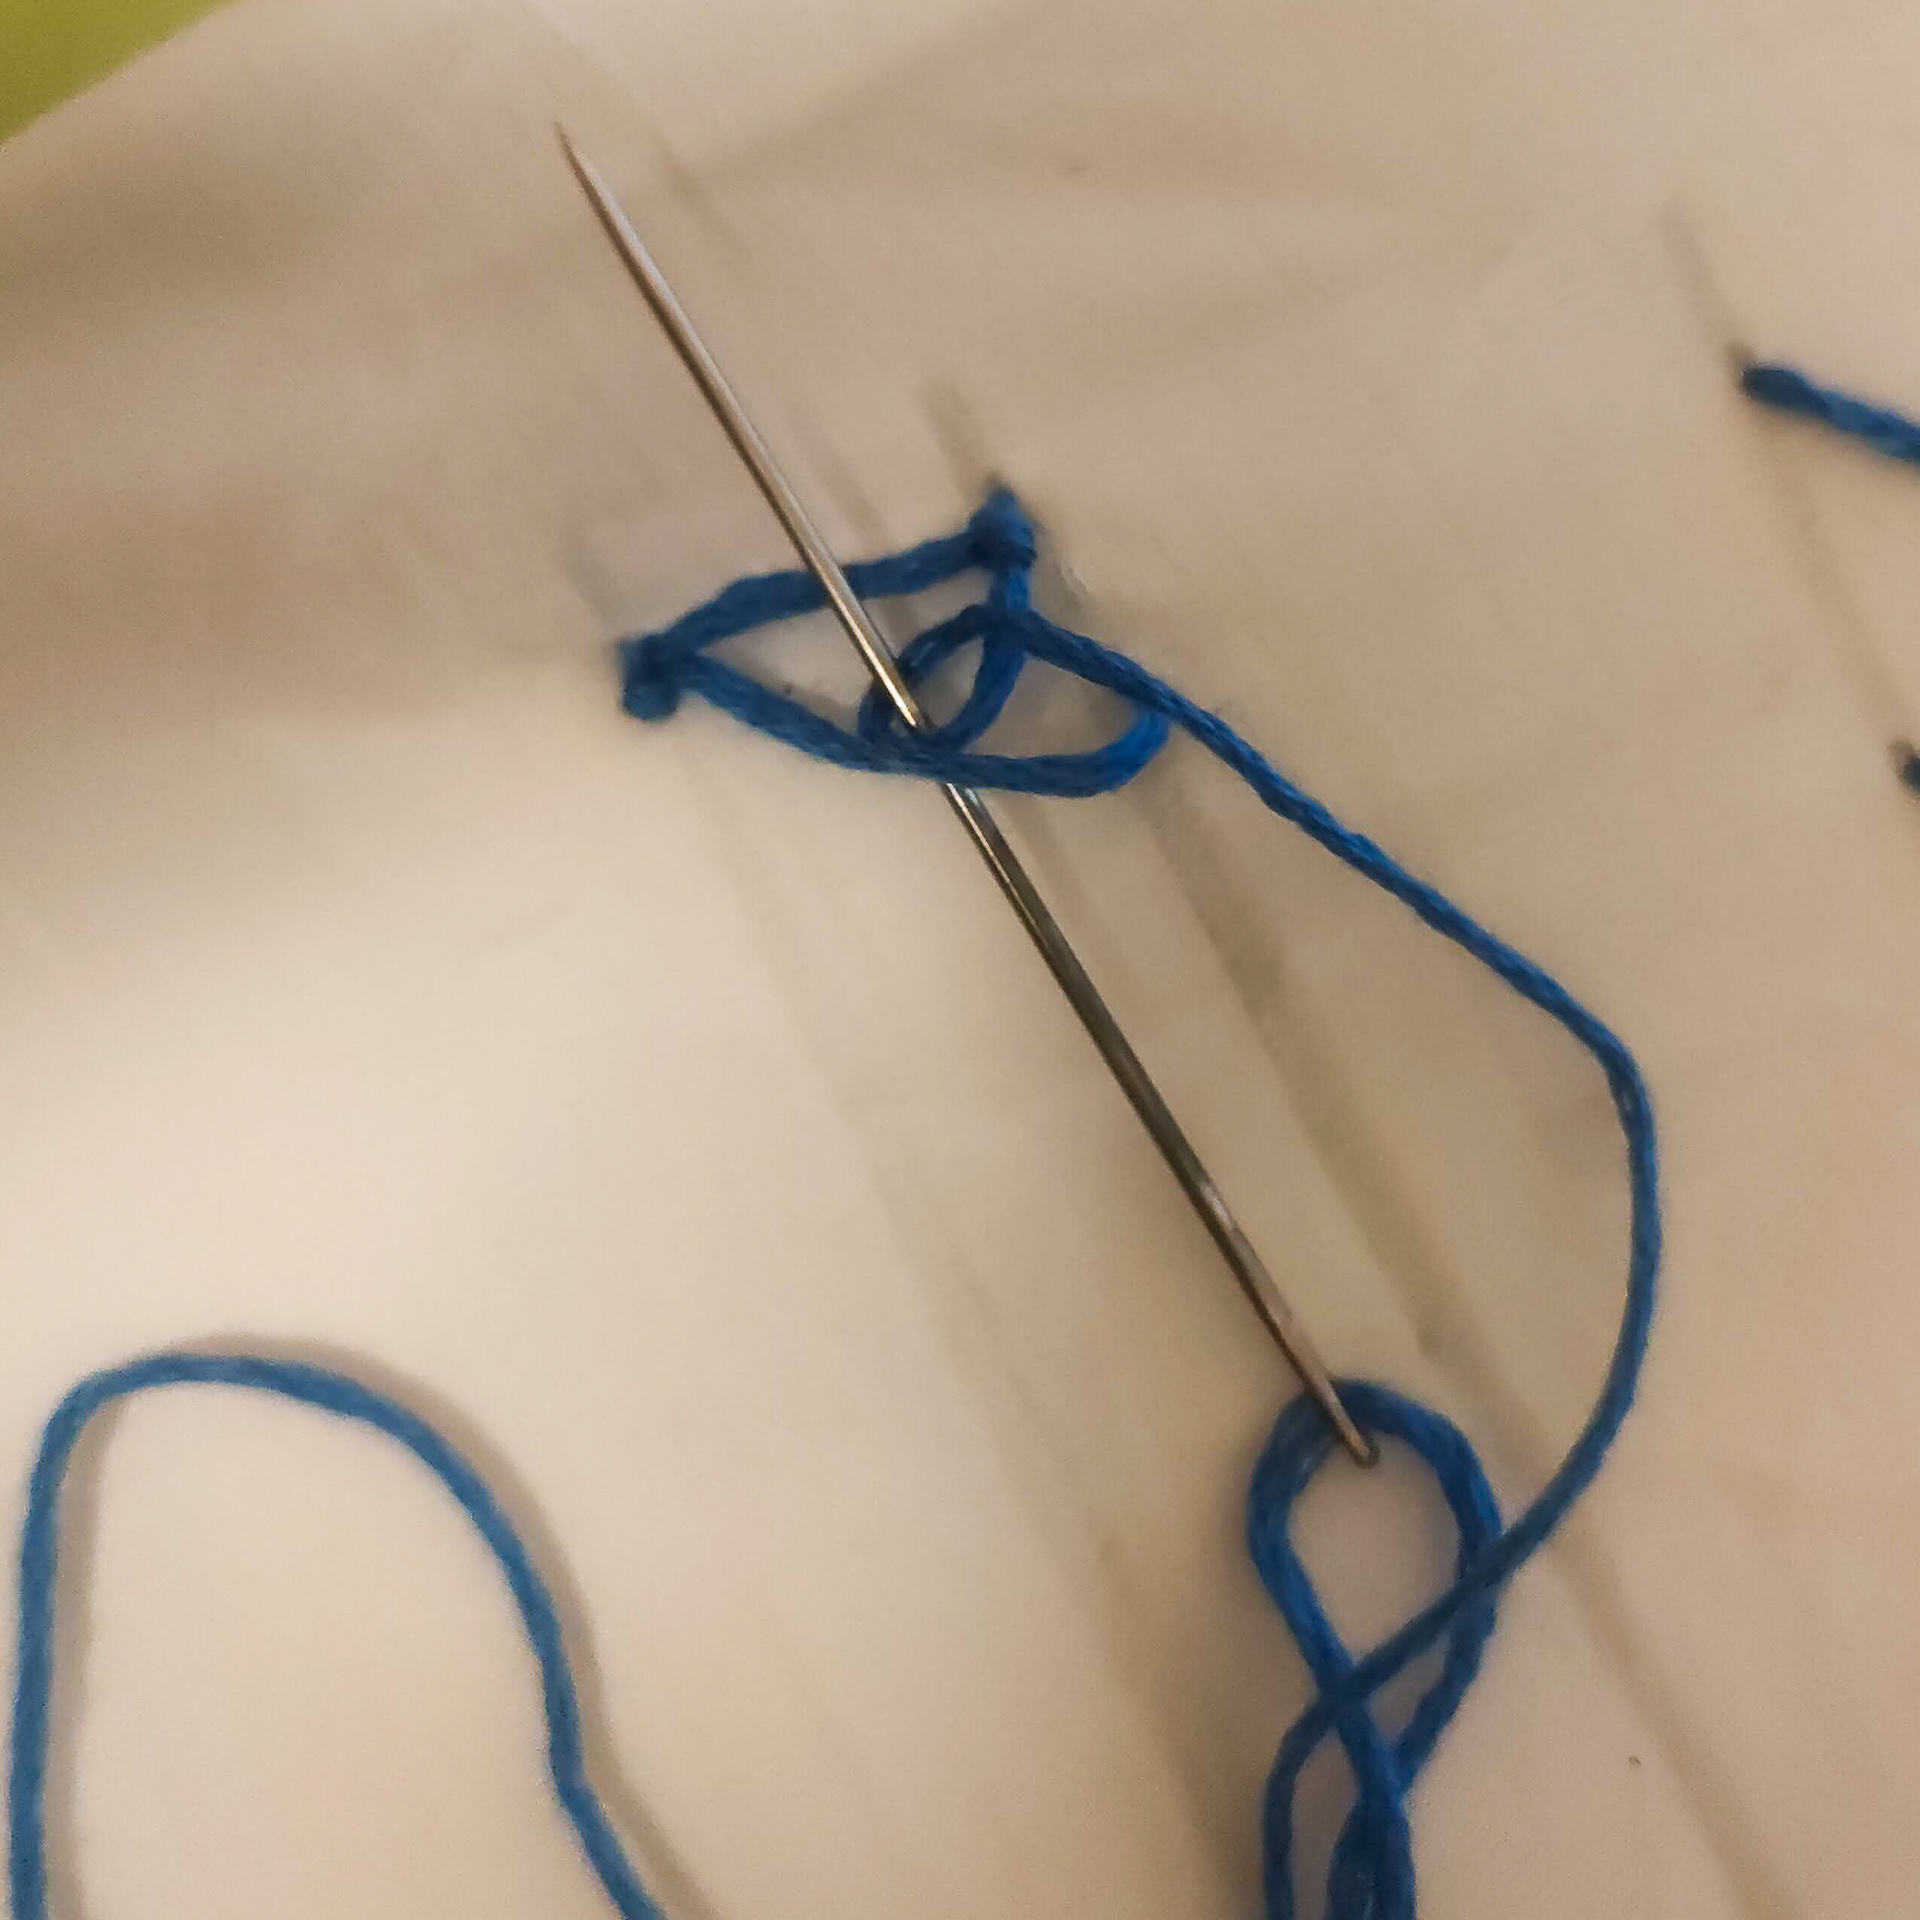
once that is done place your needle under the bottom side of your stitch and loop your thead around the needle again creating a knot at the bottom.
With that complete insert your needle next to the knot
and then pull through the needle a little to right (ideally the amount of space the yarn has to pull) on the top guideline
and then again WITHOUT ENTERING THE FABRIC place your needle under your previous stitch and then loop your working thread under the needle and tightening the knot as close to the middle of the stitch
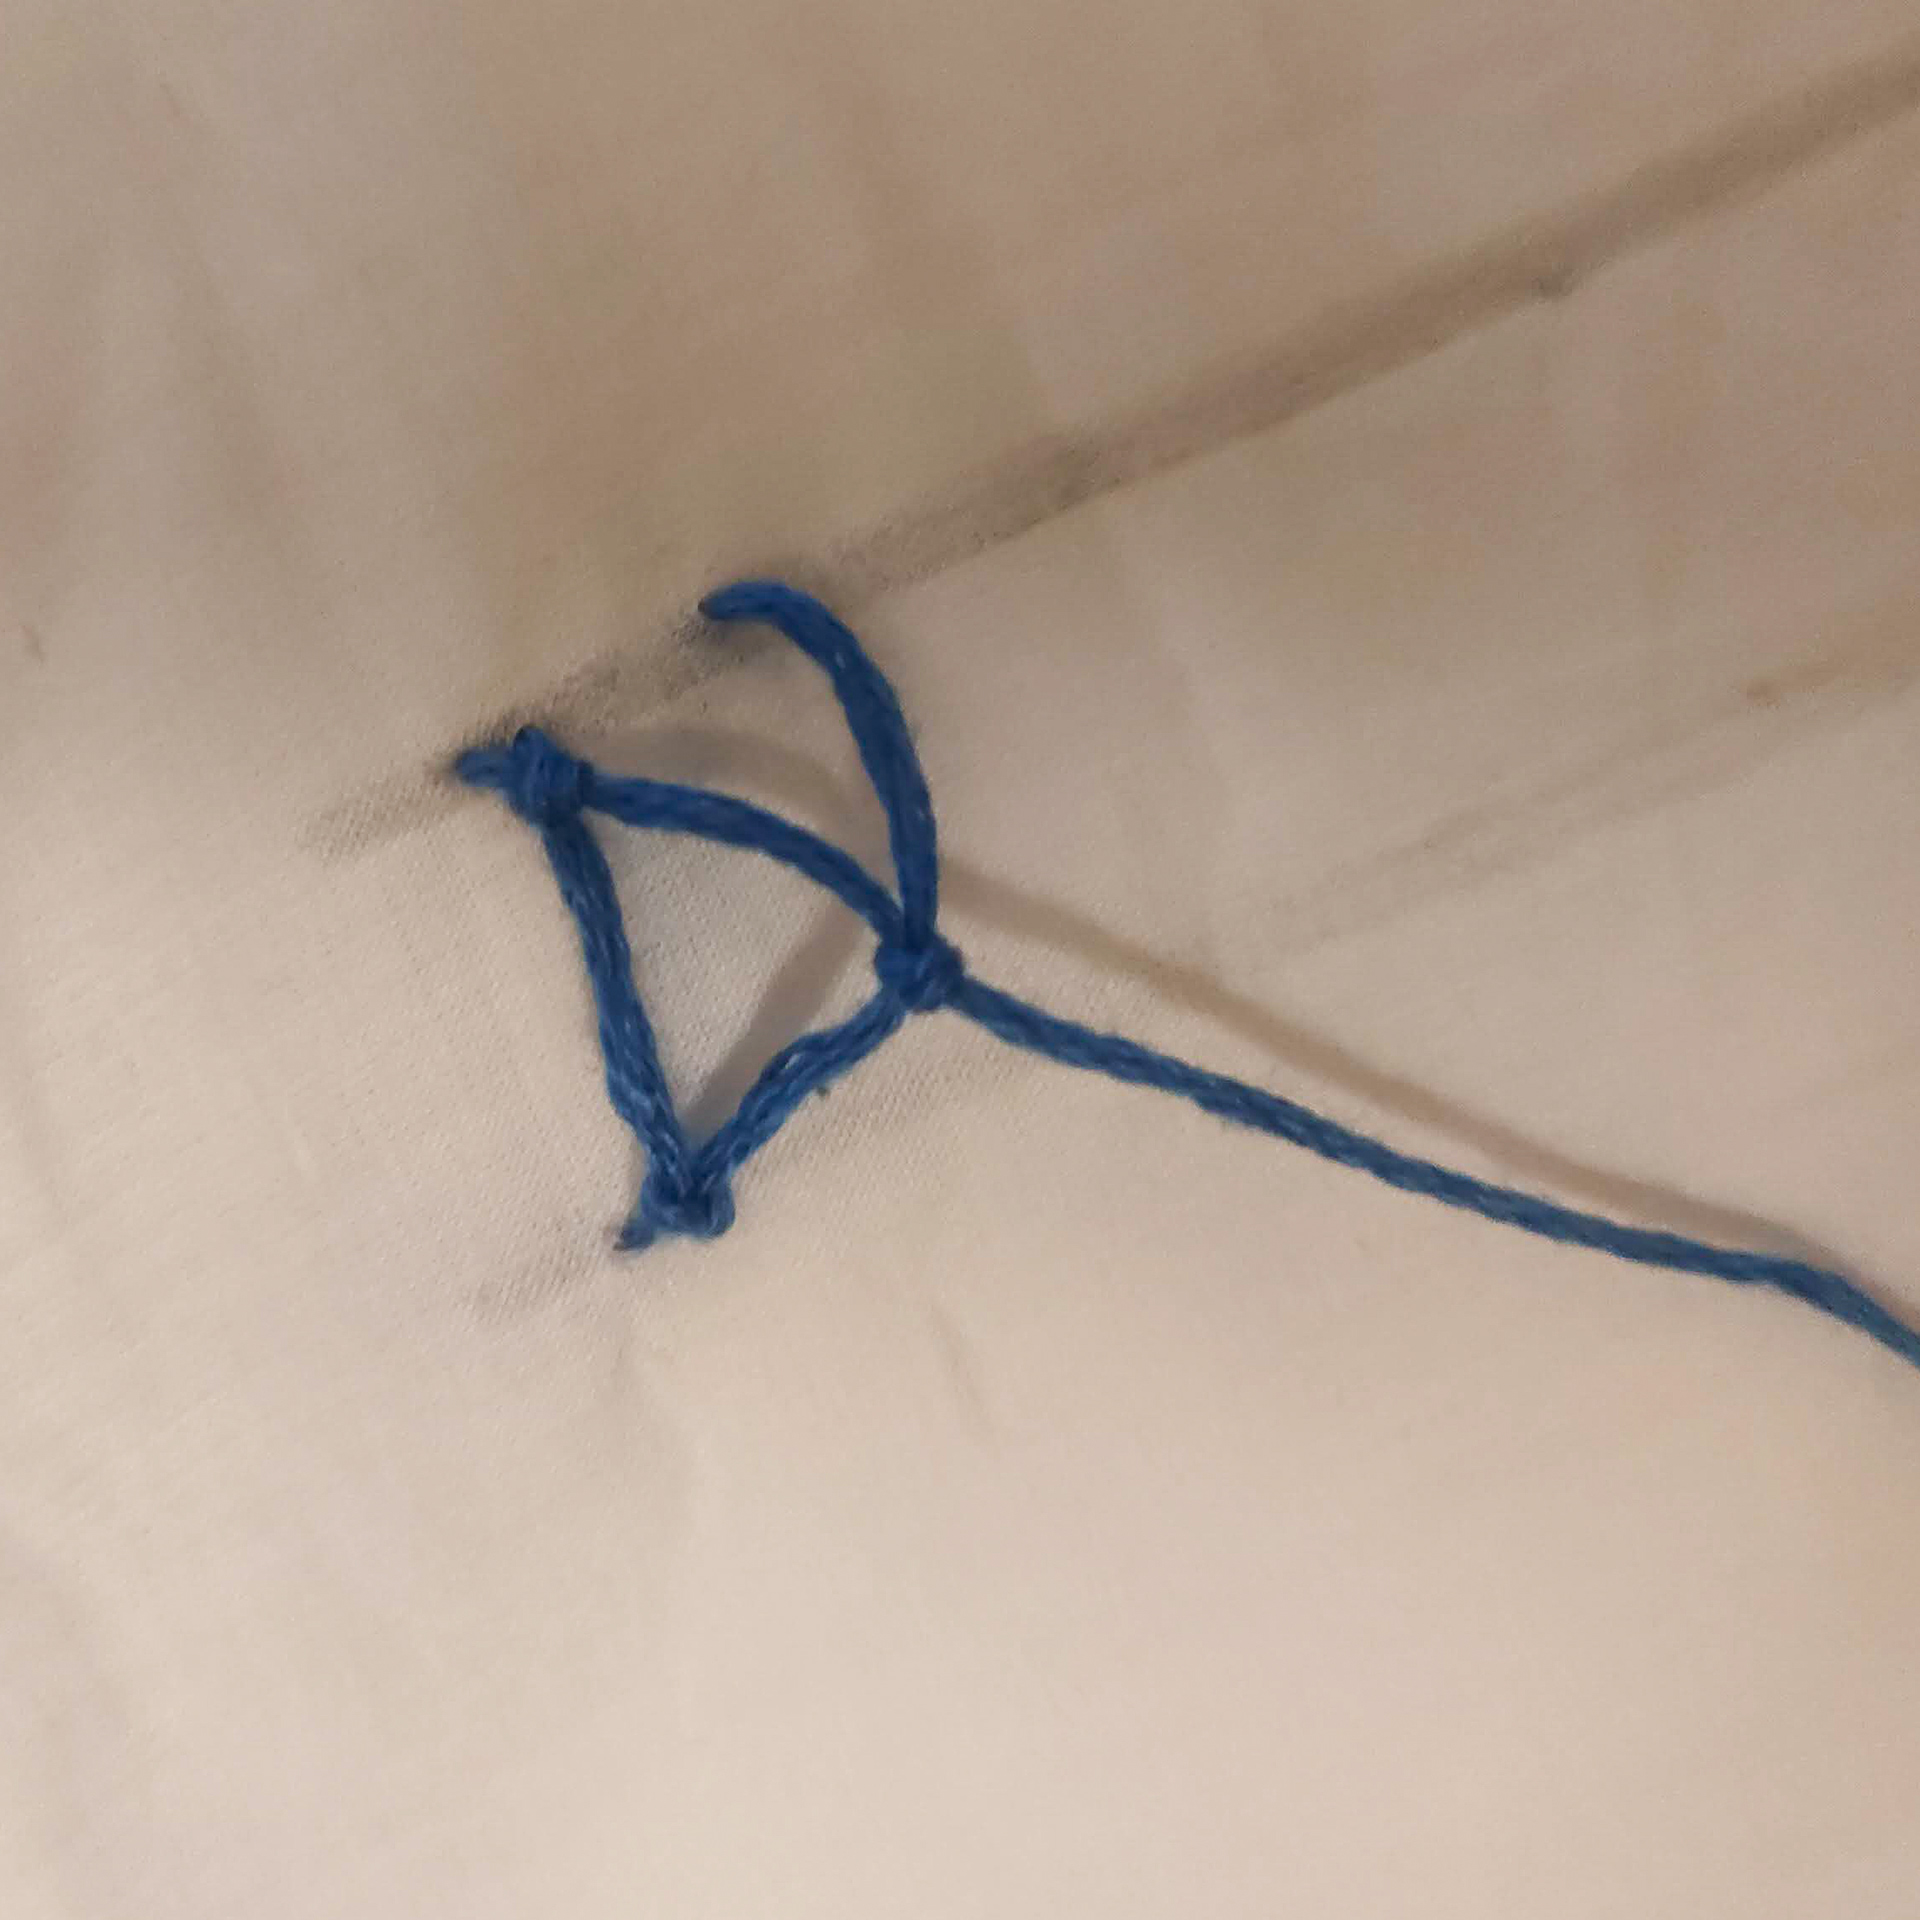
insert your needle to the bottom below your top stitch and pull through to the top guideline and repeat the looping process until complete.